Kimchi Pork Pan-fried Bun
1.
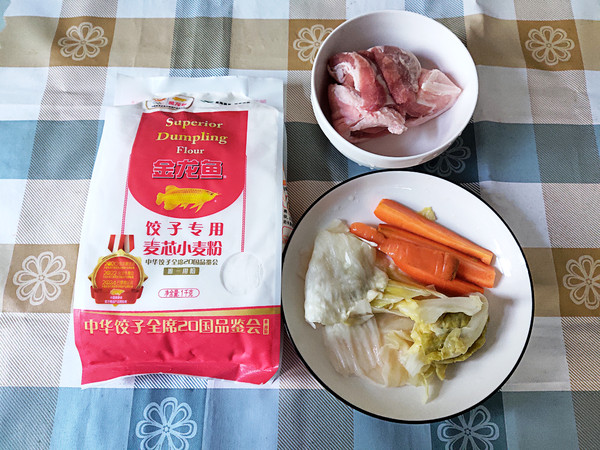
The material first shines. Fore-leg meat is more suitable for minced meat. The meat is tender, fat and lean. The pork belly may be fat. Sour radish and sauerkraut are kimchi made by ourselves. We can't change other ingredients according to our own preferences.
2.
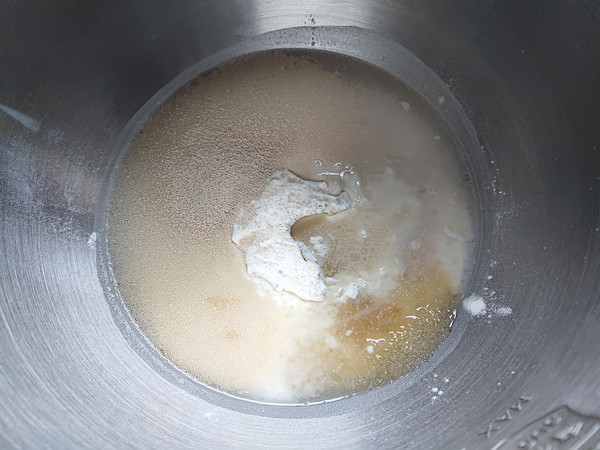
Add water to the flour, add 1 tablespoon of oil, add sugar, add yeast and noodles. The yeast should not touch the sugar, it will affect the fermentation. If it’s cold, it’s best to use warm water to make the noodles, but the water temperature should not be too high, not more than 40 degrees, it just feels a little warm to the touch.
3.
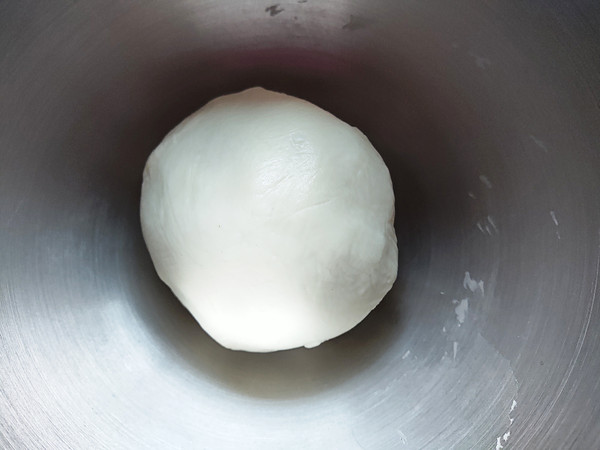
Knead it into a smooth dough that is as soft as the earlobe. Then cover and ferment to double size.
4.
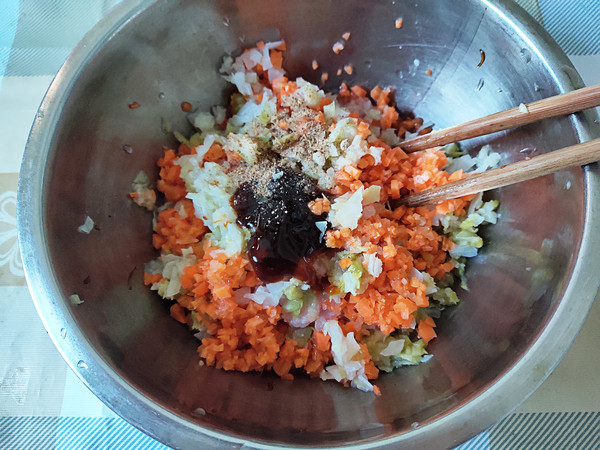
After the dough is kneaded, let's prepare the meat filling. Chop pork, sour carrots and cabbage, add various seasonings, stir clockwise or counterclockwise to form the glue, then cover and let stand. The seasoning can be adjusted to your liking.
5.
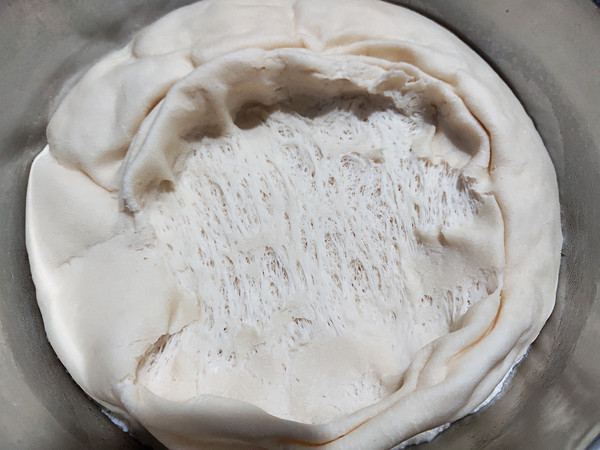
The dough has grown to 2-2.5 times the size. Peel off the dough, you can see that the inside is filled with honeycomb-shaped large holes, and the dough is fermented.
6.
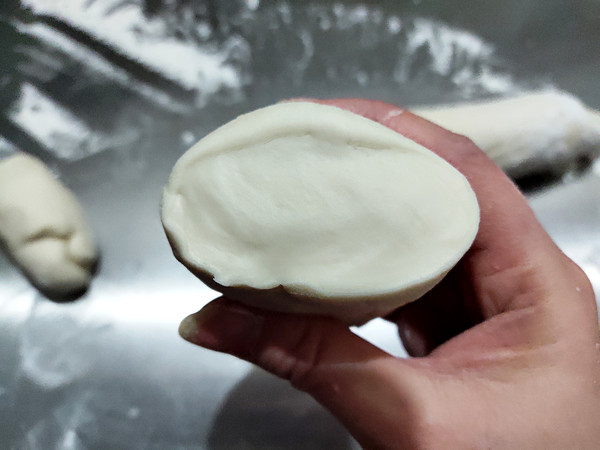
Sprinkle a thin layer of dry powder on the chopping board, pat the dough flat, fold it, and knead it repeatedly until you cut a dough and you see no obvious pores.
7.
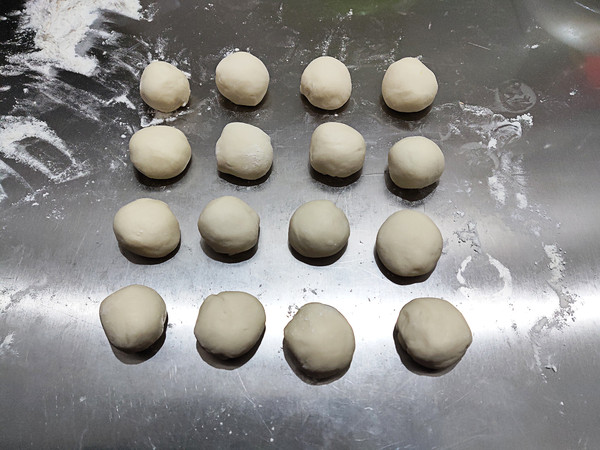
Divide the dough evenly into several doses. Generally, the pan-fried buns are not big, so I divided 16 into half a catty of flour.
8.
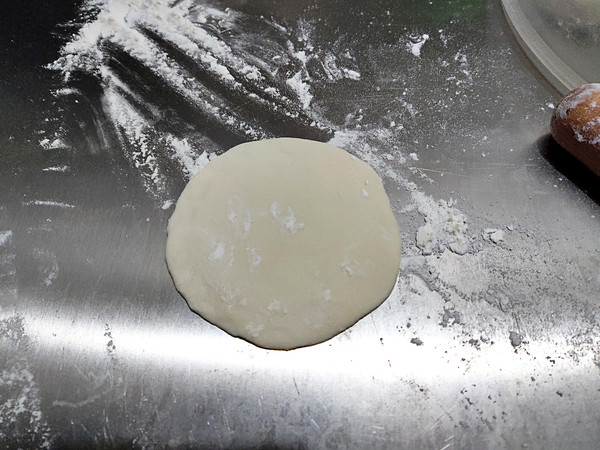
Take a small agent and use a rolling pin to roll it into a round piece with a diameter of about 10 cm, which is the same as the dumpling wrapper, with a thicker edge in the middle and a thinner edge.
9.
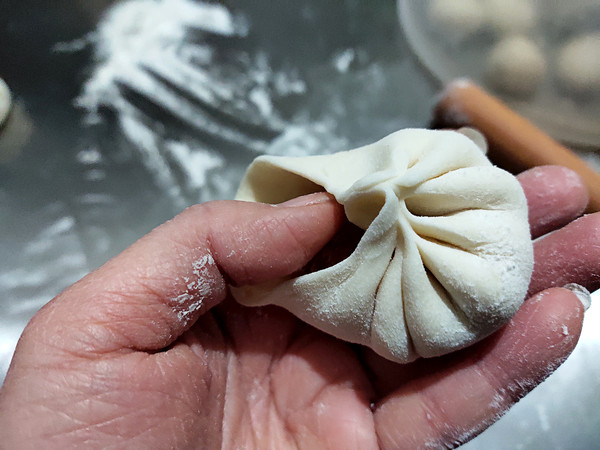
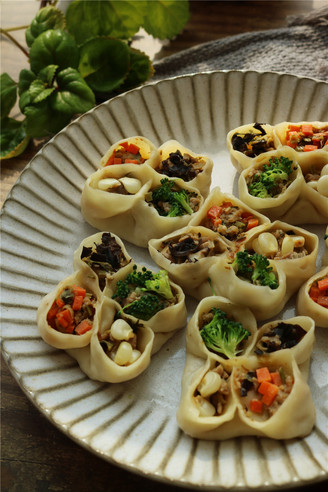
Hold the dough in your palm with your left hand, put an appropriate amount of meat, and then pinch the edge of the dough with your right hand, like an origami fan, and finally seal it.
10.
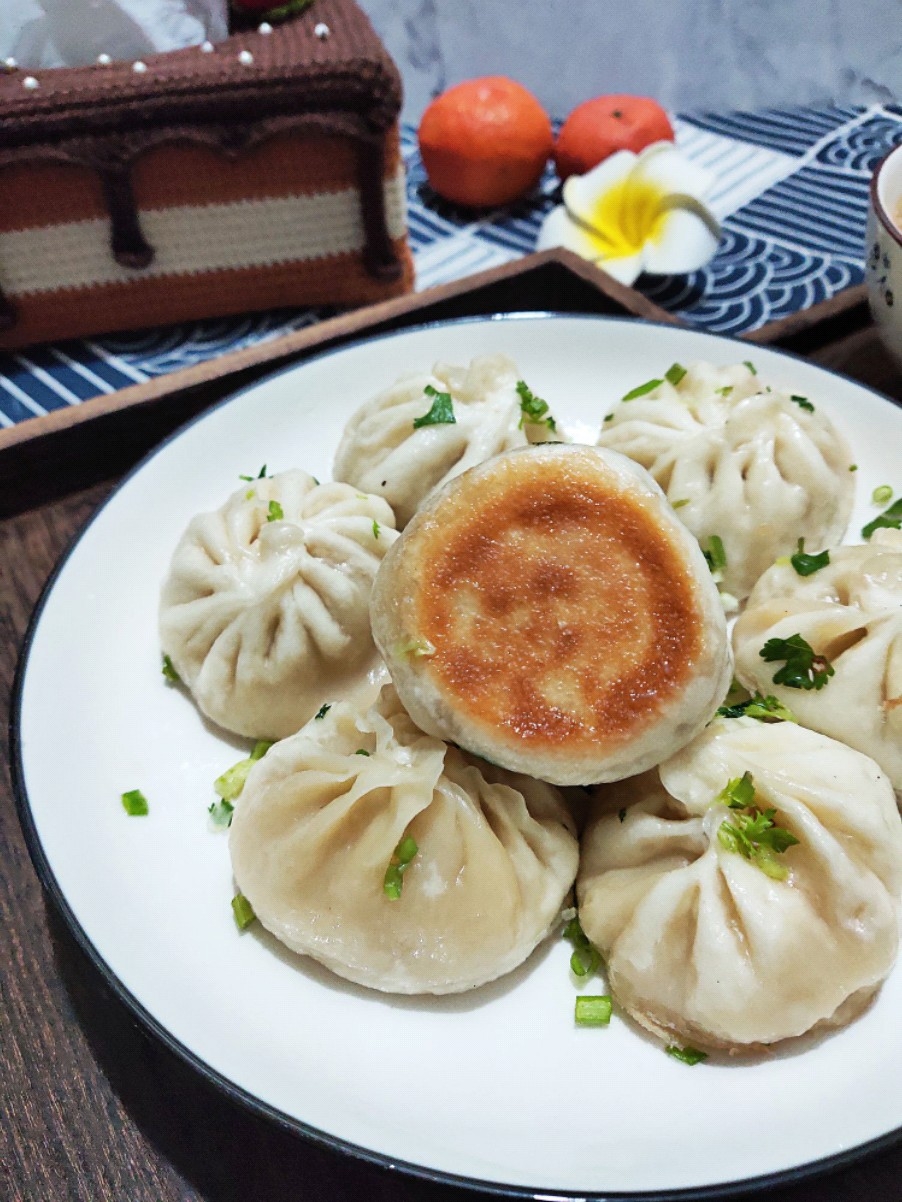
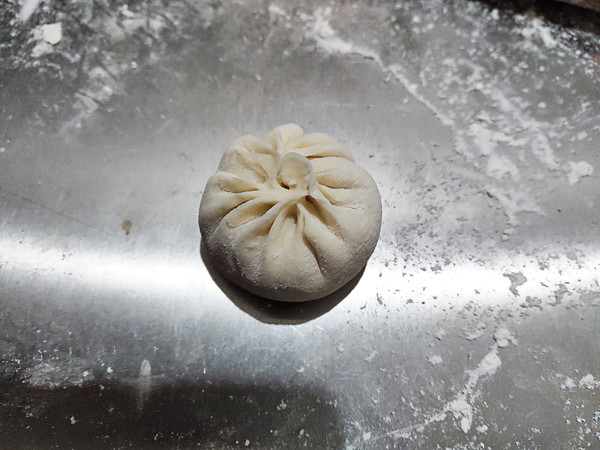
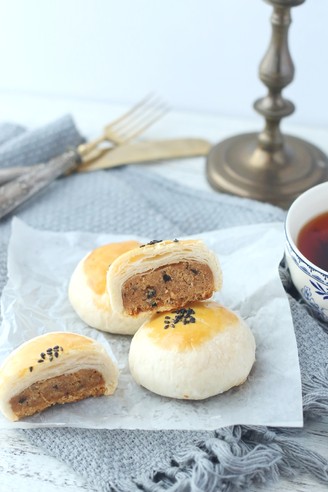
This is a well-made bun, and I didn’t do it well, so I need to practice more. Although everyone likes to eat buns with thin skins and big fillings, it is recommended that novices put less meat fillings to make them good. When you become proficient, add more meat.
11.
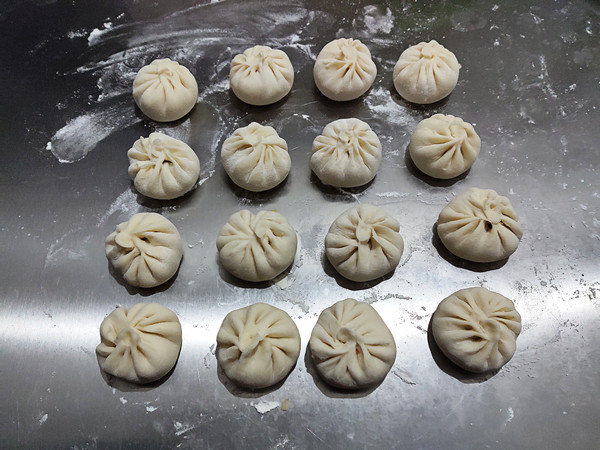
After all the buns are wrapped, stick a little dry powder on the bottom, otherwise it will stick to the chopping board and be difficult to handle after proofing. Let it stand for 10-30 minutes, remember to cover it to prevent the surface of the buns from drying out. Wake up to the buns can clearly see a little bigger. The time depends on the room temperature, high room temperature, short proofing time, low room temperature, long time.
12.
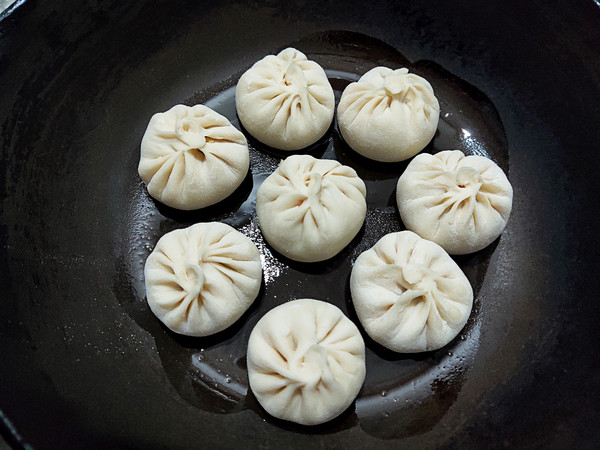
Pour a small amount of oil in a non-stick pan, just pass the bottom of the pan, heat up, arrange the buns, and leave a little space. Heat it over a medium-to-small heat. Don't heat it too much, as it will fry easily.
13.
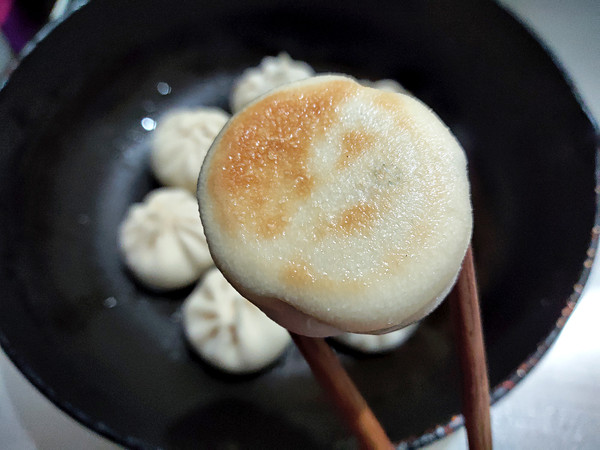
The buns are fried until the bottom is slightly yellow. Don't fry too much, otherwise the final product will be very burnt.
14.
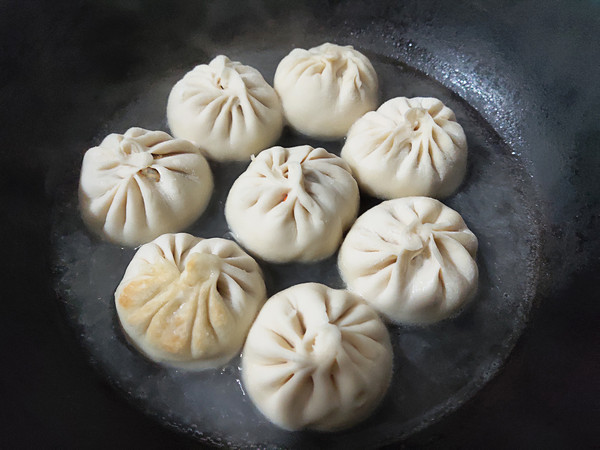
Pour half a bowl of water along the side of the pot, not directly on the buns, otherwise it will affect the rise of the buns. The height of the water should not exceed 1/3 of the height of the steamed buns. Cover with a small fire and stew. The lid cannot be opened in the middle, and the lid can only be opened after hearing the sizzling sound that the water is almost boiling dry. If you are worried that the buns are not cooked, add water again. I usually add water twice.
15.
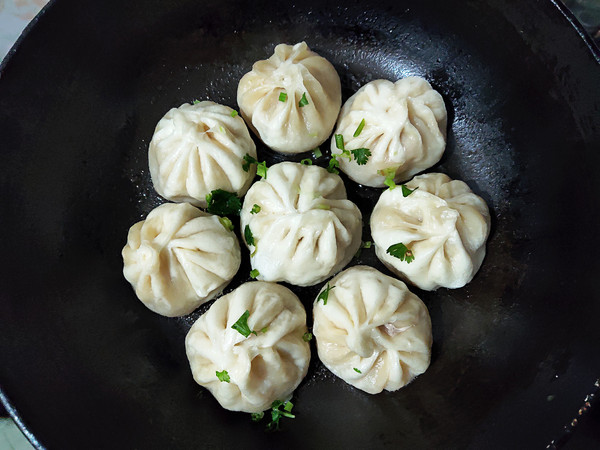
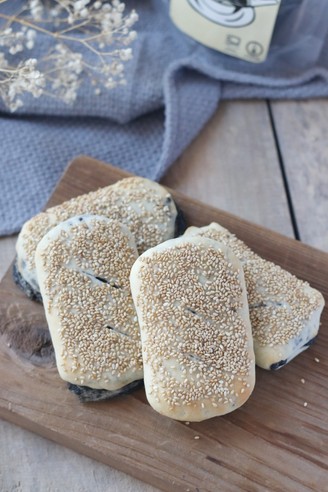
When the water added for the second time is boiled dry, sprinkle a little green onion and add a little sesame seeds, cover, turn off the heat, and simmer for a minute.
Tips:
1. Different brands of flour have different water absorption rates. You can put half the amount of water in the flour at the beginning, and then add it slowly. Generally, a good dough is about the same softness as our earlobes.
2. Pan-fried buns are generally smaller and smaller than steamed buns. I am a steamed bun, and the portion is directly halved. For example, I half a catty of noodles

