Liangpi
by Happy family
Favorite
Difficulty
Easy
Time
2h
Serving
2
I also experienced a failure. This is my experience of making Liangpi successfully. I will make it myself if I want to eat it in the future. It is not difficult, not troublesome, clean and economical.
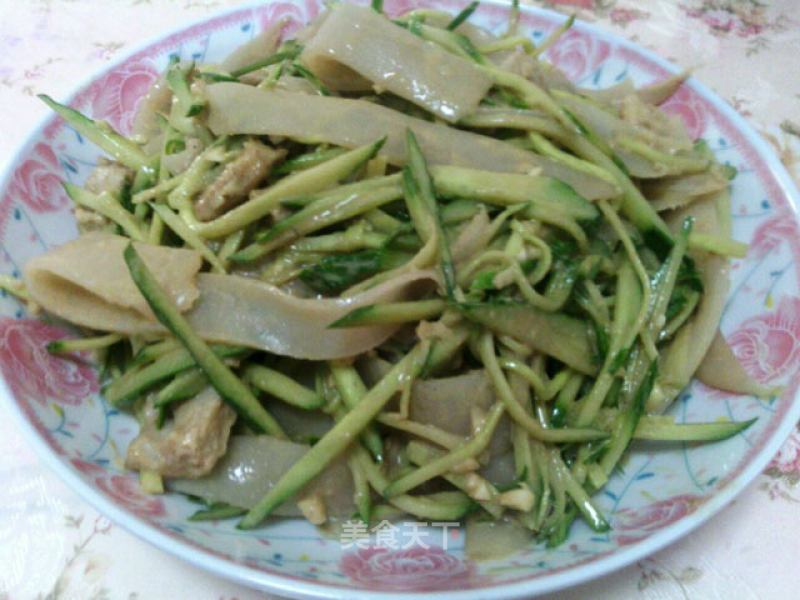
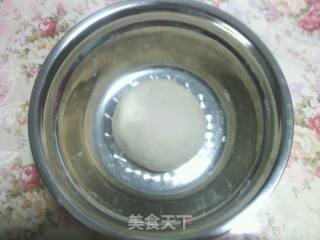
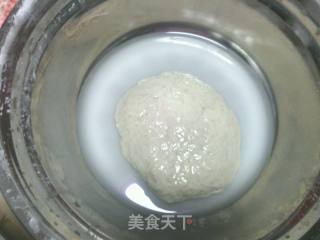
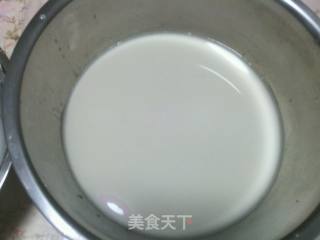
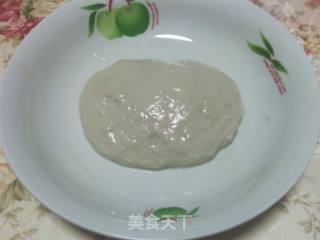
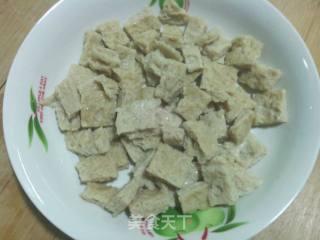
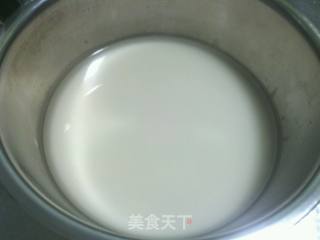
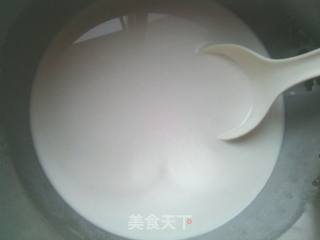
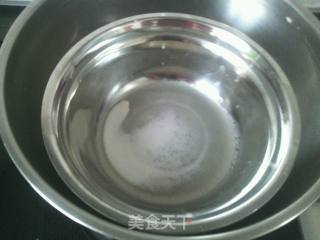
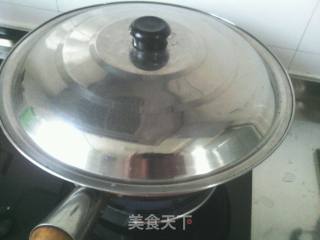
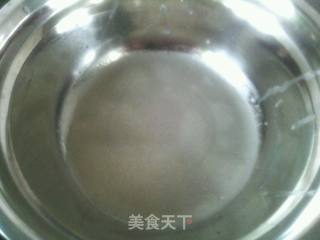
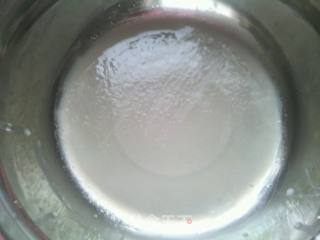
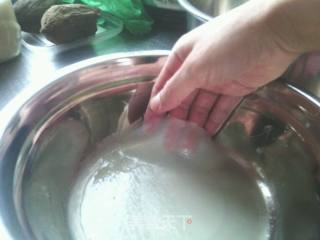
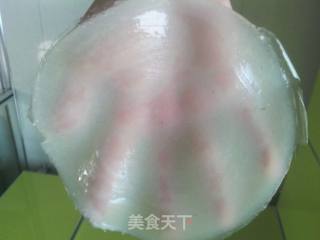
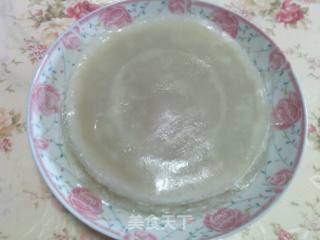
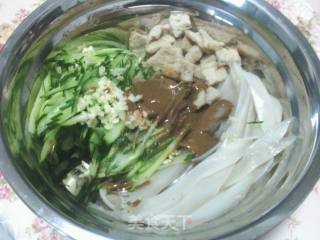
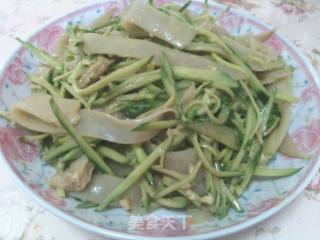
I made a Liangpi yesterday, but it was sticky, not chewy, everything was broken, and it ended in failure. I'm not convinced, and look for the reason. It can be said that what I did this time was really too successful, and it was not sticky, not broken, and good. I put the previous shortcomings for your reference: this time I prepared 3 small stainless steel pots. One is for flour paste, two small ones take turns to exchange hot Liangpi to save time, a large frying spoon with a lid, and a soup pot, use it to put cold water to cool the small bowl of Liangpi. The spoon is a plastic soup spoon, my small basin is not too big, one spoon at a time with a diameter of 26cm. First of all, the noodles of the cold skin made for the first time are soft, not kneading the strength, nor waking up, and immediately after the noodles are made, add water to grab the noodles; secondly, when the noodles are grabbed with clean water, there is more water and less times. This time, I put in a small bowl of water every time, and I scratched it a lot. After I scratched it ten times, the water was completely cleared and there was gluten left. There is also a shorter separation time between the surface and the sedimentation surface. This time, the noodles were mixed in the evening, and the sedimentation was overnight. The cold skin made by getting up early the next day should have enough sedimentation time. It is also very important. When making cold skin, sit the container directly on the boiling water in the big steamer, the skin is embedded without foaming, and then it is peeled off. The big frying spoon is not covered, and there is no 3-5 minutes. Just 1 minute, it seems to be undercooked, which makes the cut sticky, not to mention the strength. When the cold skin is mixed, it is broken. This time I put a lid on the large frying spoon, and the noodles bubbled in the inside, and the lid was steamed for about 2 minute. Another point is to uncover the lid, take the small pot containing the cold skin out of the fry, sit the small pot on the cold water, and take the small pot out of the cold water pot for cooling, and give the cold skin directly to the small pot first. Brush a little layer of oil on the front, and then peel off the cold skin to avoid stacking and sticking together. (The process of making Liangpi is to brush the oil and pour the top paste on the first small pot, make the boiling water pot, cover, prepare the next small pot, brush the oil and pour the paddle, and then the first time is almost the same, uncover Cover, the dough is swollen and bubbling, take out the small basin, sit in a cold water soup pot to cool, then put the second basin into the boiling water pot, then cover, turn around and take out the cooled dough basin , Don’t rush to peel off the dough first, first brush a thin layer of oil on the dough, so as not to pile up and stick together, after brushing the oil, start to peel off the dough, it’s okay, don’t be afraid, it’s strong, not broken, just peel off and put on the plate Inside, brush the oil in the uncovered basin, add a spoonful of batter to prepare, and the one in the pan is ready, the same method is used, uncover the pan, bubbling, sit in cold water, and immediately put the just prepared Put the good pot into the boiling water, and so on, until it’s all done.) The above is my experience of groping. I don’t know if I have made it clear. If I don’t understand, I will talk to you again and see the colleagues who make Liangpi We also have a lot of failures. I hope you can refer to this summary. I wish you all success in Liangpi. Well, let’s not say more, the picture above, hahaha"
I made a Liangpi yesterday, but it was sticky, not chewy, everything was broken, and it ended in failure. I'm not convinced, and look for the reason. It can be said that what I did this time was really too successful, and it was not sticky, not broken, and good. I put the previous shortcomings for your reference: this time I prepared 3 small stainless steel pots. One is for flour paste, two small ones take turns to exchange hot Liangpi to save time, a large frying spoon with a lid, and a soup pot, use it to put cold water to cool the small bowl of Liangpi. The spoon is a plastic soup spoon, my small basin is not too big, one spoon at a time with a diameter of 26cm. First of all, the noodles of the cold skin made for the first time are soft, not kneading the strength, nor waking up, and immediately after the noodles are made, add water to grab the noodles; secondly, when the noodles are grabbed with clean water, there is more water and less times. This time, I put in a small bowl of water every time, and I scratched it a lot. After I scratched it ten times, the water was completely cleared and there was gluten left. There is also a shorter separation time between the surface and the sedimentation surface. This time, the noodles were mixed in the evening, and the sedimentation was overnight. The cold skin made by getting up early the next day should have enough sedimentation time. It is also very important. When making cold skin, sit the container directly on the boiling water in the big steamer, the skin is embedded without foaming, and then it is peeled off. The big frying spoon is not covered, and there is no 3-5 minutes. Just 1 minute, it seems to be undercooked, which makes the cut sticky, not to mention the strength. When the cold skin is mixed, it is broken. This time I put a lid on the large frying spoon, and the noodles bubbled in the inside, and the lid was steamed for about 2 minute. Another point is to uncover the lid, take the small pot containing the cold skin out of the fry, sit the small pot on the cold water, and take the small pot out of the cold water pot for cooling, and give the cold skin directly to the small pot first. Brush a little layer of oil on the front, and then peel off the cold skin to avoid stacking and sticking together. (The process of making Liangpi is to brush the oil and pour the top paste on the first small pot, make the boiling water pot, cover, prepare the next small pot, brush the oil and pour the paddle, and then the first time is almost the same, uncover Cover, the dough is swollen and bubbling, take out the small basin, sit in a cold water soup pot to cool, then put the second basin into the boiling water pot, then cover, turn around and take out the cooled dough basin , Don’t rush to peel off the dough first, first brush a thin layer of oil on the dough, so as not to pile up and stick together, after brushing the oil, start to peel off the dough, it’s okay, don’t be afraid, it’s strong, not broken, just peel off and put on the plate Inside, brush the oil in the uncovered basin, add a spoonful of batter to prepare, and the one in the pan is ready, the same method is used, uncover the pan, bubbling, sit in cold water, and immediately put the just prepared Put the good pot into the boiling water, and so on, until it’s all done.) The above is my experience of groping. I don’t know if I have made it clear. If I don’t understand, I will talk to you again and see the colleagues who make Liangpi We also have a lot of failures. I hope you can refer to this summary. I wish you all success in Liangpi. Well, let’s not say more, the picture above, hahaha"

