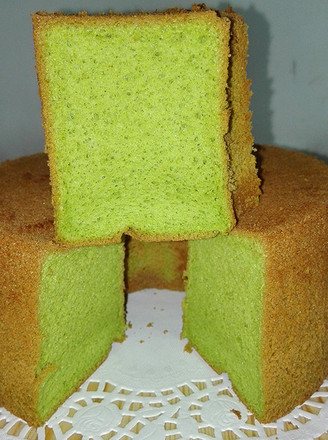
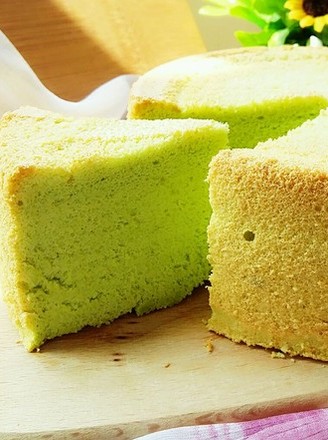
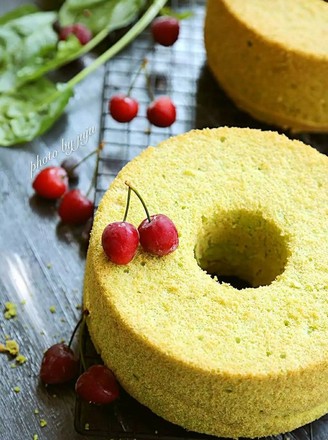
Low Temperature Original Chiffon (8 Inches 90 Minutes)
1.
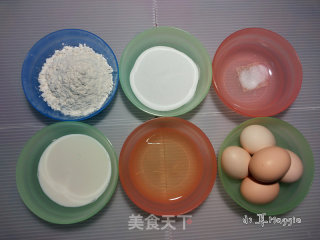
Prepare the ingredients
2.
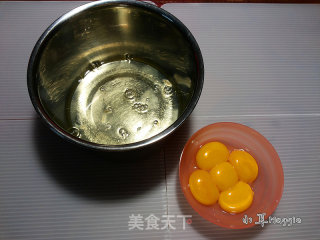
Separate the egg whites, pour the egg yolks and egg whites into clean and dry containers respectively; put the egg whites into the freezer compartment of the refrigerator for freezing.
3.
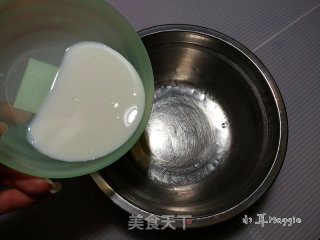
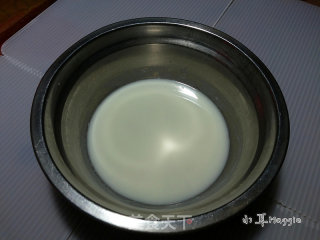
Pour pure milk into the container
4.
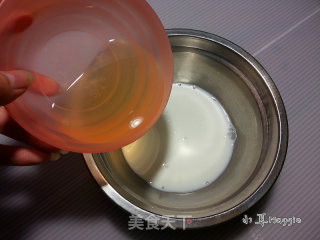
Pour the salad oil into the container and mix
5.
Swipe it with your hands until it is completely blended and no oil spots are visible, and there is a slight heavy feeling
6.
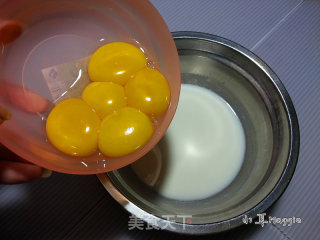
Put in egg yolk
7.
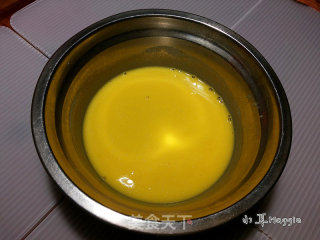
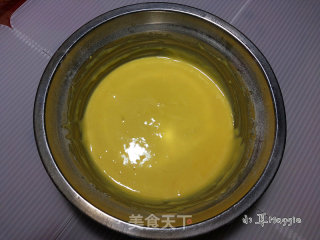
Use a manual whisk to beat the egg yolk paste evenly into a thin paste, which can flow naturally and does not feel heavy when stirring
8.
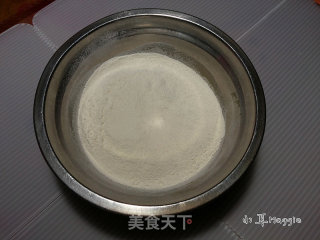
Sift in 80 grams of low-gluten flour
9.
Use a manual whisk to stir the egg yolk paste and flour and then beat clockwise until there are no particles
10.
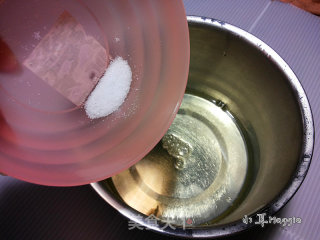
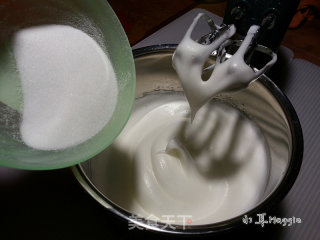
The egg whites will be easier to beat after being frozen for about seven or eight minutes. A small spoonful of salt; add the fine sugar in three times (at this time, you can preheat the oven for ten minutes, the heat is 130 degrees, and the heat is 100 degrees.)
11.
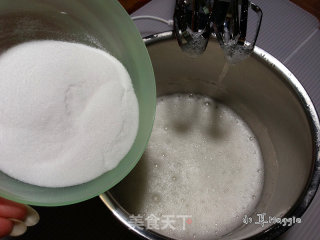
Turn the electric whisk to the maximum gear, and rotate it clockwise about fifty times along the side of the container at a constant speed. A fishnet-like foam appears. Pour 1/3 of the fine sugar in the first time.
12.
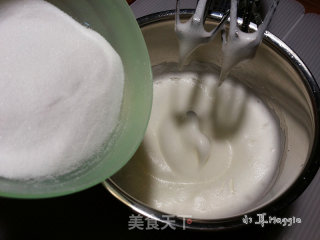
Then continue to the maximum gear, beat clockwise about a hundred times at a constant speed, lift the head of the whisk to observe, when the egg whites will not drip, pour in the second 1/3 of the fine sugar
13.
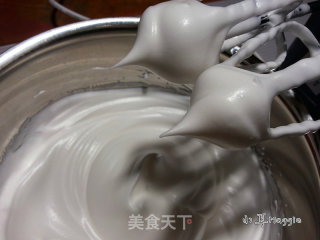
Then continue to the maximum gear and beat it clockwise for about a hundred times at a constant speed. Such a big hook will appear, when it is close to dry foaming. At this time, add the third 1/3 fine sugar
14.
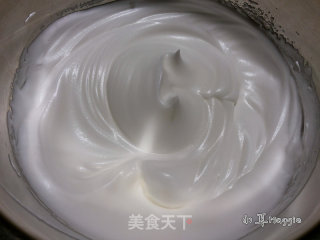
Finally, lower the egg beater to mid-range, make a circle clockwise at a constant speed, and observe once every twenty times; until the meringue appears short triangular corners, it can stop.
15.
The successful meringue has clear lines, delicate and shiny, and very firm
16.
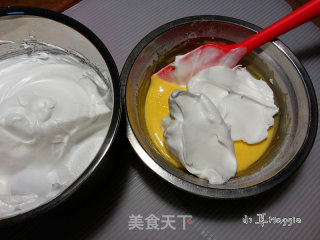
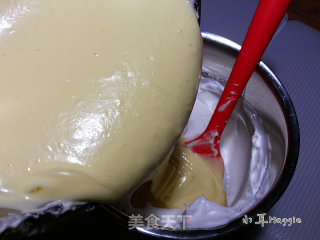
Stir one-third of the meringue into the egg yolk paste, and mix from bottom to top. You can turn the pot while mixing. The action must be light and fast.
17.
Pour the egg yolk paste back into the meringue and continue to stir. The final state is somewhat thick
18.
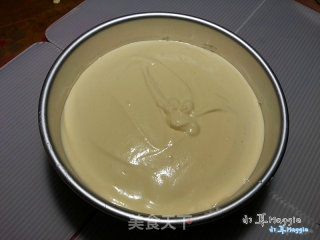
Pour into the cake mold, about eighth full, and no less than seven full, use a rubber knife to smooth the surface, shake it a few times, and shake out bubbles
19.
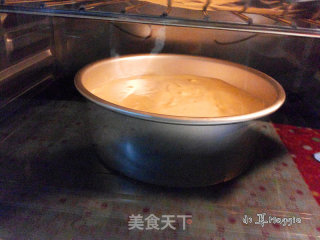
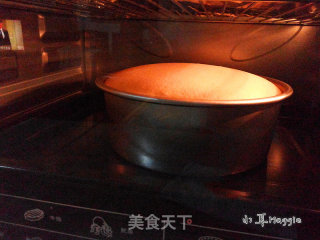
Put it in the oven and heat up to 120 degrees, lower the heat to 100 degrees, the second to last floor, 90 minutes
20.
Put it in for about 20 minutes, it will start to rise to half, and it must be relatively slow so that it will not crack
21.
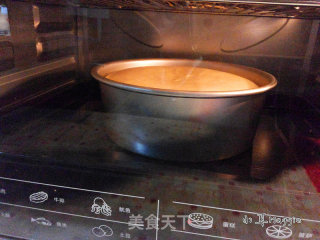
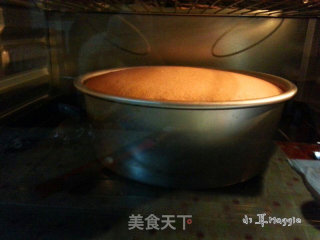
It swells to full mold in about forty minutes
22.
After seventy to eighty minutes it began to fall back, and the cake began to emit a very strong aroma
23.
It is baked in 90 minutes. When it’s baked, you can pat the cake with your hand. It will make a popping sound, and it feels hard to touch. After it’s baked, you have to beat it a few times and let it cool down immediately.
24.
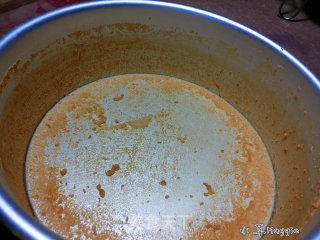
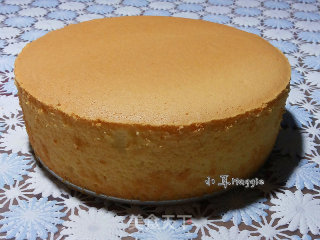
Bake at low temperature, the skin will not be thick, easy to demould
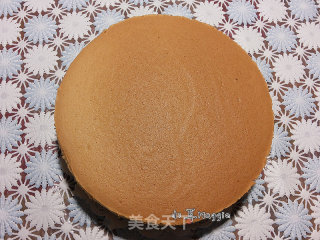
25.
Take a positive photo
26.
side
27.
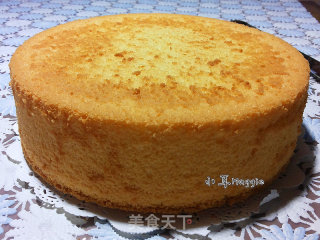
At the bottom, the color will not be dark
28.
side
29.
Finished picture
30.
Finished picture
31.
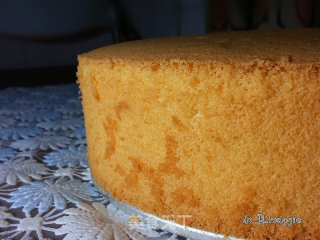
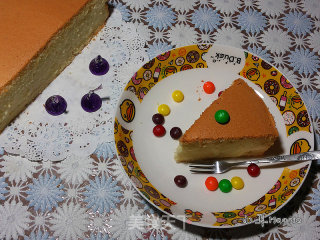
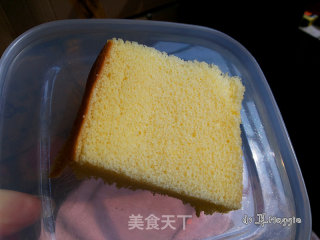
At noon the next day, when there is the sun, come to take pictures of the internal organization. This kind of low-temperature baking makes the taste more moist. This is the best chiffon I have done after trying many recipes and practicing many times.

Tips:
1. The timing of each sugar addition is very important. It is not arbitrary. Once you reach a certain state, you need to add sugar and continue to beat; if you are not very skilled, you can not beat 20 times and observe the state, otherwise it is easy to beat the head; The protein will also collapse and so on.
2. Successful meringue is not so easy to defoam
3. The mixed cake batter, the final state is somewhat thick, if it is very thin, it will fail
4. A successful cake batter cannot produce large bubbles. If the more bubbles become more shocked, it proves that the defoaming is serious.
5. The time and temperature mentioned above are for reference only. You should modify it according to your oven temperament.
6. In the end, you still need to find the right formula that suits you and the oven, and practice more to gain
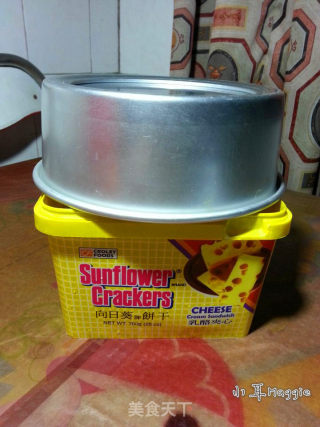
7. Inverted button to let cool, I didn’t use the shelf, I was reluctant to have imprints on the surface, so I changed it to a biscuit box. You can choose this

