Melaleuca
1.
Mince the green onion and ginger, pour into the minced pork, add cooking wine, light soy sauce, dark soy sauce, salt and sesame oil.
2.
Add a small amount of water, add in portions, and stir the meat evenly without whipping.
3.
Mix all-purpose flour and warm water and knead to form a smooth and soft dough. Add warm water twice, and the amount of water can be added or subtracted as appropriate according to the water absorption of the dough.
4.
Cover with plastic wrap and leave for 20 minutes to wake up. It's just to wake up the noodles, not to make steamed buns, and no yeast powder is added, so it can't ferment.
5.
Divide the dough into two portions after waking up.
6.
Clean the operating table, sprinkle with dry flour, take a portion of the dough and roll it into thin slices. Cut two knives on each side as shown in the figure, and try to equal the upper and lower distances, so that the cake will look good. Be careful not to cut the middle.
7.
Spread the adjusted minced meat, put on disposable gloves and rub the minced directly, evenly and quickly, haha! Note that the bottom right corner is not filled with fillings, but don’t think it’s forgotten.
8.
Come and come, pay attention, um, start to fold, as shown in the picture, fold the lower right piece to the left.
9.
As shown in the picture, fold the lower left corner to the right.
10.
Fold the lower half toward the middle as shown in the picture.
11.
As shown in the picture, the right part of the middle is folded to the left.
12.
As shown in the picture, fold the left part in the middle to the right.
13.
As shown in the picture, continue to fold the lower part upwards.
14.
Fold the right part to the left as shown in the picture.
15.
As shown in the picture, the left part is folded to the right, and the meat quilt is covered.
16.
Sprinkle with dry flour and roll it out gently. If you're afraid of the meat filling, you can press it thinly by hand. Anyway, I press it by hand. Haha, just press it evenly.
17.
Put cold oil into the pot, turn on the lowest heat, cover the pot and cook for seven or eight minutes.
18.
After a little coloring, turn it over and continue to cover and cook for seven or eight minutes.
19.
This side is also slightly colored. I like to bake it on both sides a little bit to prevent the filling from being unripe. In addition, the skin will be super crispy and more delicious.
20.
Bake it again, the color of the crust is more attractive!
21.
The color of the front crust after baking it again.
22.
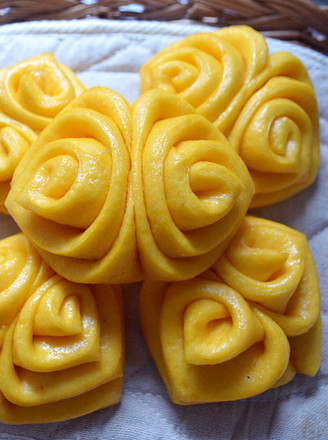
Out of the pot! ! ! The scent permeates the kitchen...
Tips:
The pancake must have the lowest heat, otherwise the crust will be too dark and the filling will not be cooked. It will be more crispy if you bake it several times. Put it in the refrigerator if you can't finish it, just put it in the pot and re-brand it before eating.