Milk Mochi
by Eyebrow
Favorite
Difficulty
Easy
Time
30m
Serving
2
My daughter wants to eat mochi bread, and I promised to make it for her. I am finally free today, so let’s go.
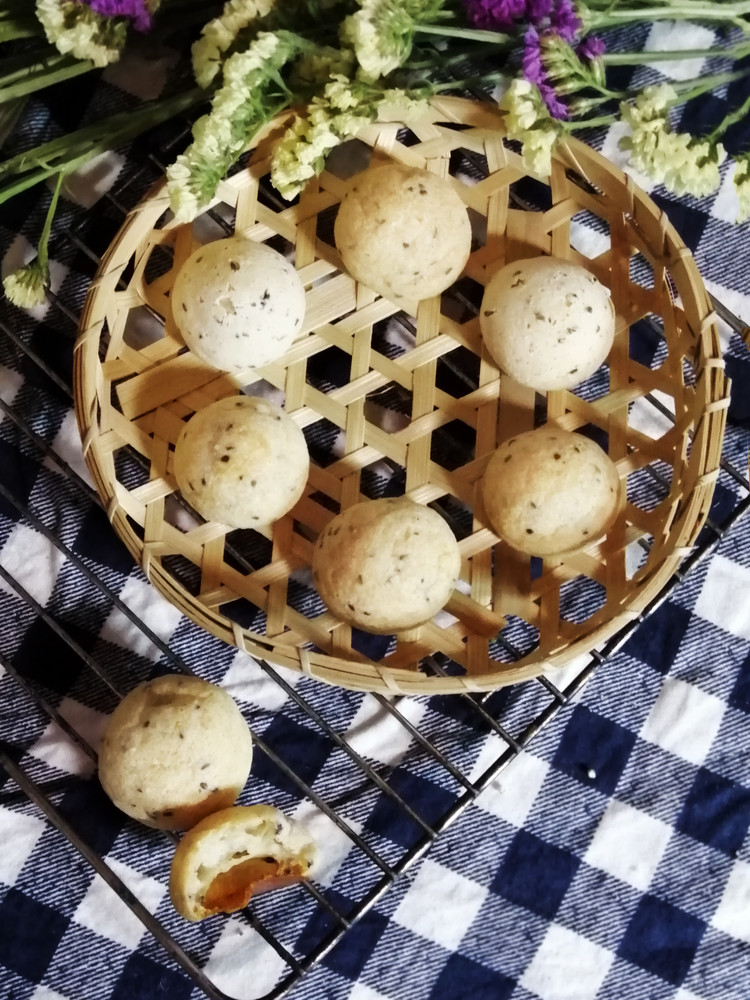
I found a cookbook from a kitchen mate, and made it according to the square. The finished product is very beautiful, the round one is not collapsed, the outer shell is hard and brittle, and the inside is big hollow. It stands to reason that I should be happy for a successful one, but I don't like the taste very much. I wanted something crispy on the outside and sticky on the inside, so I decided to make it again.
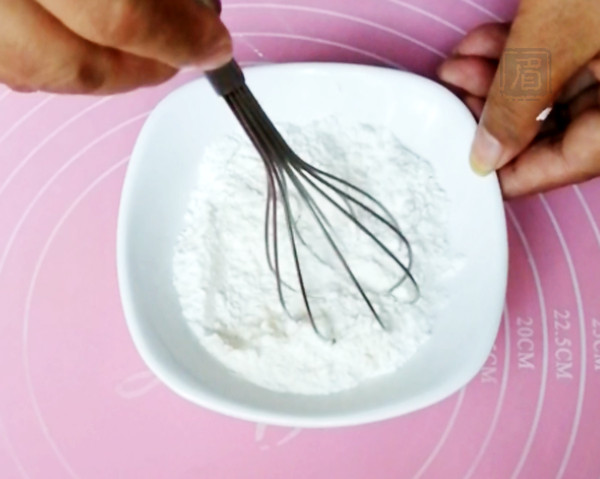
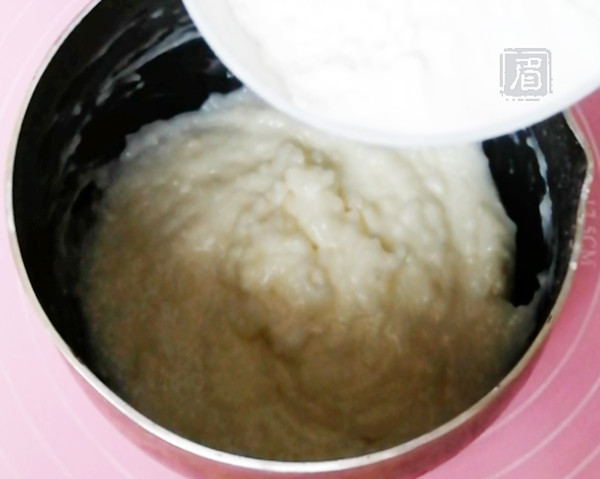
However, the ingredients are not enough. All-purpose flour is only 22 grams, tapioca starch is also only 75 grams, and half of the egg is there, which is about 25 grams visually. It is the experiment anyway, no matter what! The medium powder is not enough to make up with glutinous rice flour, the egg liquid is not enough to add a drop of water, the cassava flour is not enough, I wanted to use potato flour, but later I found that 75 grams of cassava flour mixed into the batter is already not sticky, so I didn’t mess around...
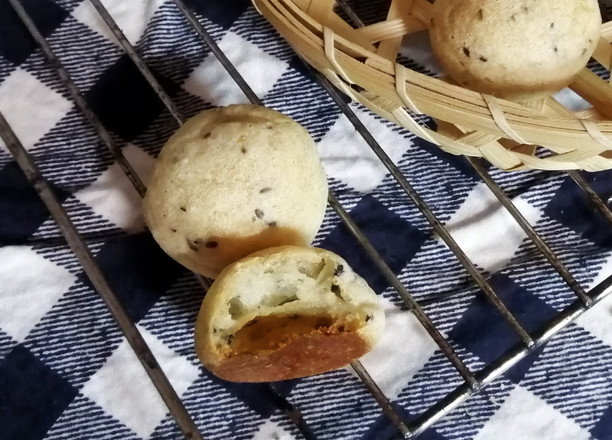
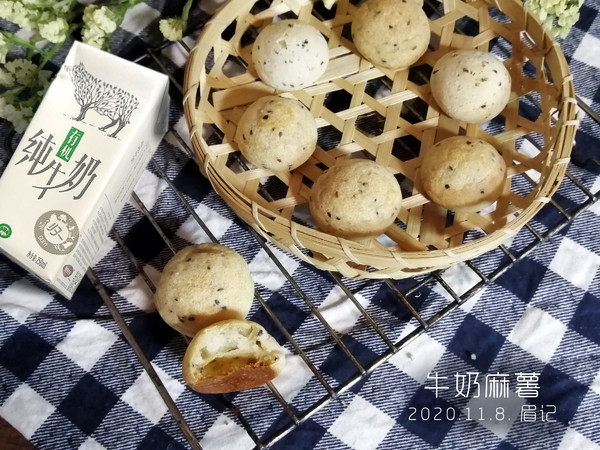
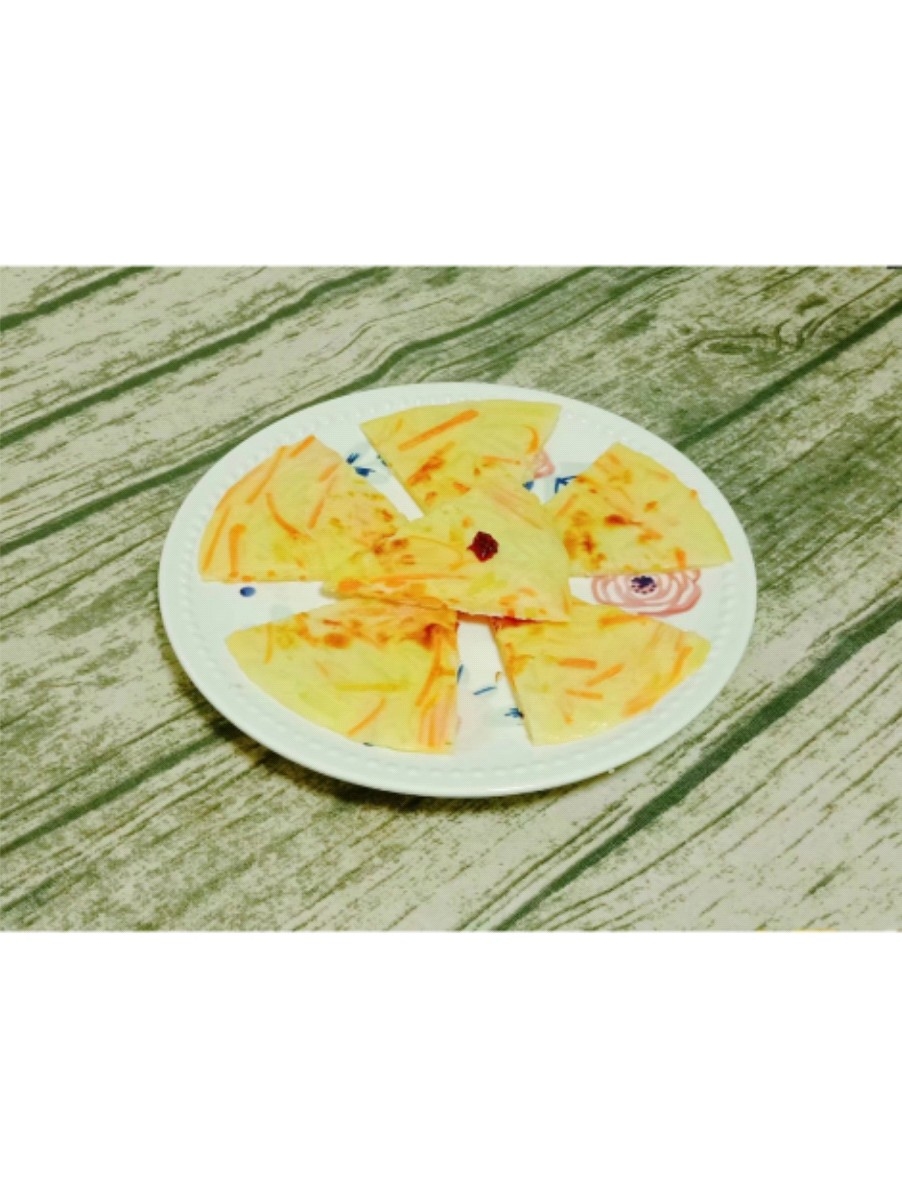
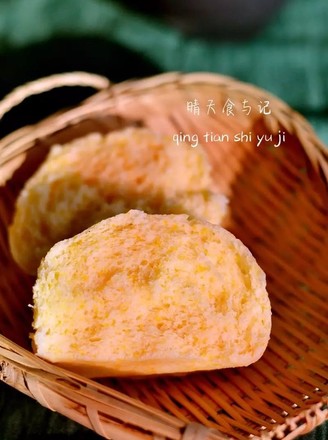
In the end, it was baked out of my surprise. It was crispy on the outside and waxy on the inside. QQ was soft and soft. Although it was not hollow, I liked it and my daughter liked it. Just record this, in case you want to do it next time.

