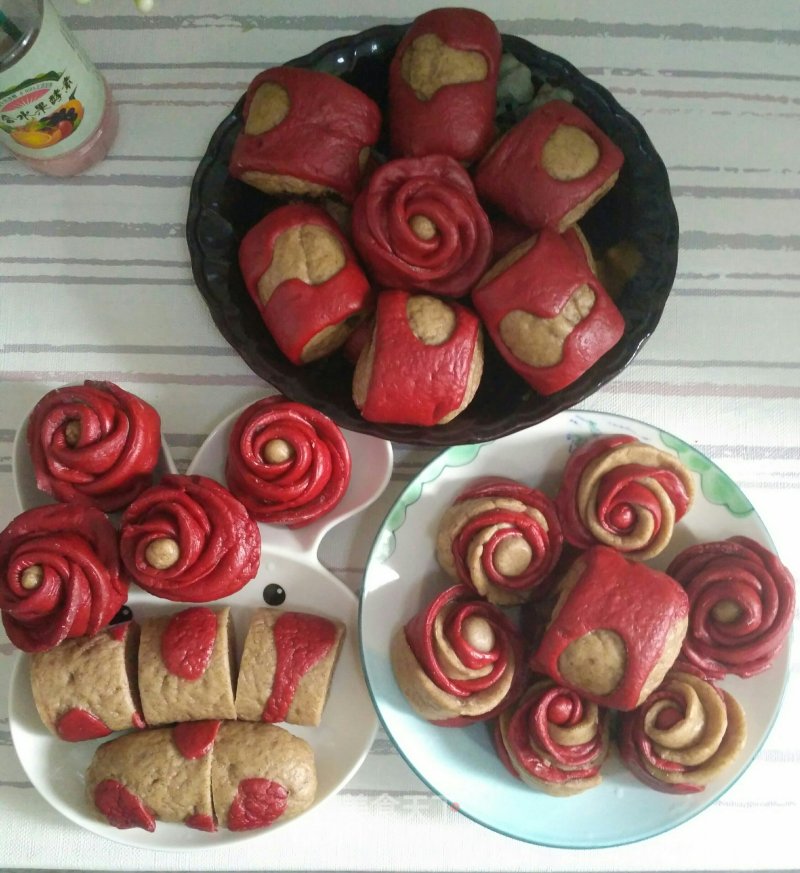
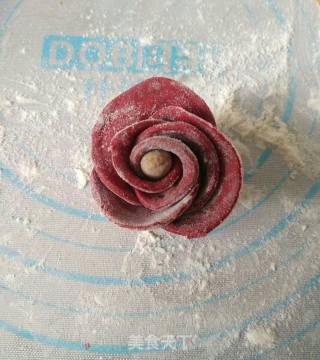
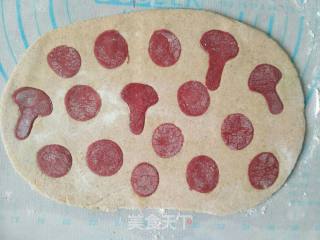
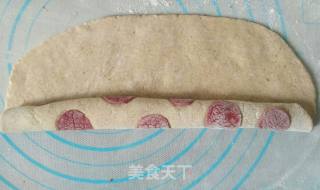
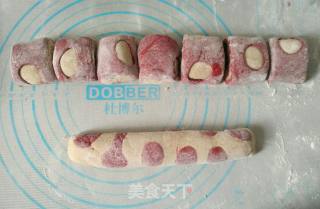
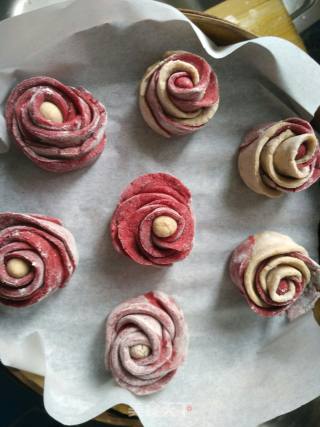
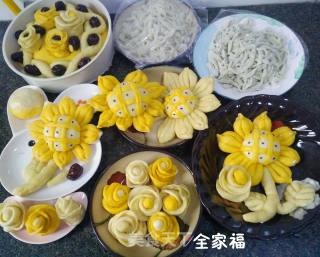
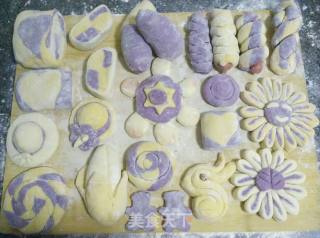
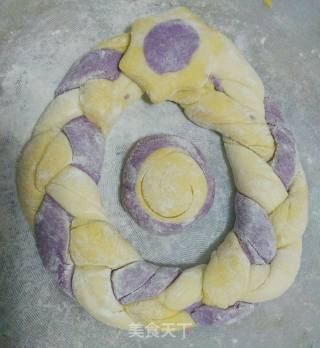
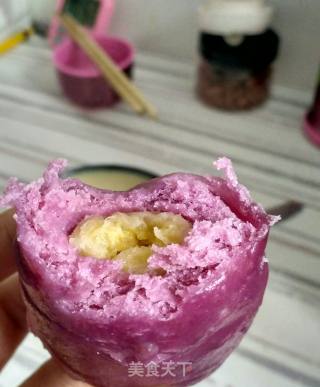
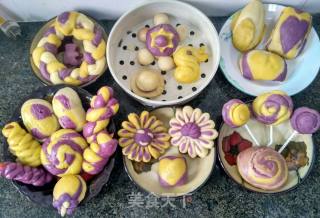
Mother's Day Rose Roll
by Late night mother
Favorite
Difficulty
Normal
Time
2h
Serving
2
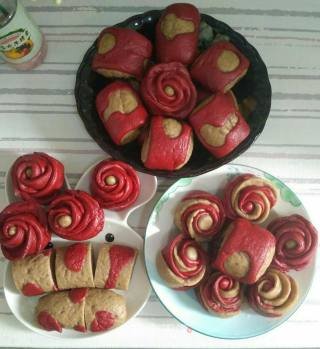
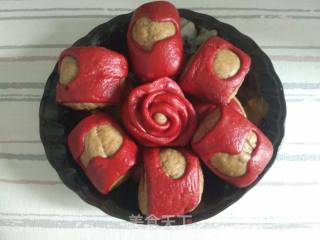
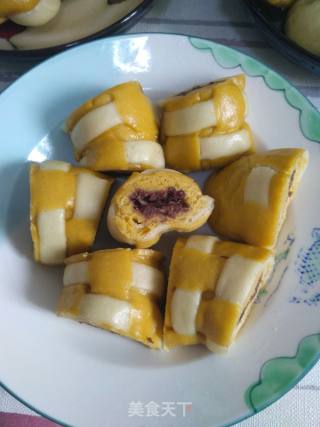
Today is Mother's Day. When these roses are given to mother-in-law, they are also given to myself. Hope to meet the best self✊
Please forgive me, this menu does not post the specific formula quantity.
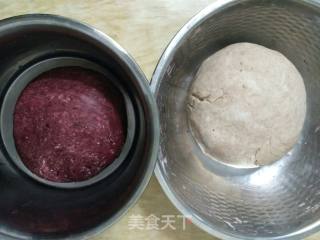
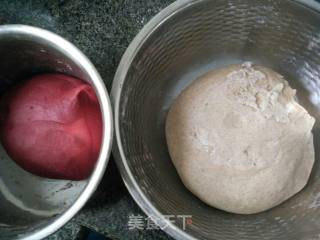
For one thing, it was too troublesome, and it was said and done. Finally, the dough is ready. If it is too soft, add hand flour (to prevent stickiness when kneading, add flour), and weigh it again.
Secondly, now I use a bread machine for kneading, which is too much trouble, not a good thing. It can be said: Without high technology, we still know nothing. So I hope that everyone can experience how much water is added through manual mixing. This process is about 3-5 times, and the dryness and humidity of the dough can basically be mastered.
The following is a little experience I summarized for novices to learn from:
1. Flour, divided:
💁High flour (to make bread, you need to add butter and knead the dough until it becomes expanded. It is more labor-saving with a bread machine. However, I tried to knead the dough by hand for half an hour, but it still doesn't expand, but the bread tastes very good. Good. It is better to use high-sugar yeast to make the dough, and the amount of yeast is slightly larger than that of ordinary yeast);
💁Flour (for steamed buns, pancakes, etc., use ordinary yeast such as Angel yeast to make the noodles. The amount is relatively small. See the instructions on the back. A bag of yeast can make 10 catties of noodles. Knead the noodles to a smooth state, usually 10 Just come in a minute. 500 grams is a pound of flour, the size of the dough is more suitable for the size of girls' hands, and it is not difficult to knead);
💁 Low powder (for cakes, it’s more troublesome to separate the egg whites)
If you don't have ordinary flour, you can mix the same weight of high flour and low flour, which is basically the same as flour. "

