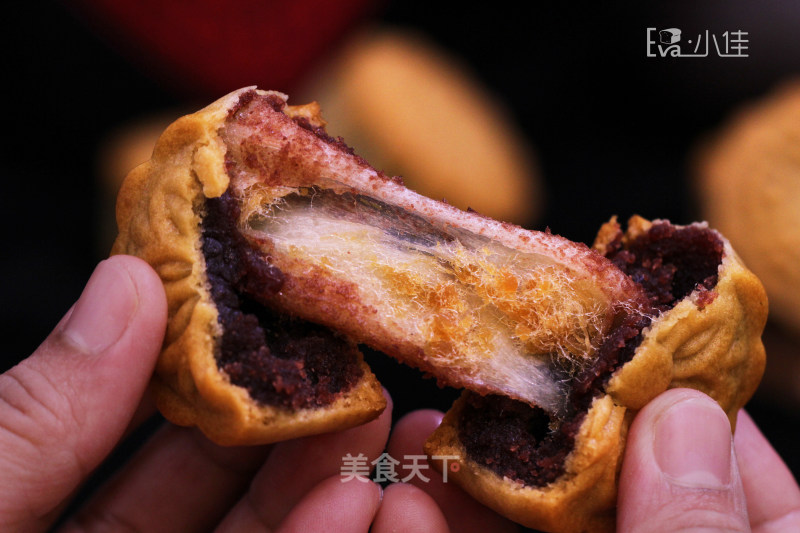
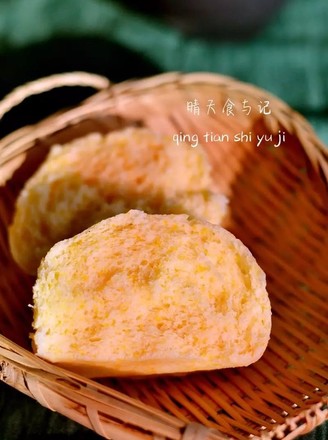
Net Celebrity Drawing Moon Cakes
1.
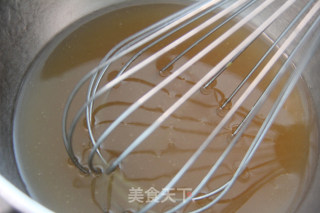
First make the pie crust: Pour the inverted syrup and liquid soap into a bowl, stir well, add peanut oil, and continue stirring to form an emulsified state.
2.
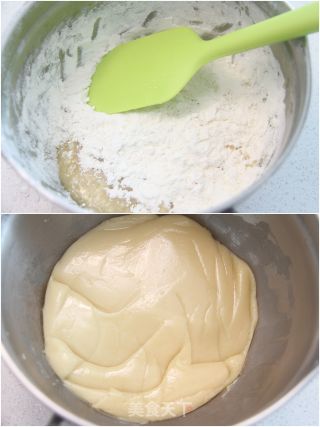
Add the mixed and sieved flours, mix until there is no dry powder, then arrange the crust dough into a shiny and smooth state, cover it with plastic wrap, and let it rest at room temperature for at least 2 hours.
3.
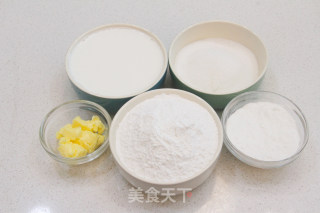
Prepare the mochi ingredients.
4.
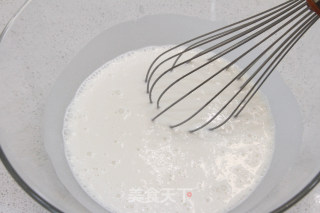
Stir and mix the mochi materials except the butter evenly, filter the mochi paste and put it into the baking tray, and cover with plastic wrap.
5.
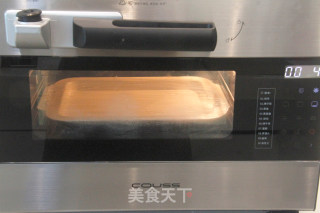
CO-726A pressure electric oven, put boiling water in the baking tray on the bottom layer, and then put the baking tray with mochi paste on the grid rack of the upper layer, set the lower fire mode, 150 degrees, and steam for 15 minutes.
6.
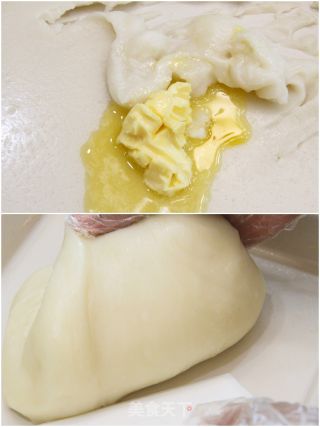
After the mochi is steamed, take it out while it is hot, add butter and knead it evenly with tools or gloves while it is still hot until the butter is absorbed.
7.
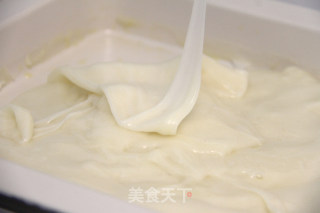
You can use the kneading hook of an electric whisk until the mochi is in a very fine drawing state. Put it in a piping bag for later use.
8.
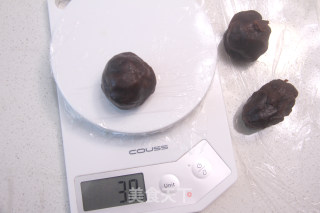
Weigh about 30g of red bean paste per serving.
9.
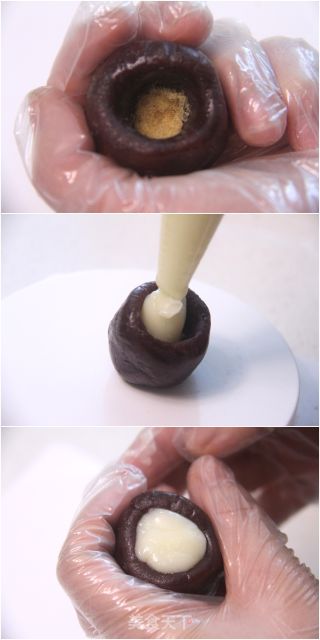
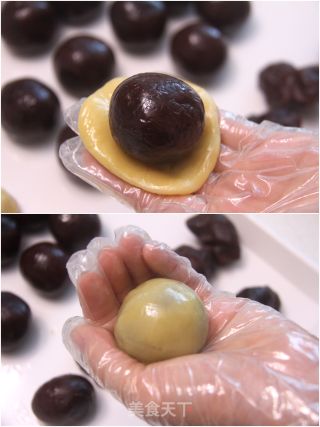
Take a portion of red bean paste and knead it round and poke a hole in the middle. First press 3g pork floss at the bottom, and then squeeze about 5g mochi in the middle. Use a tiger’s mouth to slowly close the mouth and round the surface.
10.
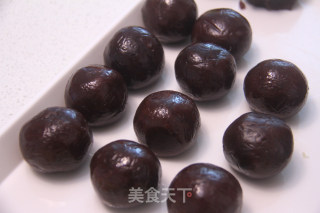
All fillings are wrapped and covered to prevent drying.
11.
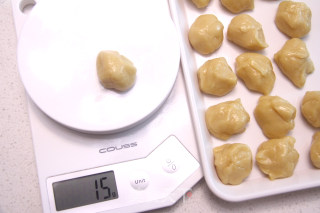
Weigh 15g each of the loosened crust.
12.
Take a portion of the pie crust and squash it, put it in the red bean paste, pork floss, mochi filling, slowly push the pie crust upward with a tiger's mouth, and finally knead until the crust completely covers the filling.
13.
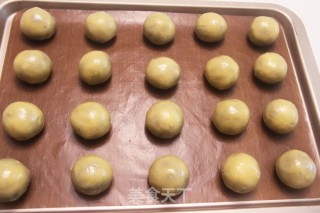
All the materials are wrapped and rounded, and arranged into the baking tray lined with linoleum at intervals.
14.
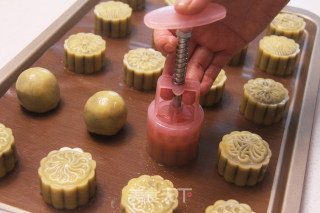
Using a 50g moon cake mold, after installing the pattern, sprinkle a little dry powder or sweep a thin layer of peanut oil on the moon cake embryo to print the pattern.
15.
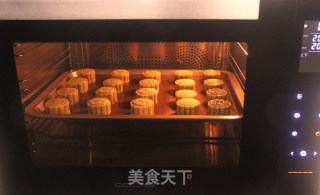
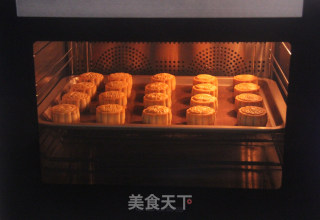
CO-960M smart oven, select the upper and lower fire mode, and preheat at 200 degrees in advance for more than 10 minutes. After the preheating is completed, put the moon cake in and bake for about 5 minutes to finalize the shape.
16.
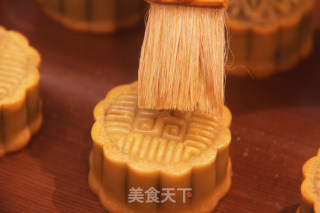
After 5 minutes, take out the mooncakes, put the baking tray on the wire rack to dry for a few minutes, and then gently sweep a thin layer of egg yolk liquid on the surface of the mooncakes after cooling slightly.
17.
Put the mooncakes in the oven again, turn the temperature to 180 degrees for upper heat and 160 degrees for lower heat, and continue to bake for about 20 minutes.
18.
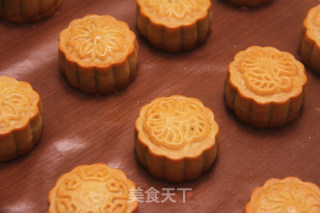
The mooncakes can be baked until the surface is golden yellow around a little bulging. The mooncakes can be eaten while they are hot, and they can be sealed and preserved after they are allowed to cool.
19.
The drawing effect is superb~

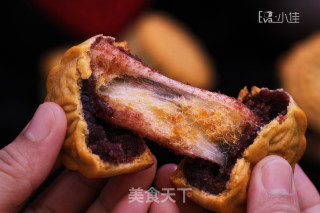
Tips:
1. There is no or no custard powder in the ingredients, but the color of the crust will not be so bright.
2. The soap in the material is used to neutralize the pH in the crust. It is indispensable. Generally, it is not recommended to prepare it by yourself, because the PH value cannot be adjusted.
3. After the mochi is steamed, add the butter while it is hot and knead it well. Use the kneading hook of the whisk to beat the mochi. The stretchability of the mochi will be better, and the taste will be more elastic and delicate.
4. The meat floss is added, with a hint of saltiness in the sweetness, which makes the mooncake taste richer. You don't need to weigh it, just add 3-5g at will.
5. The finished moon cakes can be eaten immediately, and the mochi drawing effect is very good, and can be stored at room temperature. It is recommended to eat mochi mooncakes as soon as possible to avoid affecting the taste. If eaten the next day, you can re-enter the oven to warm up, and the mochi will become soft again.
6. The baking temperature and time are for reference only, please adjust appropriately according to the actual situation.
If you have any questions, please add WeChat to the fan group to communicate~
WeChat ID: diandian025824
WeChat public account: Eva Xiaojia Baking Food Sina Weibo: Eva Xiaojia Kitchen

