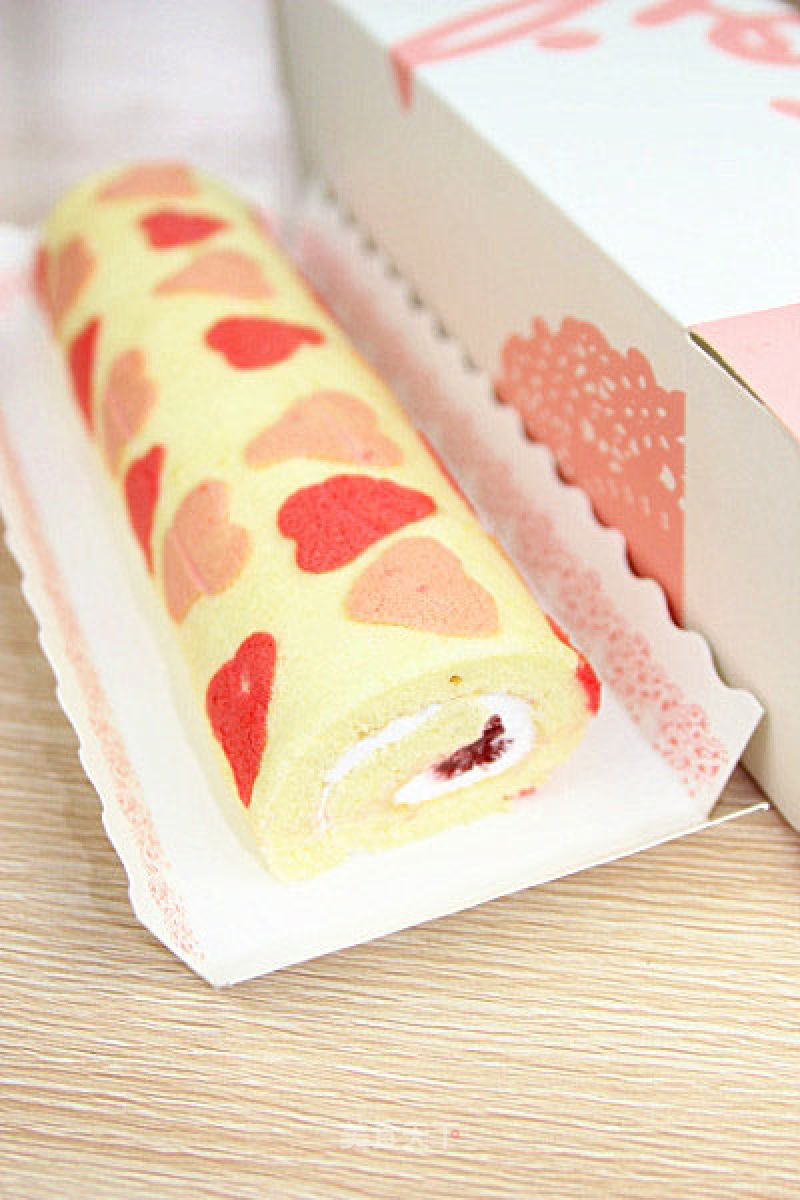
Painted Love Cake Roll-tanabata, A Gift for Lovers and Children!
1.
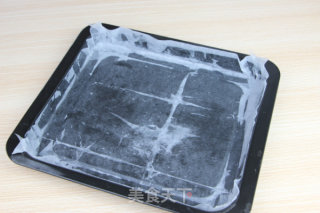
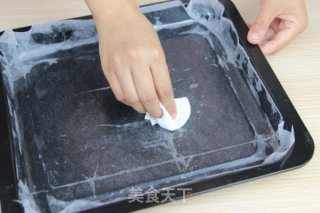
Pre-preparation: First, brush a layer of oil on the baking pan and spread a piece of greased paper.
2.
, Apply another layer on the greased paper with napkin oil, and put it aside for later use, as shown in the picture:
3.
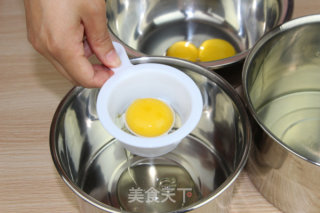
Make egg yolk paste: Separate the egg yolk from the egg white for later use, divide into one egg white, three egg whites, and 3 egg yolks (one of them is not used as the yolk)
4.
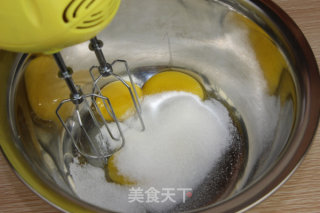
Beat 3 egg yolks in a cooking bowl
5.
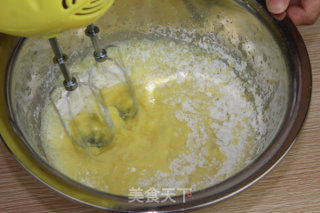
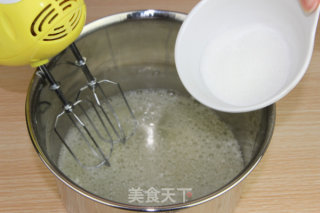
Add about 1/2 amount of caster sugar (35g) and beat with an electric whisk until white and bubbling.
6.
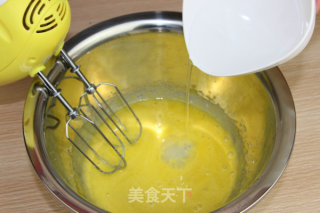
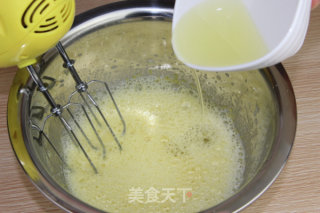
Add water and salad oil in order and mix well.
7.
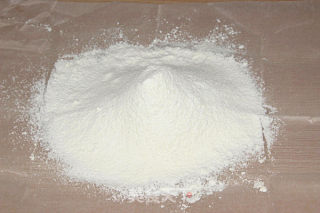
Sift in the low-gluten flour.
8.
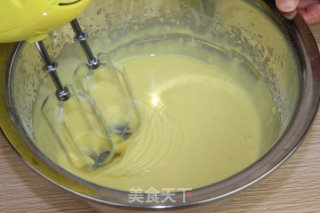
Stir thoroughly with an electric whisk.
9.
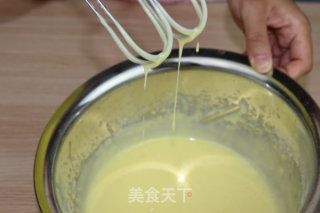
Stir until the batter appears sticky.
10.
It looks like it's already mixed!
11.
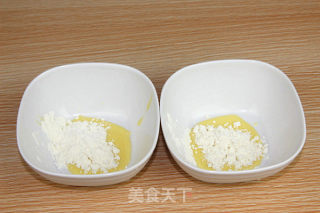
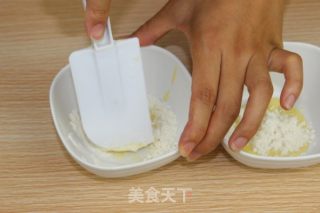
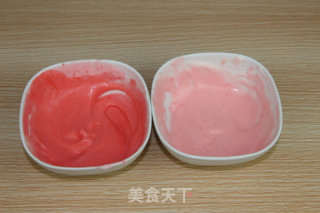
Make patterned pink batter: prepare 2 small bowls, put 2 teaspoons of egg yolk batter, and then add 1/2 teaspoon of low-gluten flour.
12.
Stir well.
13.
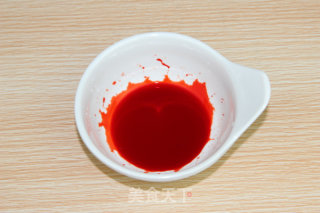
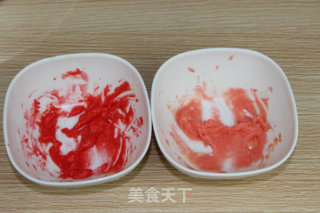
Dissolve the red food coloring with water, add little by little to one of the small bowls of Method 3 to make a light pink batter.
14.
In the other small bowl, add a little more food coloring to make a dark pink batter.
15.
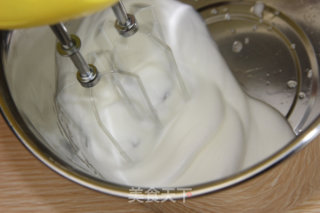
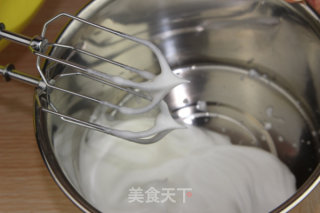
Break up 1 egg white in another cooking bowl, and use an electric whisk to blow bubbles until it appears shiny
16.
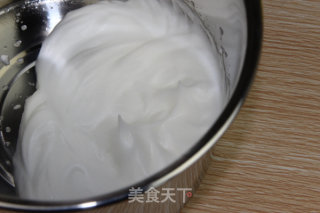
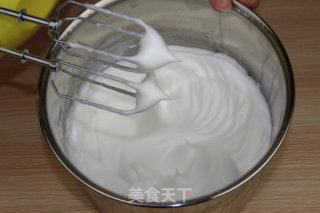
Continue to stir until the whisk is raised.
17.
Presents a sharp corner state.
18.
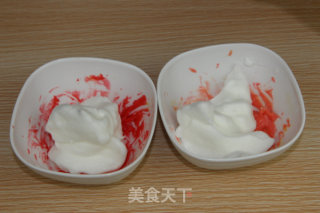
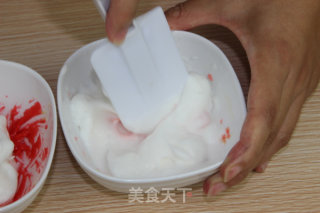
Divide the meringue into 3 portions, add 2 of them to the 2 small bowls of Method 4, and stir evenly from bottom to top with a spatula to prevent the protein from defoaming.
19.
Use a spatula to stir evenly from bottom to top.
20.
In order to avoid protein defoaming.
21.
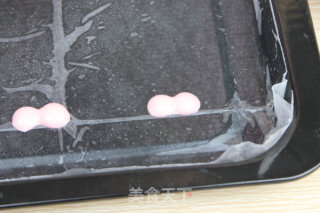
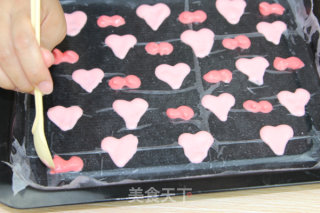
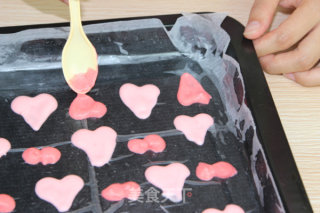
Draw the pattern on the baking pan: Use a spoon to drip the dark pink batter onto the baking pan, making it a circle with a diameter of about 1 cm.
22.
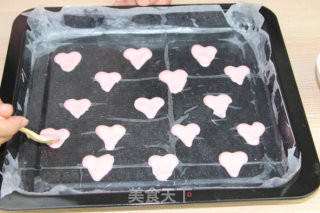
After dropping 2 drops side by side, use the tip of a spoon to spread the circle downward to make a heart-shaped pattern.
23.
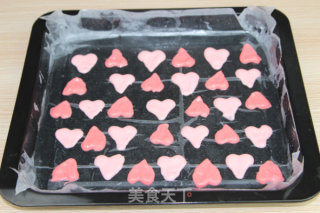
Draw a heart-shaped pattern on the light pink batter in the same way.
24.
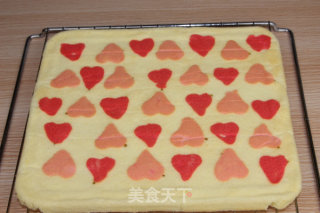
Put it in the oven and bake at 170°C for 1 minute.
25.
To avoid blisters, bake them immediately after painting.
26.
Blister the egg whites of the cake body (merringue): 9. In the cooking bowl, break up 3 egg whites and blow bubbles. After beating until stiff foaming, add the remaining fine sugar (about 30g) from Method 1.
27.
After stirring until it appears shiny, add the remaining corn flour and beat until the whisk is lifted, showing a sharp corner.
28.
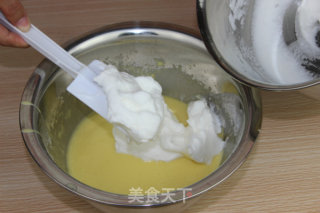
Mix the egg yolk batter and egg whites (merringue) and pour them into the baking pan
29.
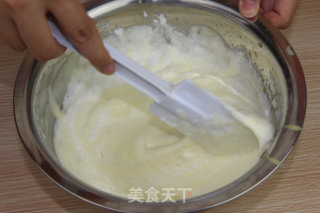
Add the prepared meringue to Method 9, and then add all the meringues to the egg yolk batter of Method 10 in 3 times
30.
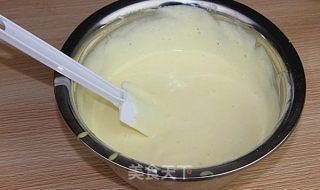
Stir well until there are no meringue lumps and a smooth batter.
31.
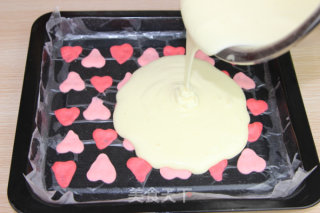
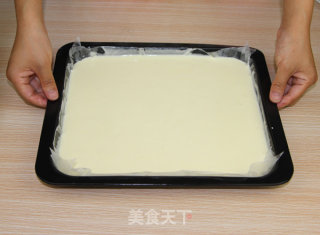
Pour the batter onto the baking pan with the baked pattern.
32.
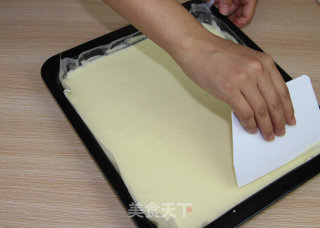
Smooth the surface with a scraper.
33.
Tap the bakeware 2-3 times to let out the air.
34.
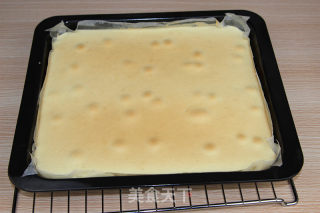
Bake in the oven at 170°C for 14 minutes, insert a toothpick into the cake body.
35.
If there is no sticky batter, the baking is complete.
36.
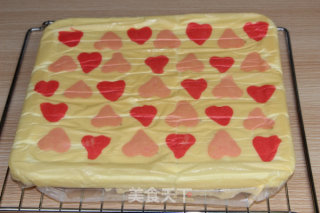
Tear off the baking paper on the surface!
37.
Tear off the baking paper on the surface, and then immediately put it back on the cake body, and let it cool down.
38.
Fresh cream frosting for making fillings: Put fresh cream and caster sugar in a cooking bowl with ice water.
39.
Beat together until hard foaming.
40.
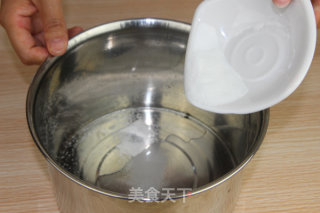
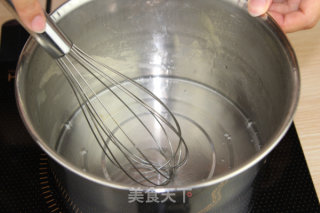
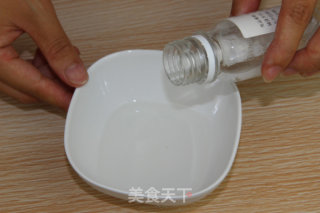
Making syrup: Ingredients: white rum, water, sugar
41.
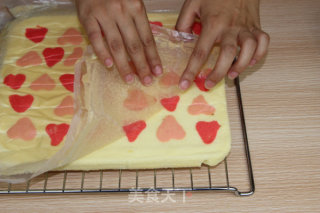
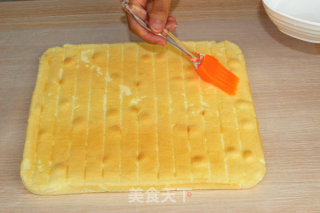
Make a shallow knife mark on the cake body and smear the syrup: Replace the originally covered baking paper with a new one, turn the cake body pattern upside down, and tear off the baking paper on the back. Then cut the front end of the cake body and the near side bevel. Use a knife to make shallow knife marks on the surface of the cake body at intervals of about 2 cm, and then use a brush to spread the finished syrup on the entire surface of the cake body.
42.
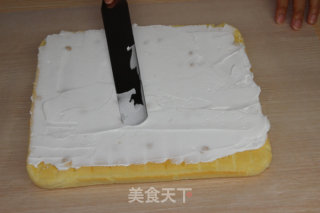
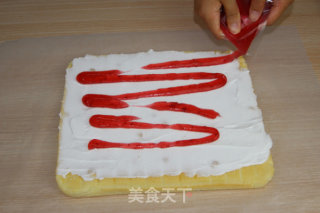
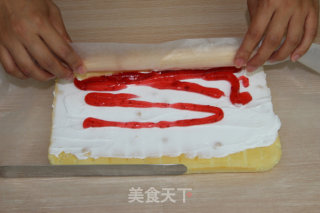
To smear the filling: smear fresh cream frosting on the cake body, smear a layer of jam on the cream (or put fruit on the front end about 3cm.)
43.
To smear the filling: smear fresh cream frosting on the cake body, smear a layer of jam on the cream (or put fruit on the front end about 3cm.)
44.
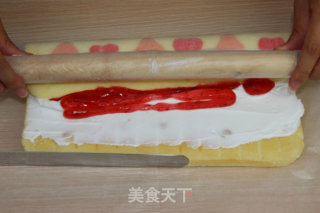
Roll up the cake body: Pick up the cake body on the near side together with the baking paper.
45.
Pull the cake body forward, wrap the fruit, and press firmly.
46.
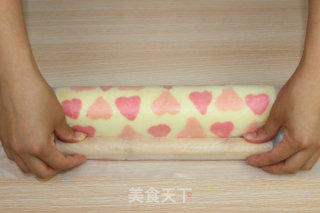
After pressing tightly, continue to roll the remaining part forward.
47.
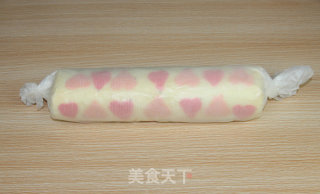
Tighten both sides of the parchment paper and put it in the refrigerator for more than 1 hour to complete. This allows the cake body and the cream to be combined into one, making the cake roll more delicious.
Tips:
1) The painted part can be made into your favorite patterns or colors according to your own preferences!
2) Don't spread the cream too thick, otherwise it won't roll.
3) When rolling the cake, use a rolling pin to make the cake roll tighter.
4) The unpainted part is just an ordinary cake roll, and the filling part can also be replaced with meat.

