Sesame Sesame Biscuits Comprehensive Detailed Version
1.
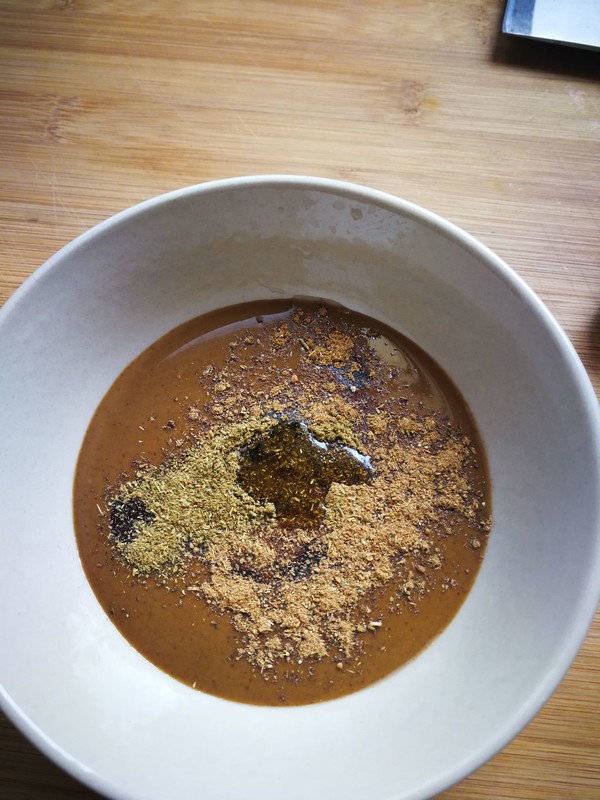
Add light soy sauce, cumin powder, pepper powder and edible oil to the sesame sauce and mix thoroughly. Remember not to add water. Use oil to make sesame sauce. Water will affect the layering of the sesame cake.
2.
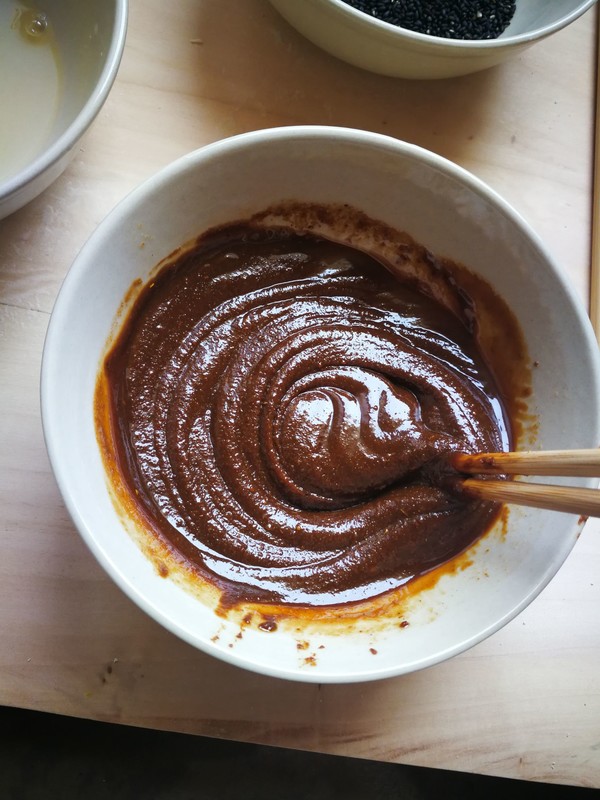
The consistency of the tahini sauce is shown in the figure, and the texture remains slightly after stirring.
3.
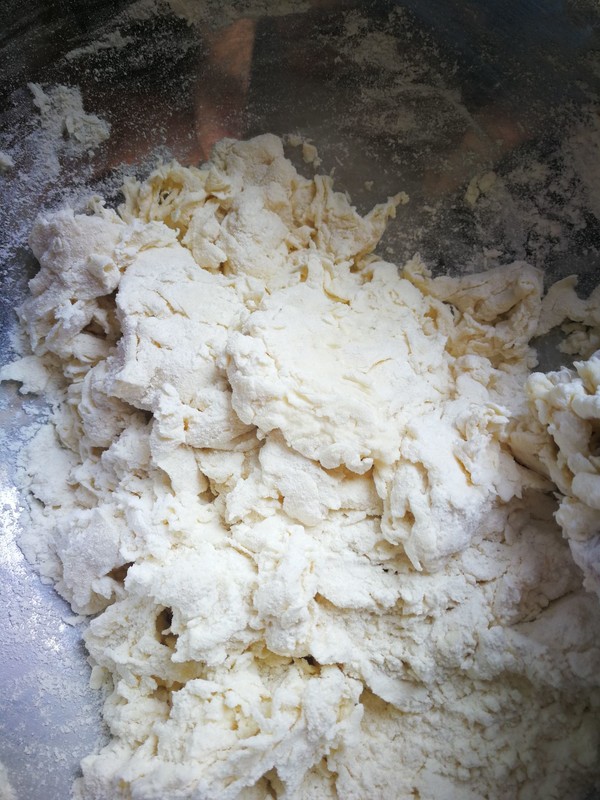
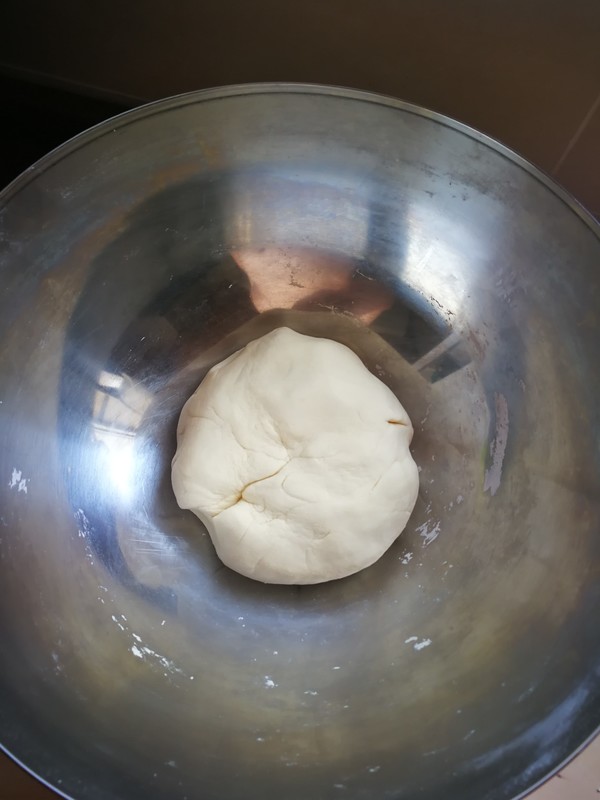
Half the low-gluten flour and half the medium-gluten flour are mixed with yeast and warm water to form a smooth dough.
4.
According to the room temperature waking for 15 minutes to half an hour, the dough does not need to be fully fermented, and the semi-fermented dough tastes better and is not easy to tear.
5.
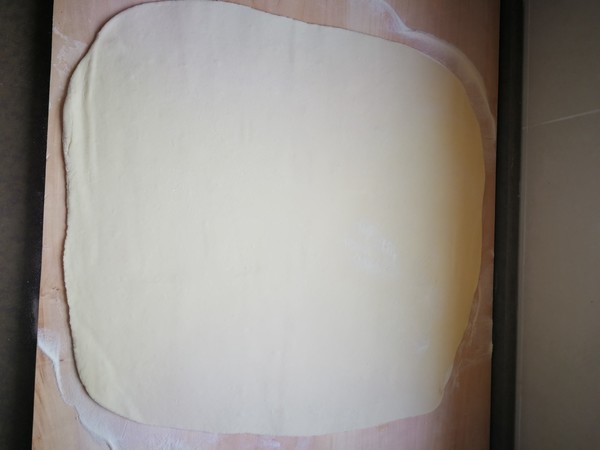
Roll the dough into a rectangle.
6.
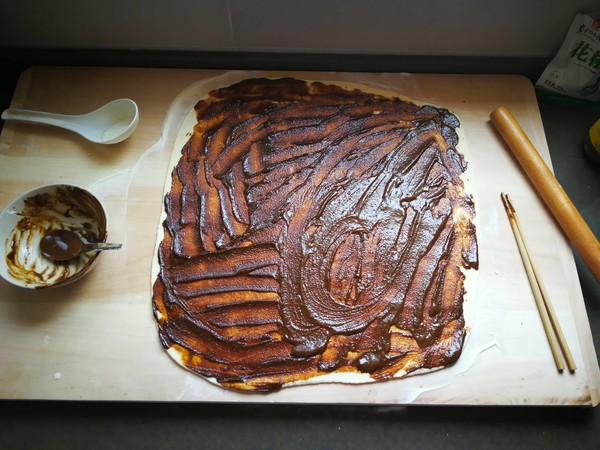
Spread the seasoning sesame sauce evenly on the dough. It can be a little less than in the picture, but it must be applied evenly. It is recommended to apply it by hand. I use a spoon, so it is thin in the middle and thick on both sides. The taste of the final product is affected (thin) The taste of the place is just right, and the thick part of the sesame sauce is still slightly stained, not loose).
7.
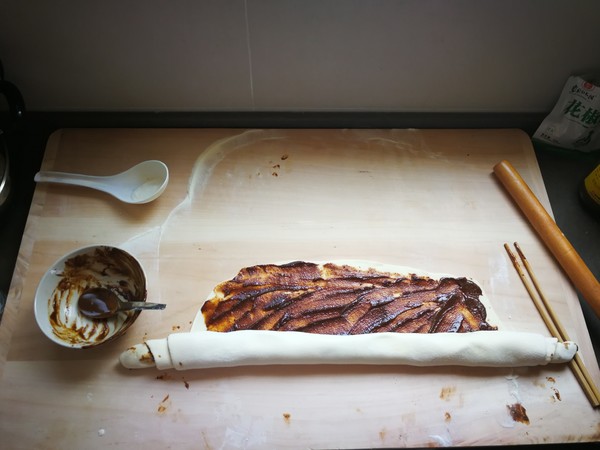
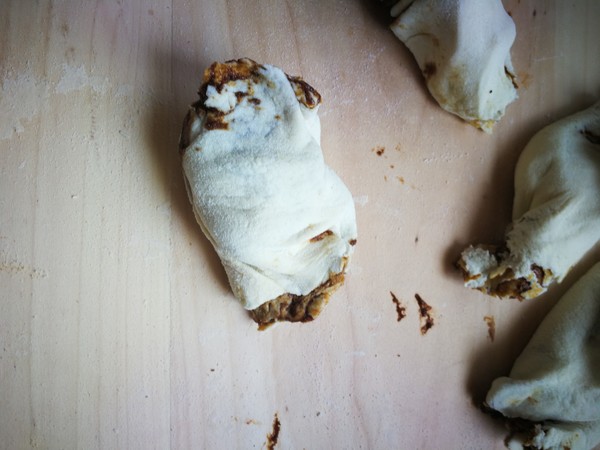
Roll up the dough, in order to achieve an excellent layering effect, pull the dough at each point, and stretch the thin dough twice (the fully proofed dough is easy to stretch during the stretching process). ****Very important experience, it is recommended to roll the dough to about half of the width in the picture, so that the stretching effect is more obvious and the two sides are aligned and will not come out as shown in the picture.
8.
The rolled noodles are pulled into the right-sized noodles.
9.
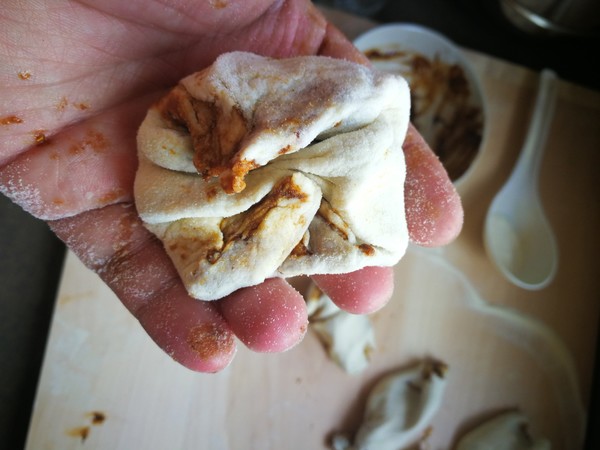
The openings on both sides are squeezed and folded to one side for fixing.
10.
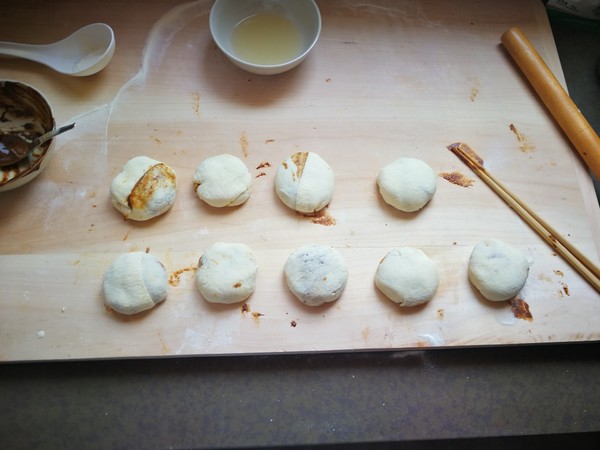
Close the mouth downwards and trim the dough into a round shape.
11.
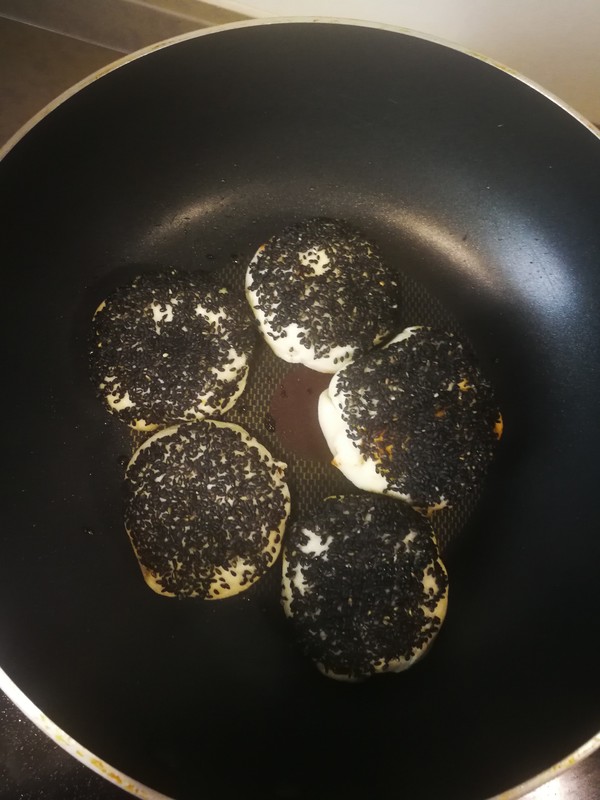
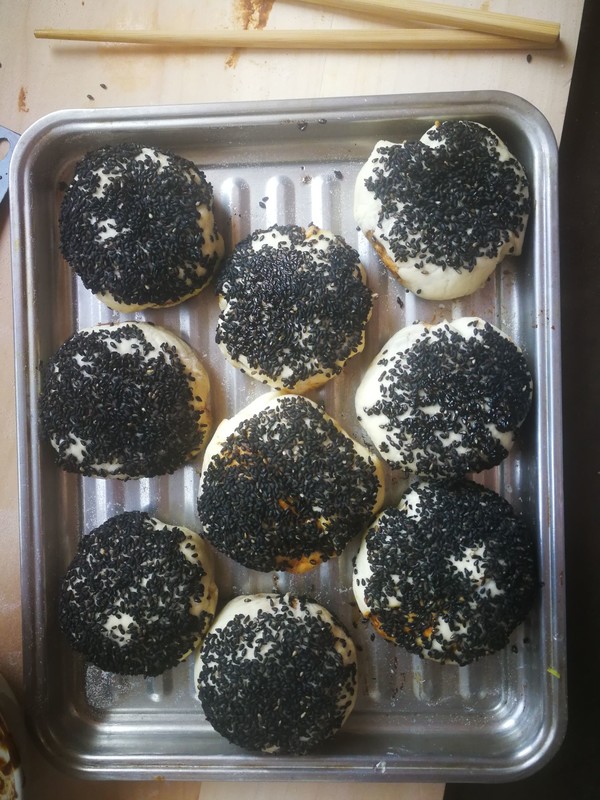
Dip honey water on the front of the dough and pat sesame seeds. (It feels like it can be dipped in soy sauce, the color may be better, the honey water should not be too thick, otherwise it will be sweet, don’t ask me how to know)\nHeat the pan, low fire, and fry the cake base for a few minutes to set the shape. (I only fry the bottom side. It feels that the pie is flatter than the one shown in the picture. If you also fry the front side, the color and shape will be much better.)
12.
Finally, put it into the oven at 180℃ and bake for 15-20 minutes. Each oven has a different temper, so grasp it yourself, for reference only.
Tips:
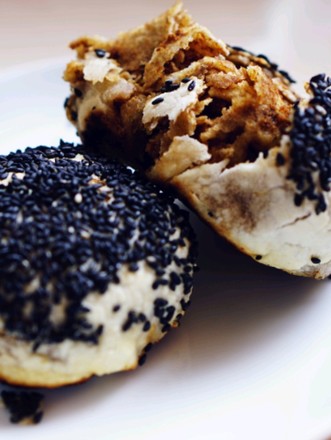
I also synthesized several recipes or videos on the Internet and made a choice based on my personal experience. It was basically successful. At least the outer skin is crispy, the inner layer is soft and there is no problem, and the layering effect is excellent. There are a few personal feelings that need to be adjusted and paid attention to. I've also mentioned all the above, so pay attention to it and it should be okay.

