Swan Puff
1.
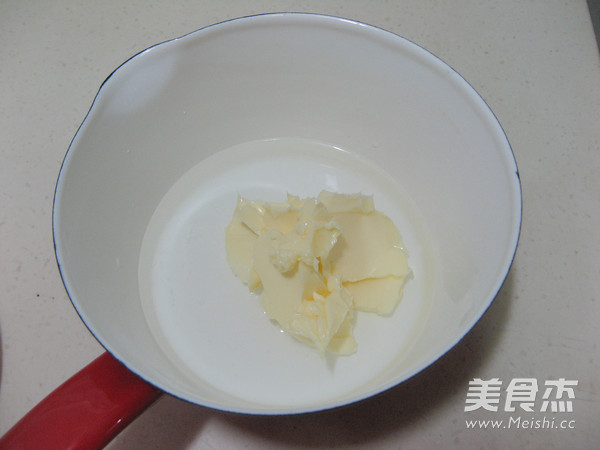
Put the butter, water, and salt into a small saucepan and heat it up on a low heat
2.
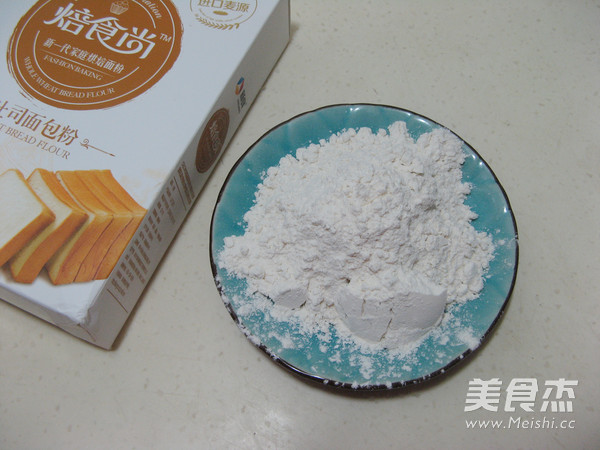
Toast bread flour ready
3.
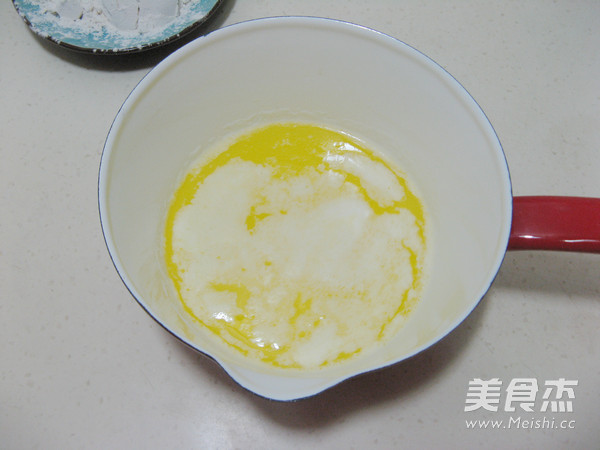
After the butter solution boils, remove from the fire
4.
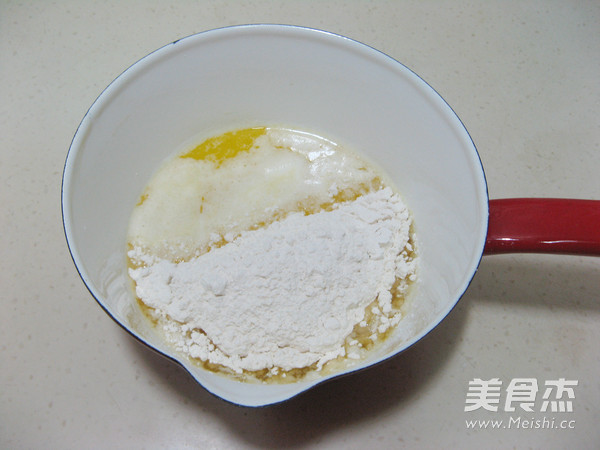
Pour flour into the solution
5.
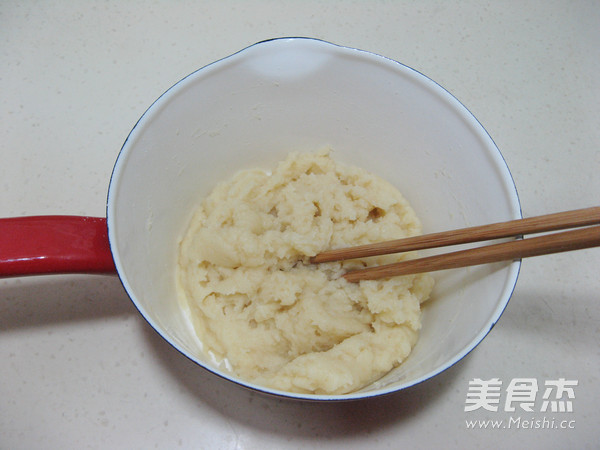
Use chopsticks to quickly stir evenly, no dry powder particles, can be cooled at room temperature before use, can also be placed in a basin of cold water to quickly cool down
6.
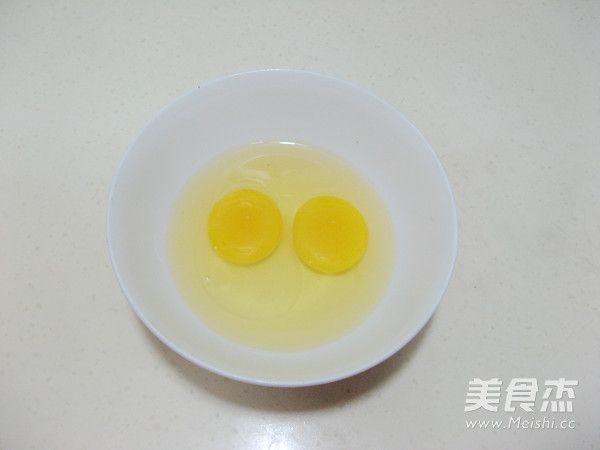
Two eggs in a bowl
7.
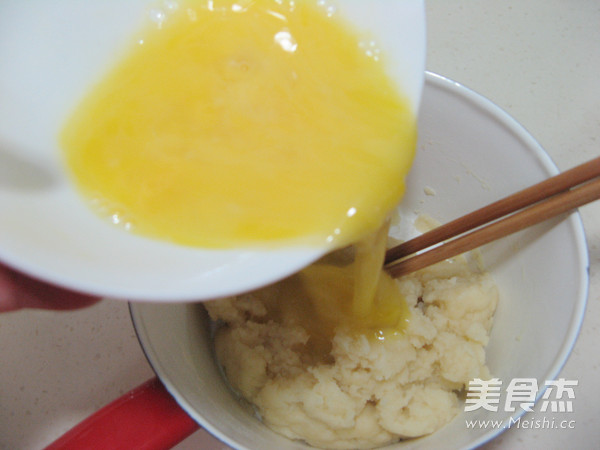
After the batter is cool, pour the egg liquid into it in batches, mix thoroughly, and then pour in the egg liquid, be sure to mix the egg liquid and the batter completely
8.
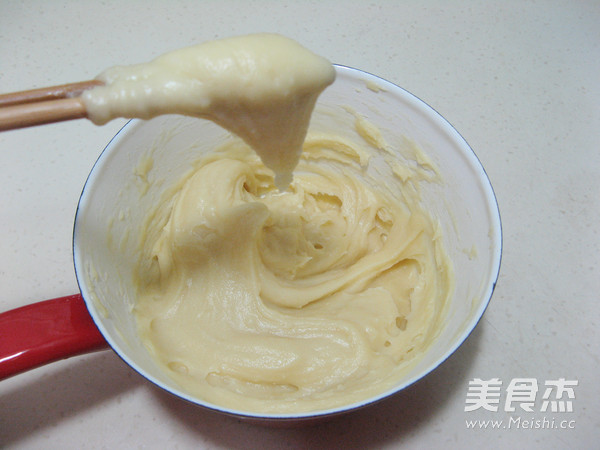
Stir up the egg batter, in an inverted triangle shape, and the puff batter is complete
9.
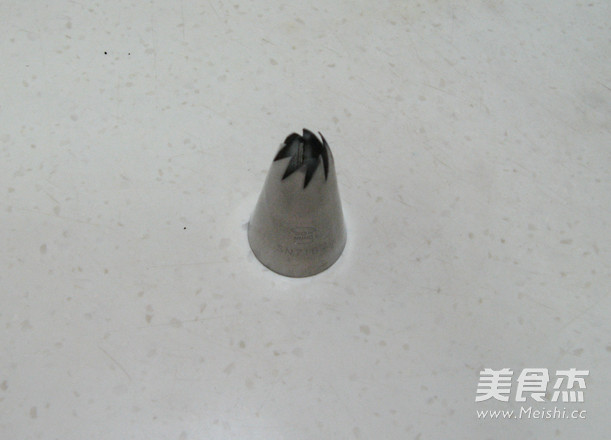
Prepare a large 8-petal flower mouth, or other petal flower mouth
10.
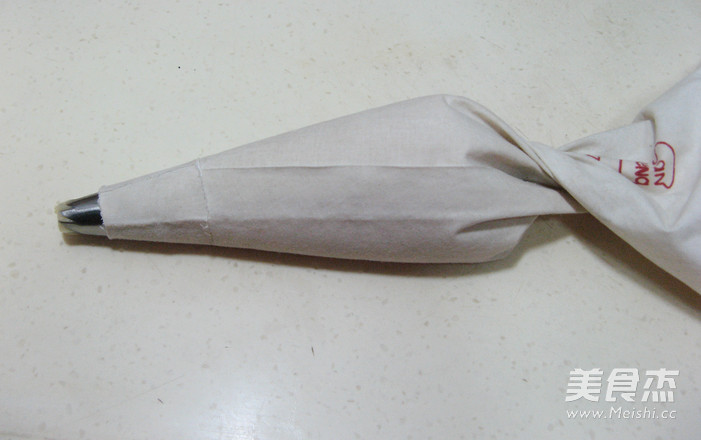
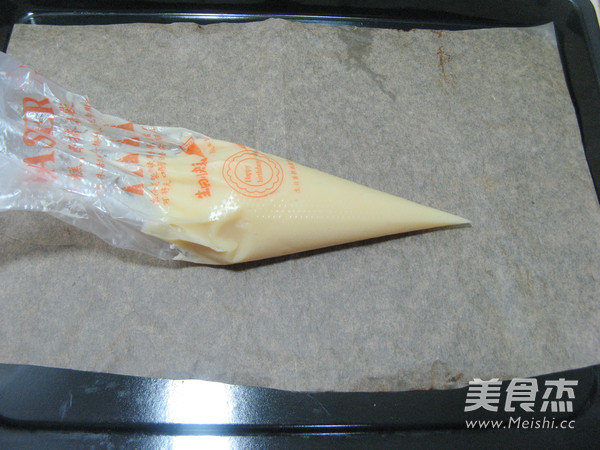
Put the flower mouth into the piping bag, take an appropriate amount of puff paste into the bag
11.
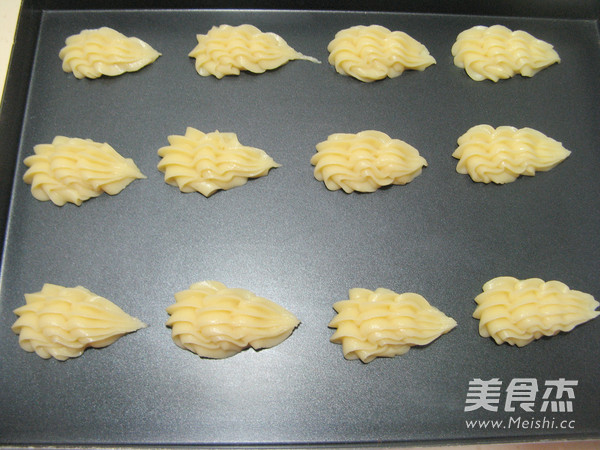
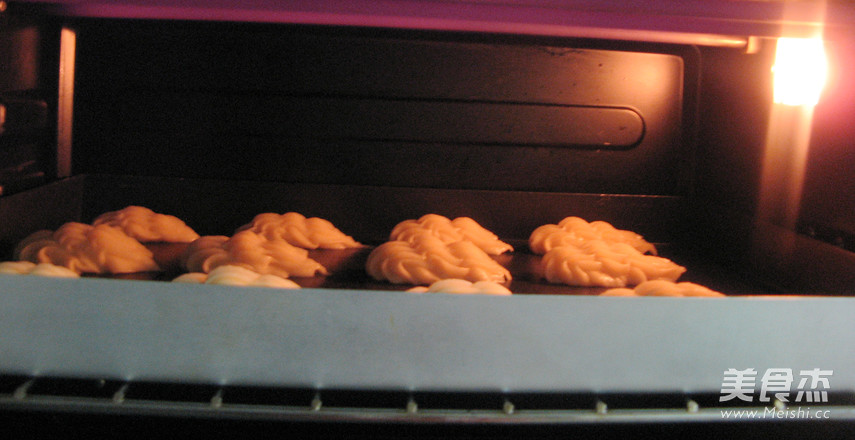
Place the flower mouth against the non-stick baking tray, and do a pressing action for a total of three times, and squeeze the puff paste on the baking tray, showing the shape of a large front and a small back. This is the body of a swan.
12.
Put it into the preheated oven, 200 degrees, upper and lower heat, middle level, about 10 minutes, then turn 180 degrees for 10-15 minutes
13.
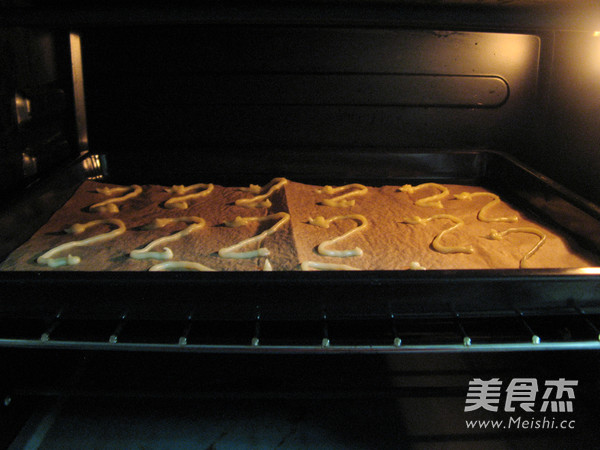
When roasting the swan body, take a small part of the puff and paste it into the piping bag. Use scissors to cut a small opening at the front of the bag to squeeze the swan’s neck.
14.
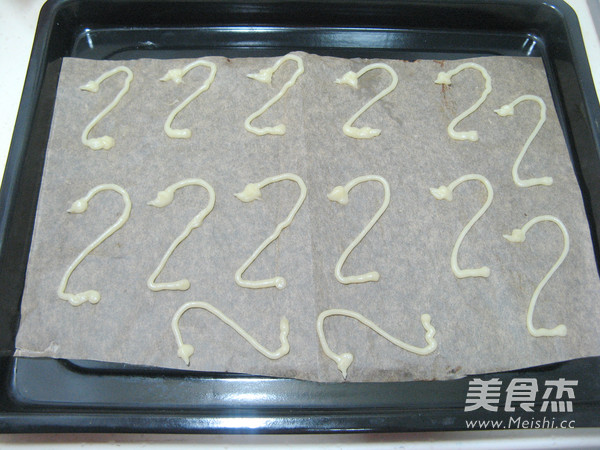
On the baking sheet covered with greased paper, squeeze out a neck shape similar to the number 2, squeeze a little more paste on the head, and then move it around to make a mouth-like shape.
15.
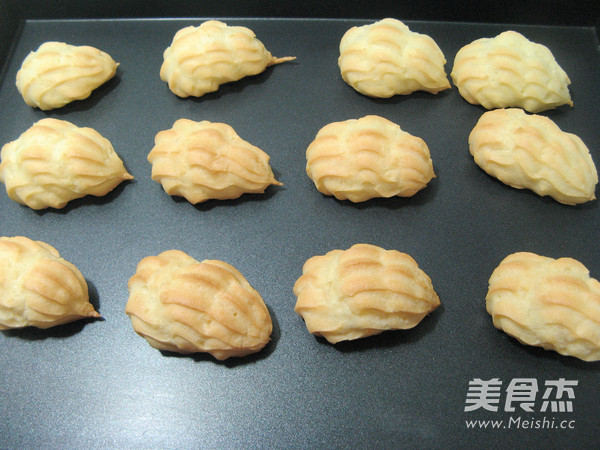
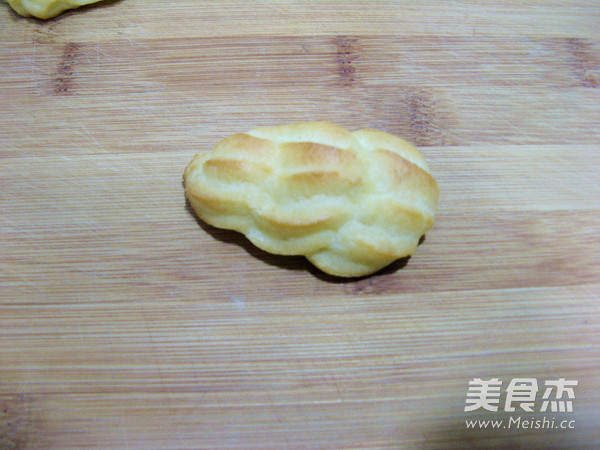
After the swan body is roasted and shaped and changed color, it is out of the oven, and it is used after cooling on a drying rack.
16.
Put the swan neck into the middle of the oven, 180 degrees, up and down, about 5 minutes, it is recommended to watch by the oven at this time to prevent the neck from being too thin and being burned. After the roasted swan neck is out of the oven, let it cool on the drying rack.
17.
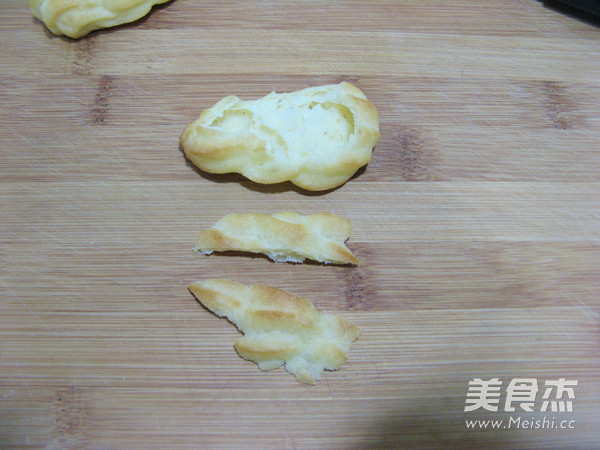
Take a swan body
18.
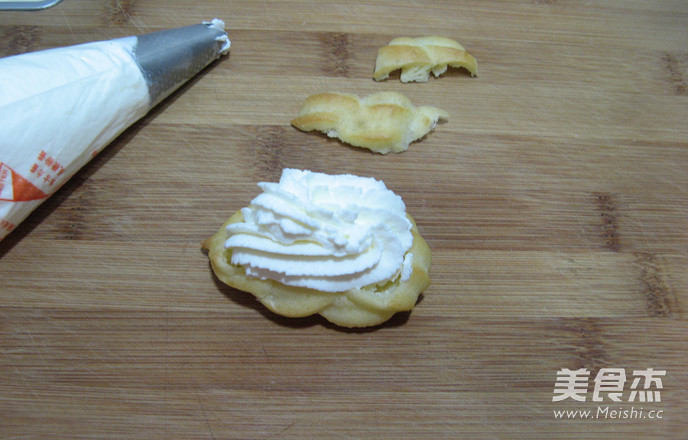
Use a knife to divide the puff into two from the upper part, and then divide the small piece of puff into two pieces to form the wings of a swan; dispose of all the puffs in turn
19.
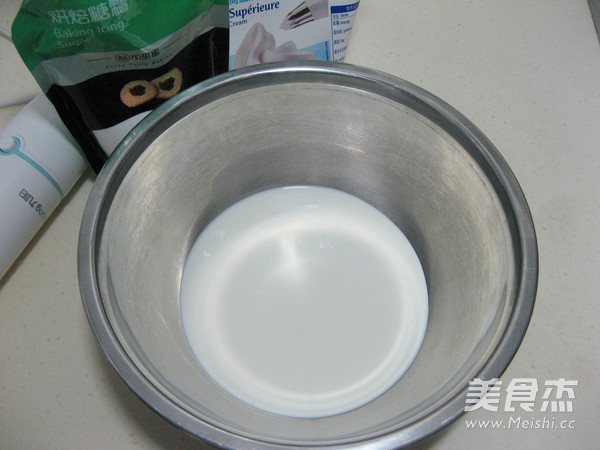
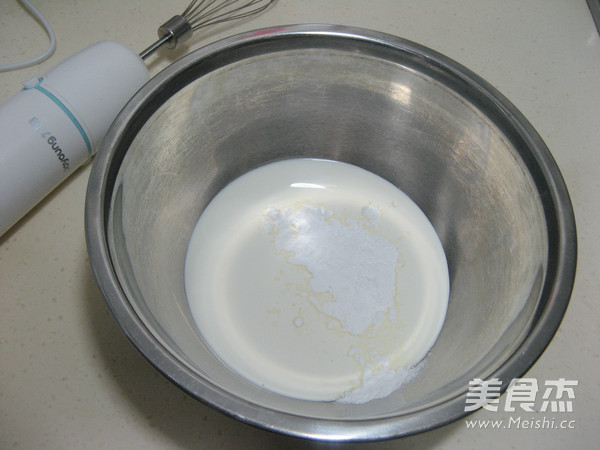
Refrigerate the whipped cream for more than 12 hours, put 150 grams into an egg-beater bowl, and prepare the cooking stick and icing sugar
20.
Pour in the right amount of icing according to taste requirements. Generally speaking, the ratio of cream to icing is 10:1
21.
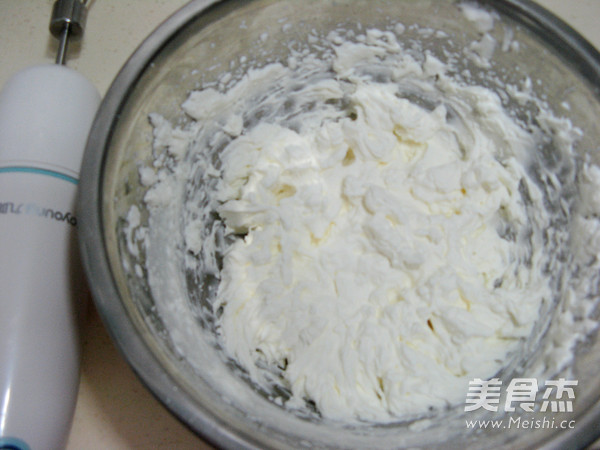
Start the whisk and whip the cream at a medium speed. The cream is not runny and smooth and solid.
22.
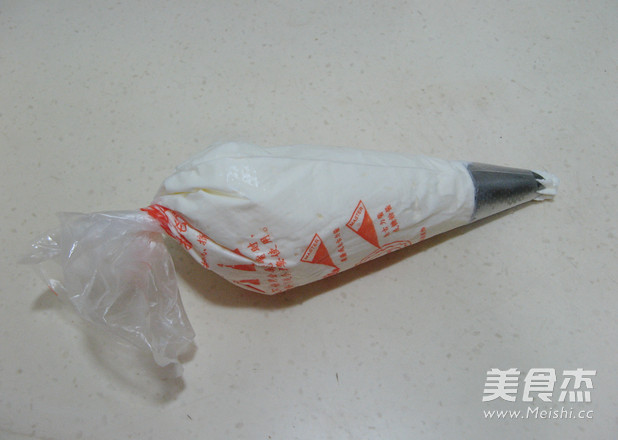
Put the flower mouth into the piping bag, and put the right amount of cream into the bag
23.
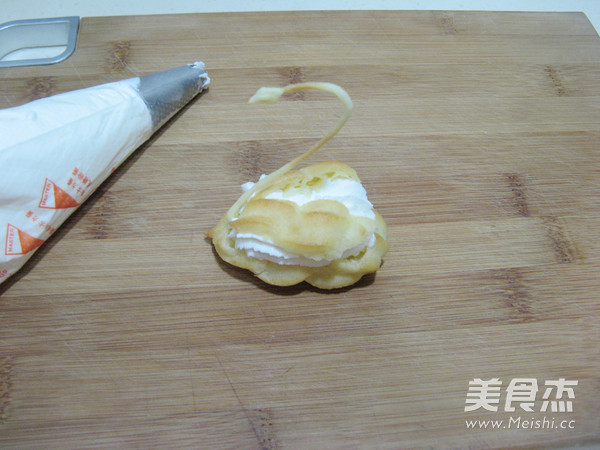
Squeeze an appropriate amount of cream in the large puffs
24.
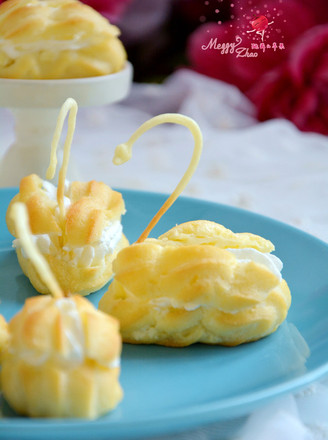
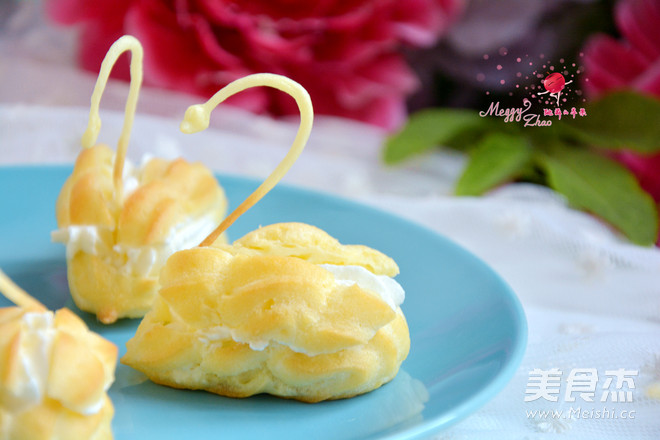
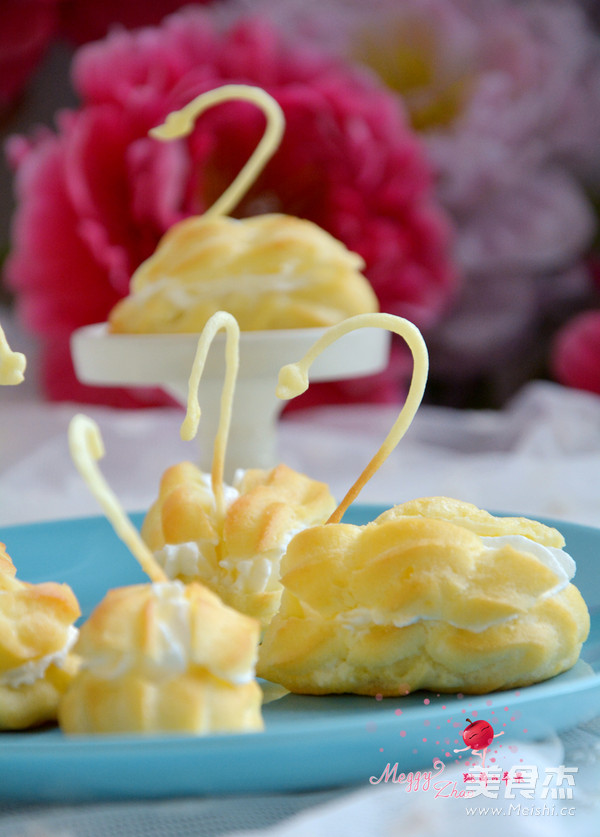
Put the wings and neck on the body and the swan puff is ready
25.
Enjoy it
26.
Very beautiful
Tips:
1. The temperature and time of the puffs should be adjusted according to the size of the puffs made. There is a principle that you would rather bake them for a while than under the heat, because once the puffs are taken out of the oven, if they are flat, you want to send them back to the oven. , It can't be restored anyway;
2. The neck is very thin, so the temperature and time should be lowered and shortened. It is best to observe from the side to prevent burning;
3. The filling in the middle can be replaced with other fillings;
4. It is recommended to whip the cream before eating and fill it into the puffs. It is not recommended to put the cream filling the night before and eat it the next day, as the puffs will not be crispy and will be soft.

