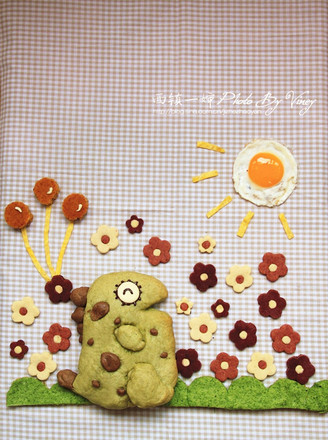
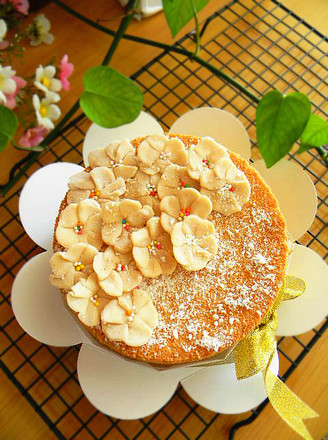
Wagashi Crust Decorated Cake
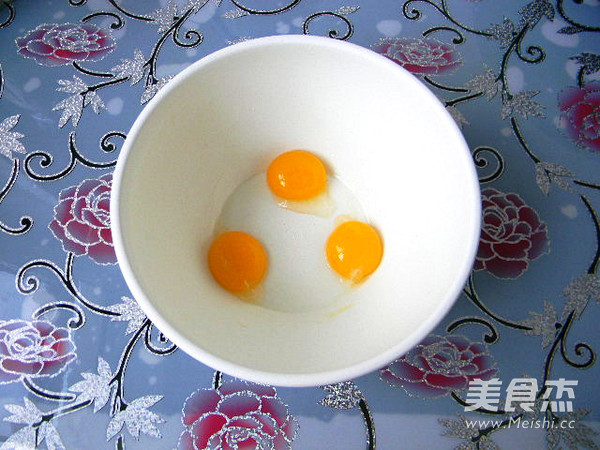
1.
Separate the egg whites and egg yolks. This is egg yolk
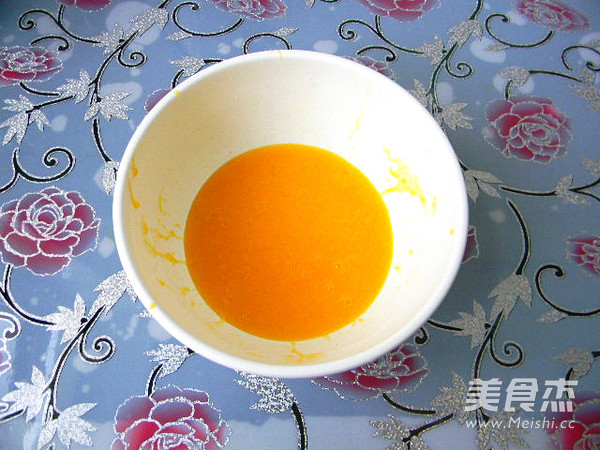
2.
Add 10 grams of white sugar, salt, salad oil and milk to the egg yolk and mix well with a manual whisk
3.
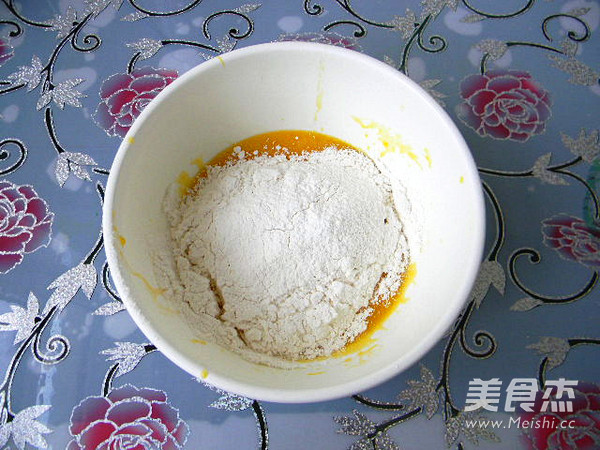
Sift the low-gluten flour and put it in the egg yolk
4.
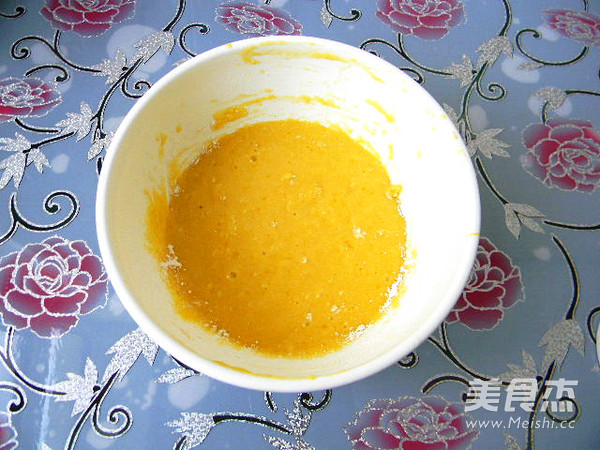
Stir up and down until there are no particles
5.
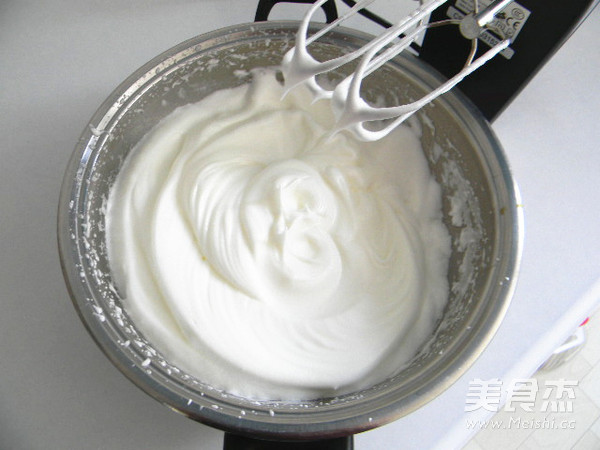
Beat the egg whites with an electric whisk until they are like fish-eye bubbles, add a few drops of lemon juice and 1/3 of the remaining 40 grams of white sugar. Continue to beat until the white bubbles are like soap bubbles, add 1/3 of the white sugar, and then When whipping until the egg white is relatively thick and there are lines on the surface, add the last 1/3 of the white sugar until it becomes dry and foamy
6.
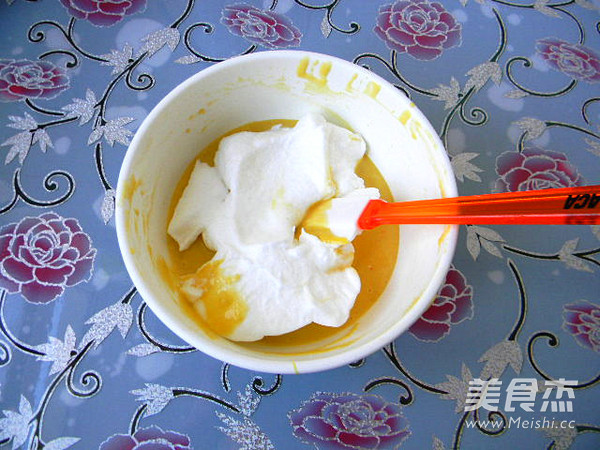
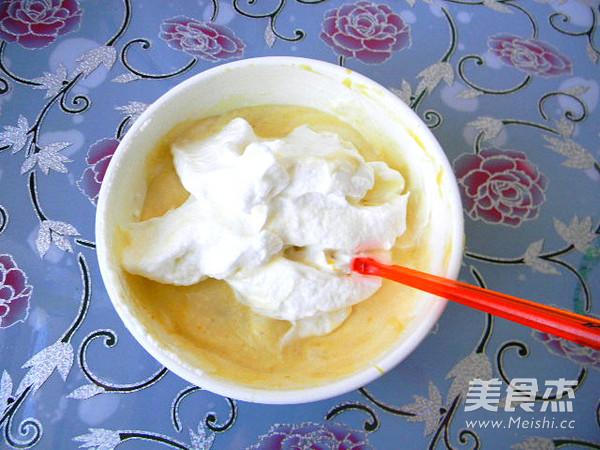
Take one third of the meringue and add it to the egg yolk paste. Stir up and down gently with a spatula
7.
Take another third of the meringue and stir like this
8.
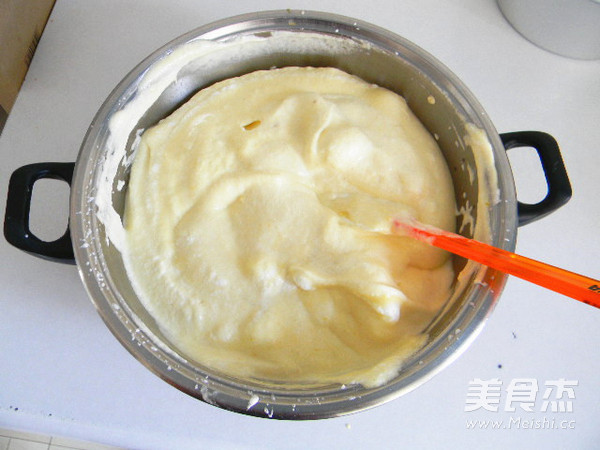
Finally, pour it back into the egg white container, and mix well in the same way as cutting and mixing
9.
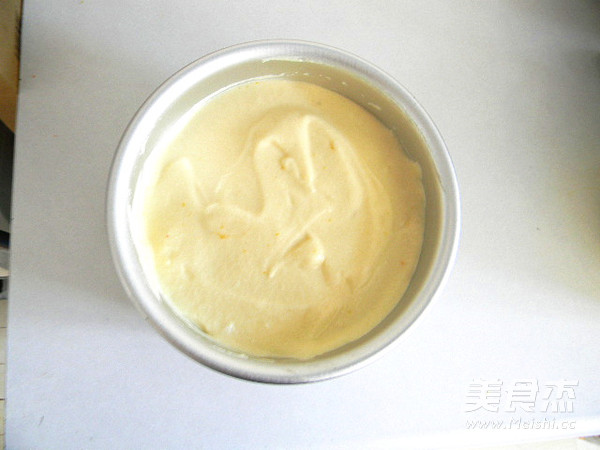
Pour into the cake mold, hold it up and down and shake it lightly, then place it on the table and shake it a few times, then hold it up and shake it left and right, so that the bubbles inside are shaken out, and the surface looks relatively flat.
10.
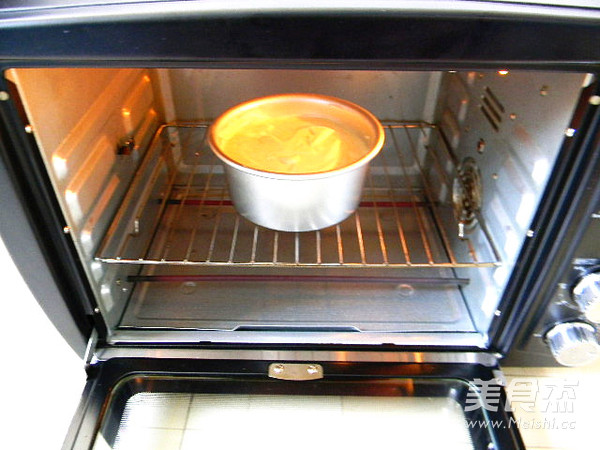
Preheat the oven to 165 degrees, put the mold into the middle layer, and bake for about 30 minutes
11.
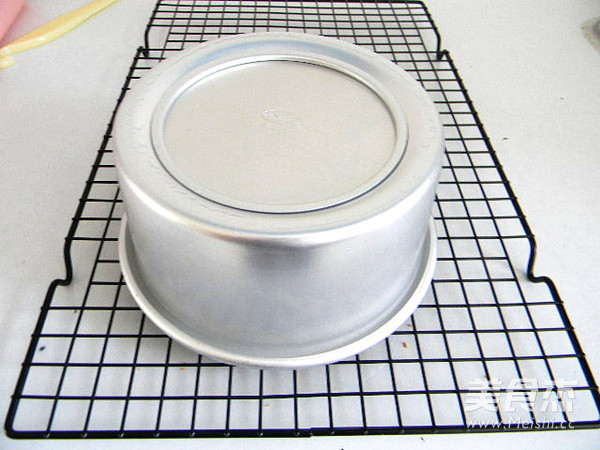
After the oven is out, put the mold upside down on the grilling net
12.
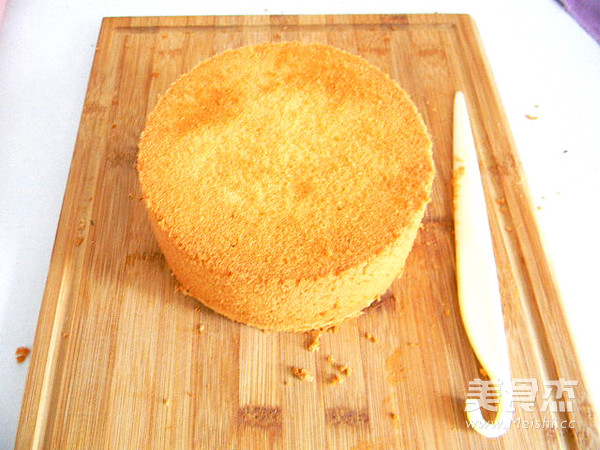
It can be demoulded after cooling
13.
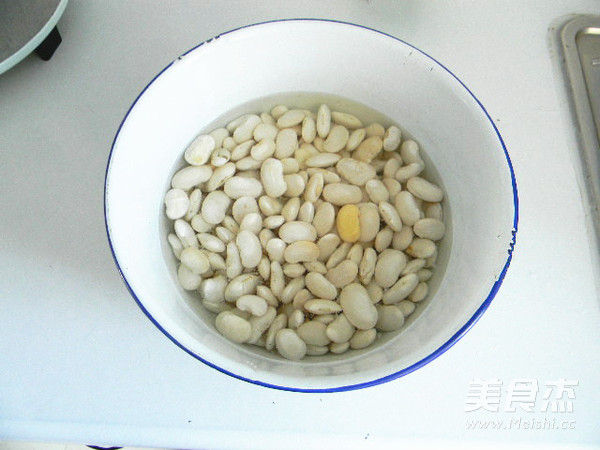
The method of wagashi peel: I use 500g beans, add white kidney beans to 10 times the water, soak for about 12 hours
14.
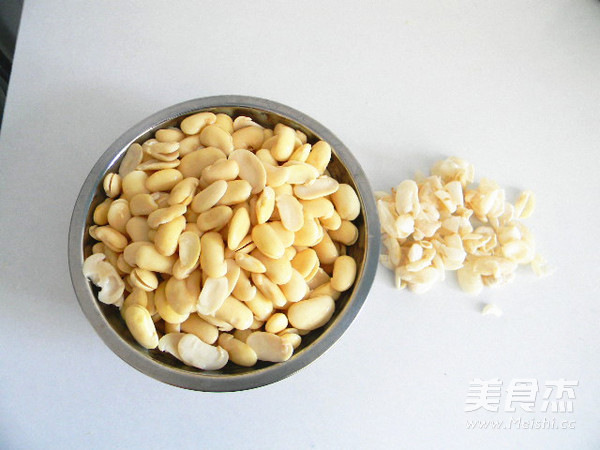
Peel off the skin after the beans are soaked
15.
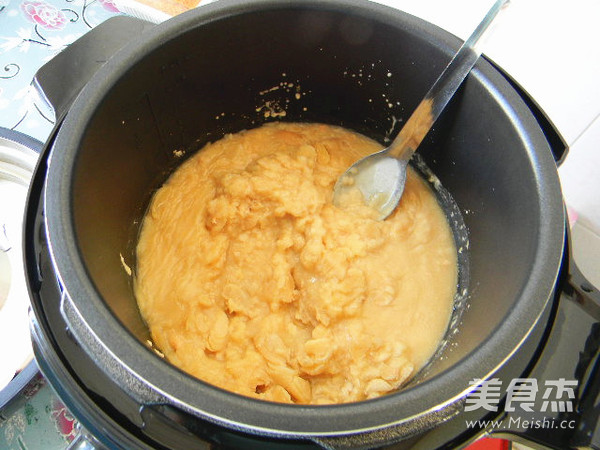
Put the peeled beans into a pressure cooker and add the same level of water to the beans and simmer for 50 minutes. They are completely cooked. Use a spoon to gently move them to puree. If the bean paste is not fine, you can beat it with a blender
16.
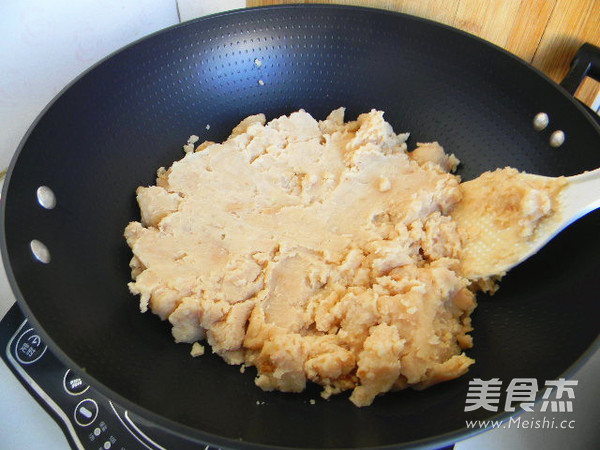
Put the bean paste into a non-stick pan, add sugar and stir fry. The amount of water powder in the bean paste becomes less and less, and the stirring resistance becomes larger and larger, and the white bean paste becomes lumpy. Such bean paste can be used for eating and manipulation
17.
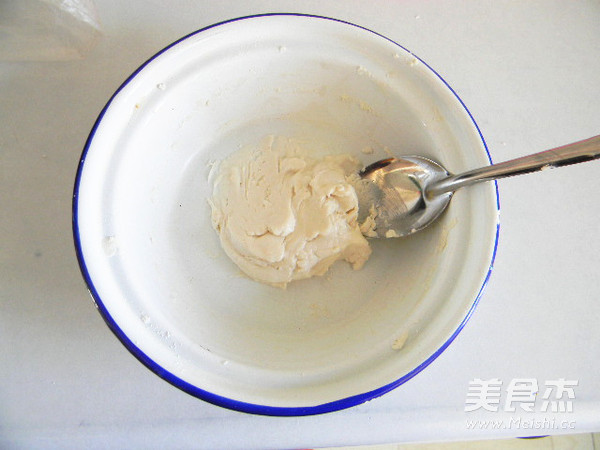
Take 30g of glutinous rice flour and 15g of white bean paste, slowly add about 30g of water and mix well, until the dough becomes soft
18.
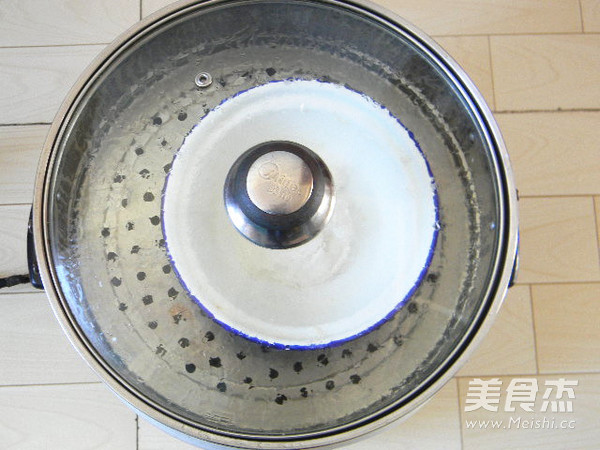
Put it in a steamer and steam for 15 minutes
19.
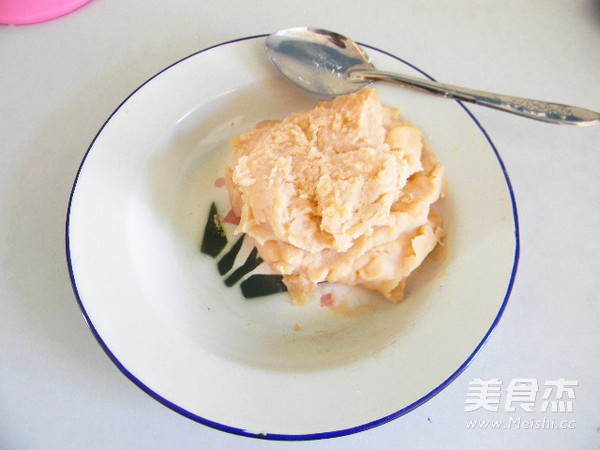
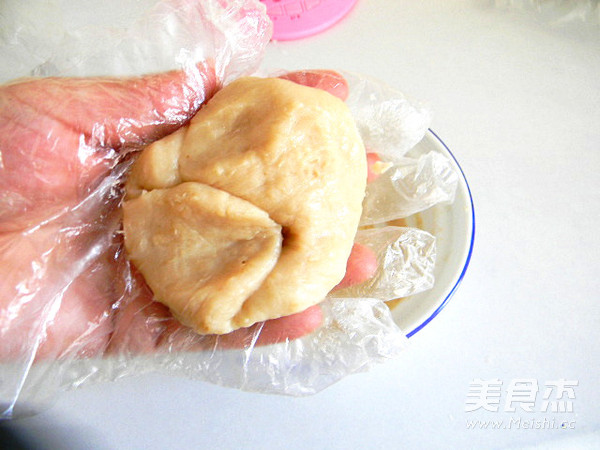
Add the steamed glutinous rice and white bean paste to about 700g of the fried bean paste and knead well. During the kneading process, add the white bean paste a little bit and knead it.
20.
The kneaded bean paste is sticky, not sticky, and has a good shape. This is the wagashi peel, you can add various colors and knead it according to your preference
21.
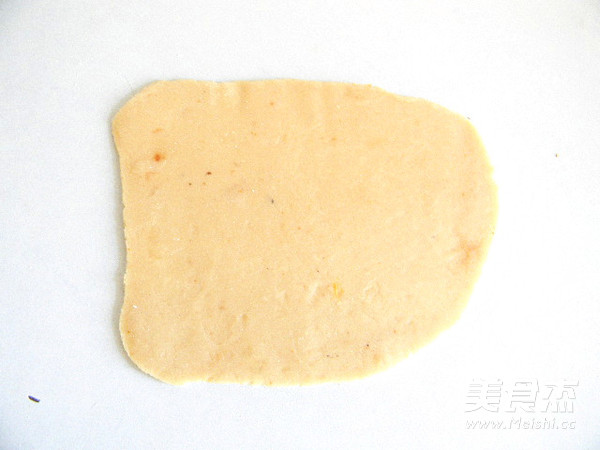
Take a piece of fruit peel and roll it into a thin slice with a thickness of 3mm per month
22.
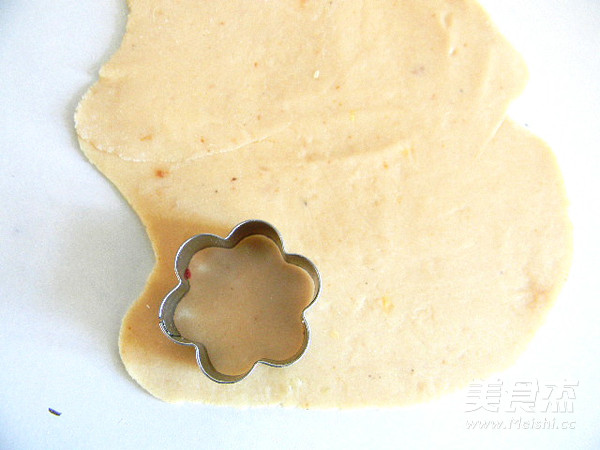
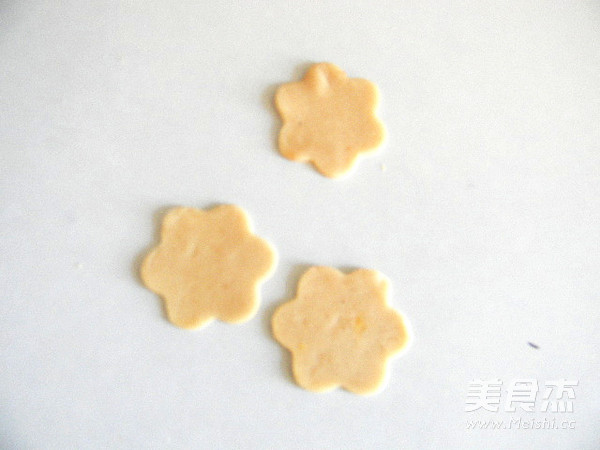
Use the biscuit plum mold to press out the pattern
23.
Squeeze and set aside
24.
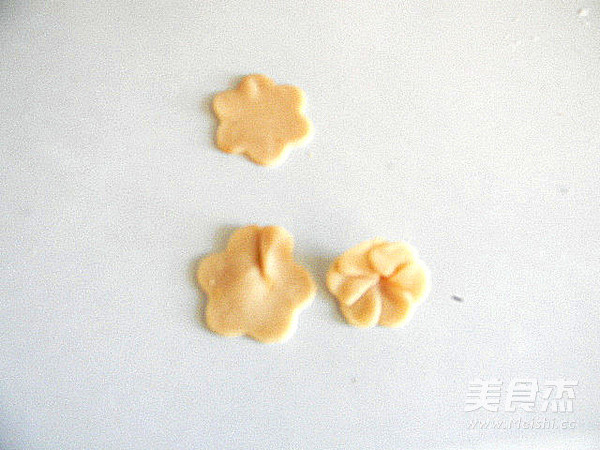
Each flower is shaped like a flower by drawing out the lines as shown in the figure
25.
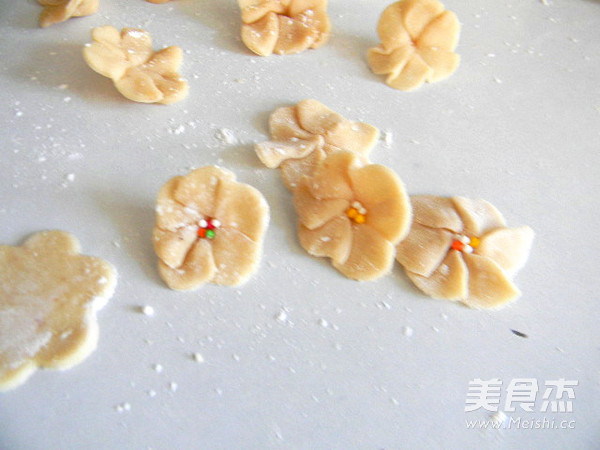
The flower heart is decorated with colored sugar, which is lightly compacted and very firm. You can sprinkle it with powdered sugar. So make the required number of flowers
26.
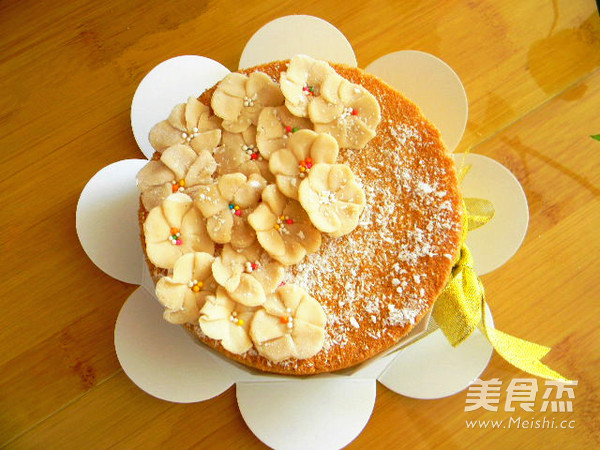
Squeeze the condensed milk on the place where the cake needs to stick to the flowers, stick the prepared wagashi flowers, and sprinkle some coconut paste on it.
Tips:
The wagashi bean paste must be fried very dry, so that it will be easy to operate in the later stage and will not stick to your hands. You can add pigments to make colorful flowers according to your preferences. The red bean paste can be cooked and fried more at a time, and the rest can be used for bean filling. Use the amount of my wagashi skin to make 4 such cakes. Chiffon cakes can be layered with fruit fillings. I mainly write the practice of wagashi, just use the cake. The whole unlayered chiffon cake is delicate and soft, and the key to it is to beat the egg whites. It must be beaten to dry foaming in one go. At the same time, the baking time is set according to the performance of the own oven

![Seasonal Vegetable Patties [baby Food Supplement] recipe](https://img.simplechinesefood.com/02/024b910033009872aea33017c755a377.jpg)
