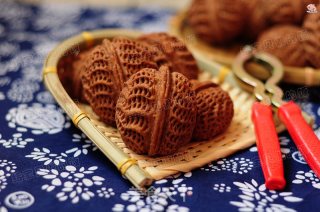
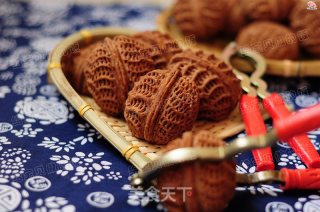
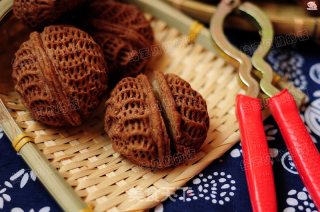
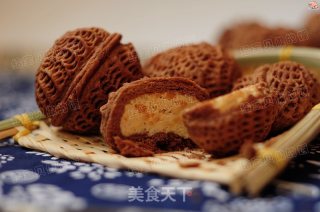
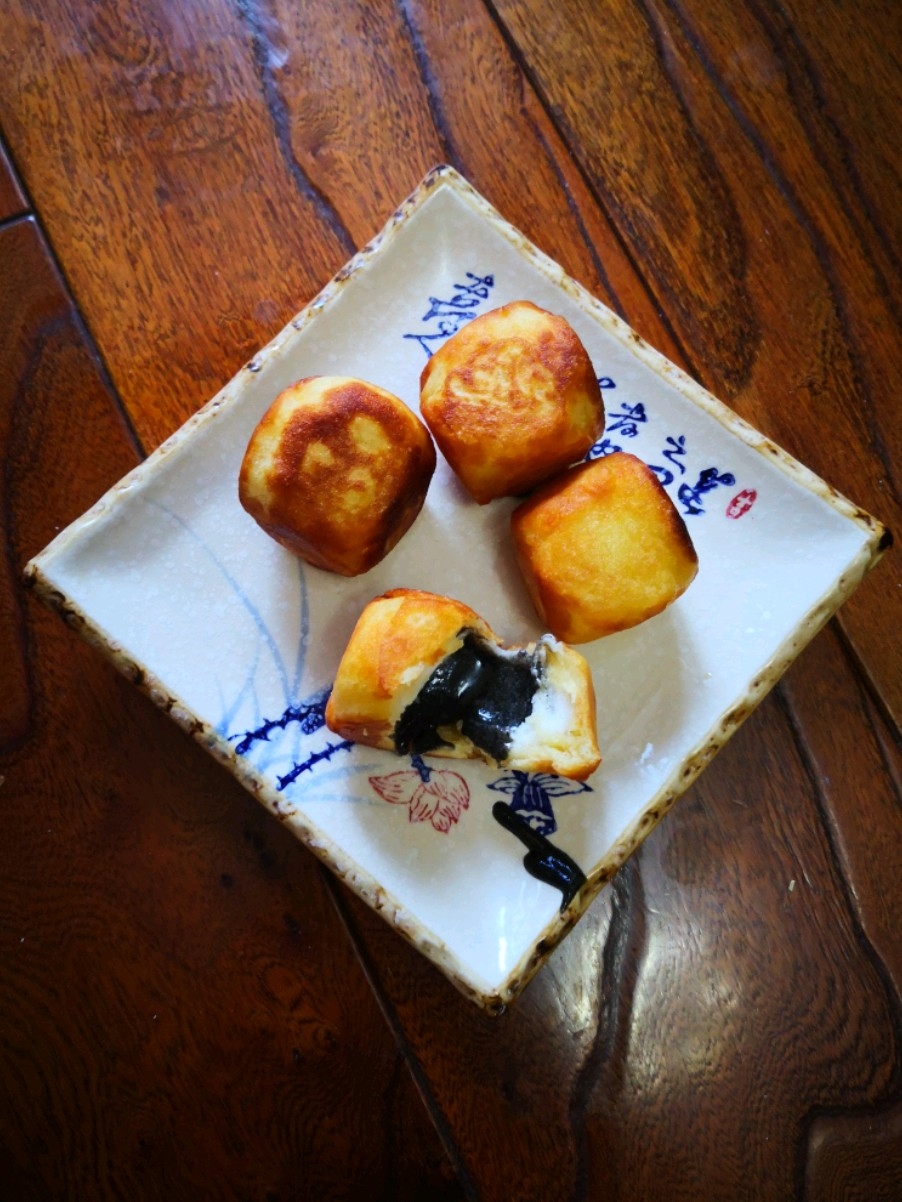
#aca 4th Baking Competition and is Love to Eat Festival#walnut Crispy Fruit
1.
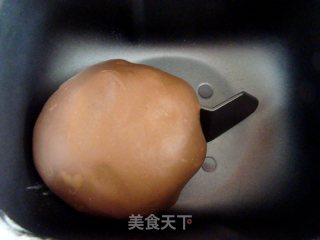
Put all the water and oil crust ingredients into the bread machine and mix for 30 minutes.
2.
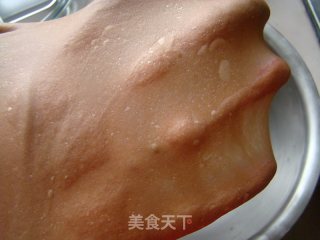
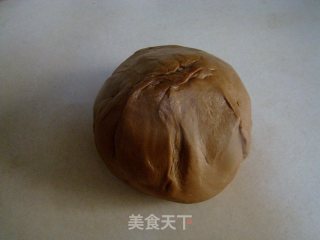
At the complete stage, a large sheet of dough can be pulled out. Cover with plastic wrap and wake up for 30 minutes.
3.
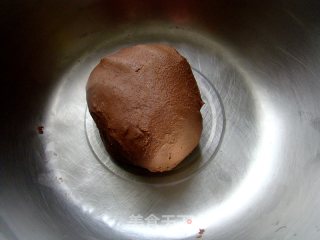
Mix the pastry ingredients evenly into a proper dough, and cover it with plastic wrap to proof it.
4.
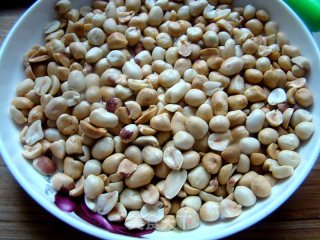
Pour a little white wine on the peanuts and put them in the microwave. After being cooked on high heat for 4 minutes, let cool and peel. (The time is adjusted according to the own microwave oven)
5.
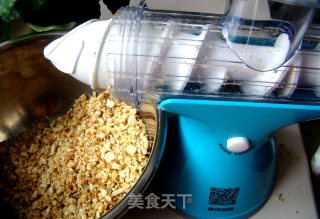
Put a small amount of peanuts several times into the juicer with the U-turn and smash them.
6.
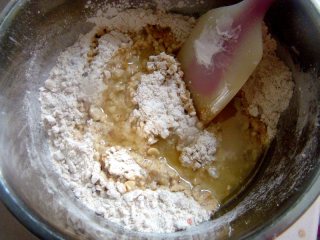
The crushed peanuts are placed in the same container with other filling materials. (The glutinous rice flour should be put in the pot in advance and sautéed on low heat until slightly yellow)
7.
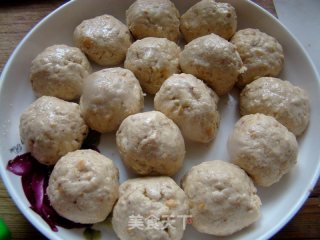
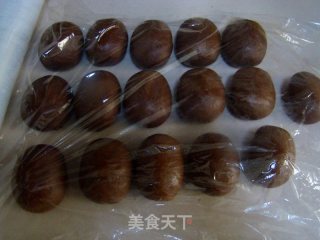
Mix well and divide into 16 portions.
8.
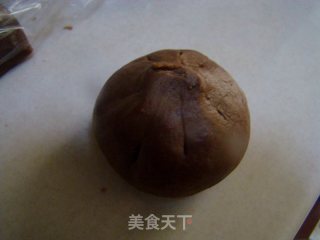
Press the wake-up water and oily skin dough to wrap the pastry dough.
9.
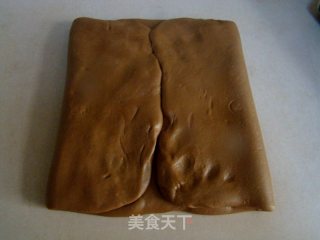
Roll it out and fold the two sides in the middle like a quilt.
10.
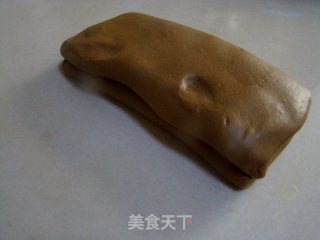
Fold in half again.
11.
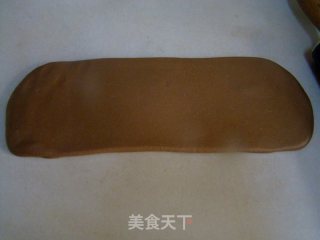
Roll it out again.
12.
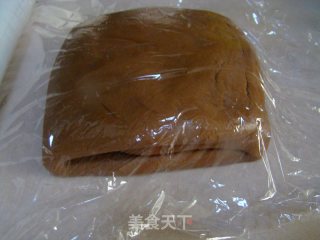
Three fold. Cover with plastic wrap and relax for 10 minutes.
13.
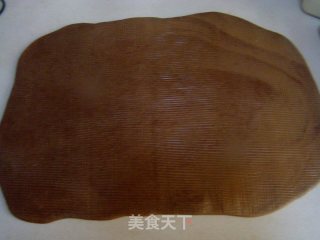
After relaxing, roll out a large rectangular piece.
14.
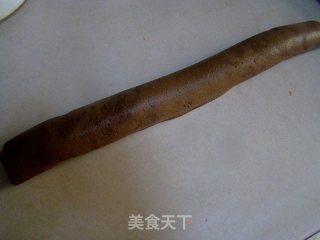
Roll up.
15.
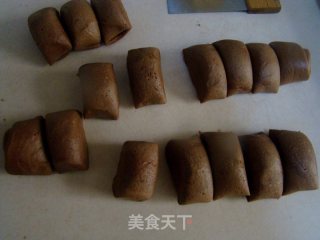
Divide into 16 portions.
16.
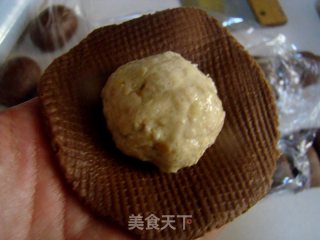
Take a press and roll it out slightly, and wrap it with peanut filling.
17.
Use the tiger's mouth to put it away and pull off the excess noodles. (Finally, the extra dough can be kneaded together again to make a biscuit)
18.
The mouth is facing downwards, forming an oval shape.
19.
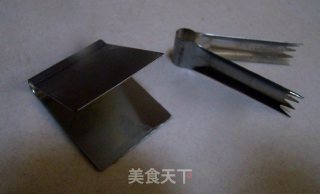
Two small tools will be used below.
20.
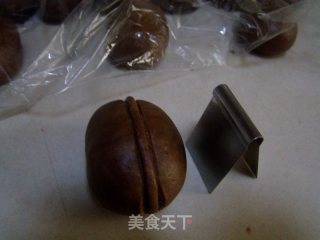
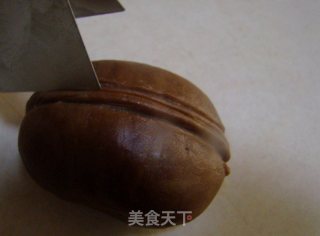
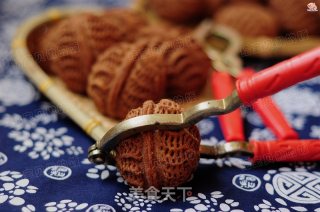
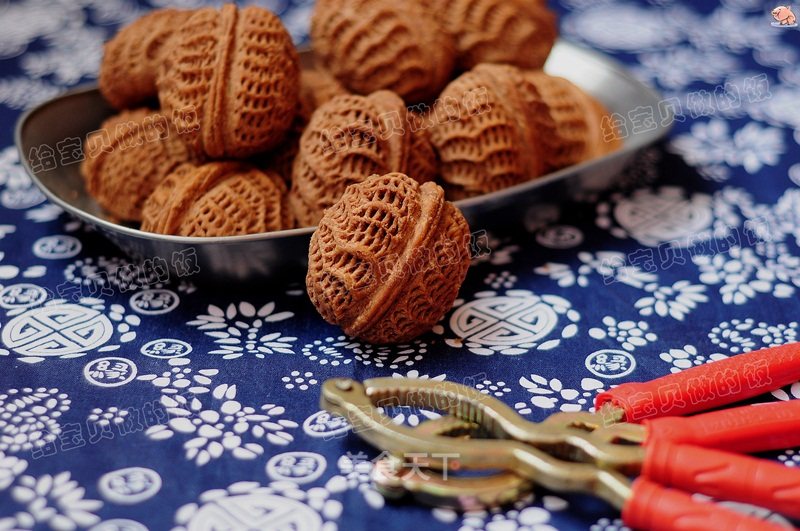
Use larger pastry tongs to clamp out the protruding part in the middle.
21.
Then press one side of the flower tongs to make a mark in the middle.
22.
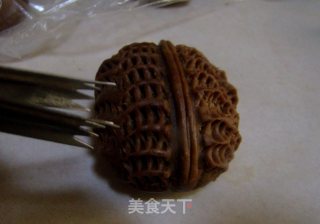
Then use small flower pliers with a little elbow to clamp out the pattern, half of the clamping, then half of the clamping, the bottom is not used.
23.
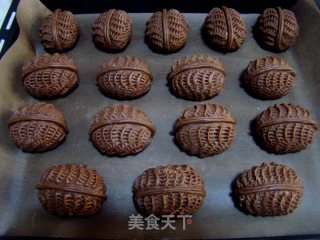
Prepare them one by one and place them on the baking tray.
24.
Preheat the oven at 170 degrees for about 30 minutes. (The temperature and time are adjusted according to your own oven)
25.
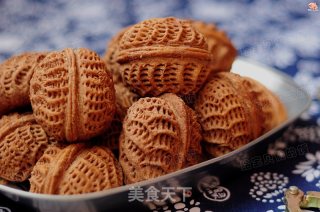
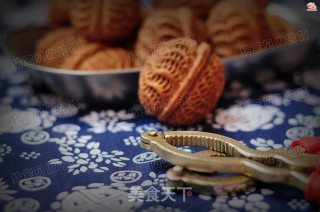
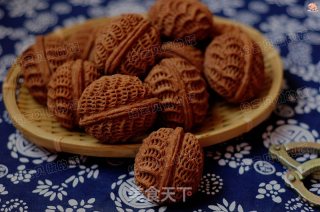
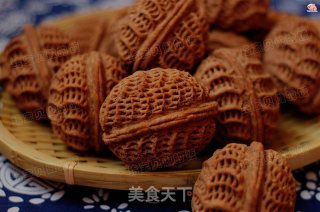
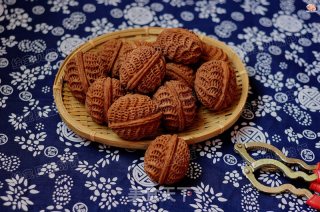
Does it look like real?
26.
Finished picture
27.
Finished picture
28.
Finished picture
29.
Finished picture
30.
Finished picture
31.
Finished picture
32.
Finished picture
33.
Finished picture

 Buy on JD
 Buy on Amazon