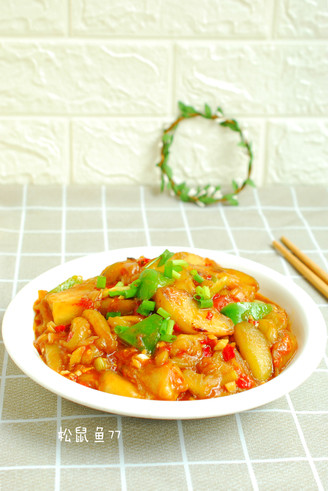
Braised Pork Hanamaki
1.
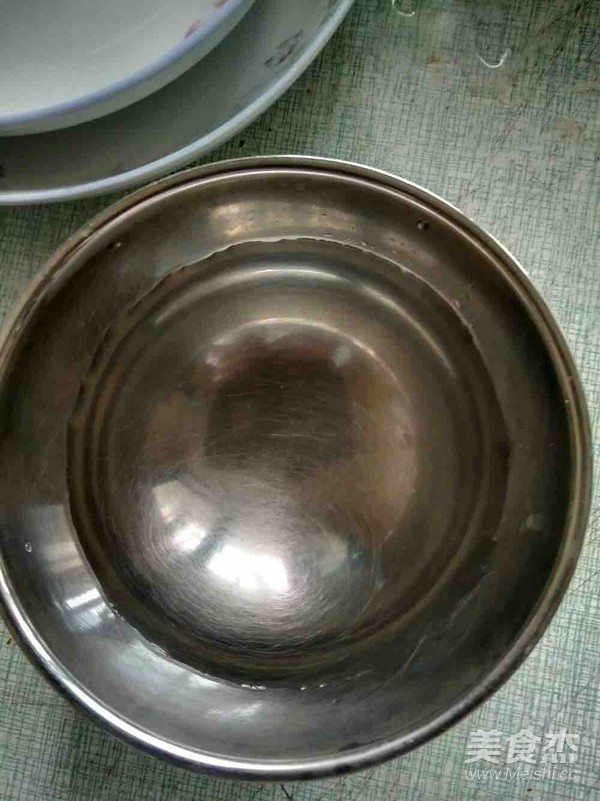
Prepare half a bowl of warm water around 40 degrees,
2.
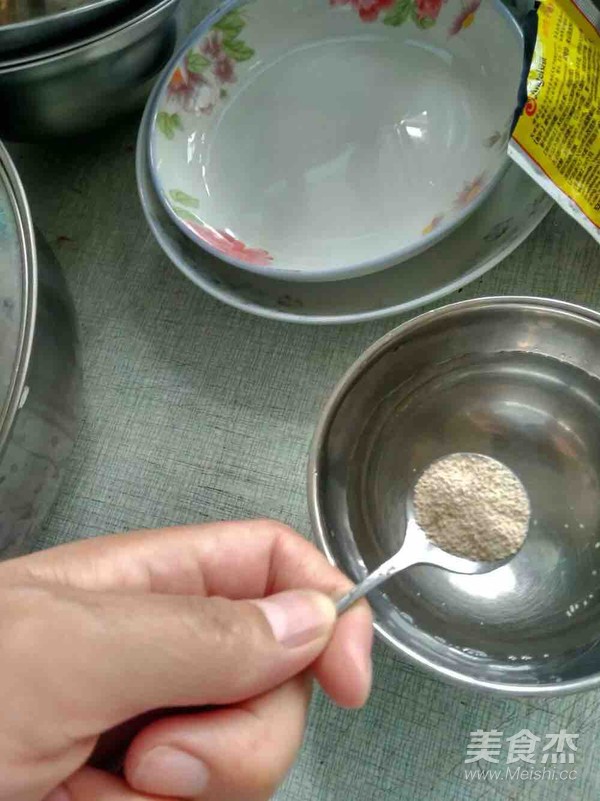
Add two teaspoons of yeast, about 5 grams,
3.
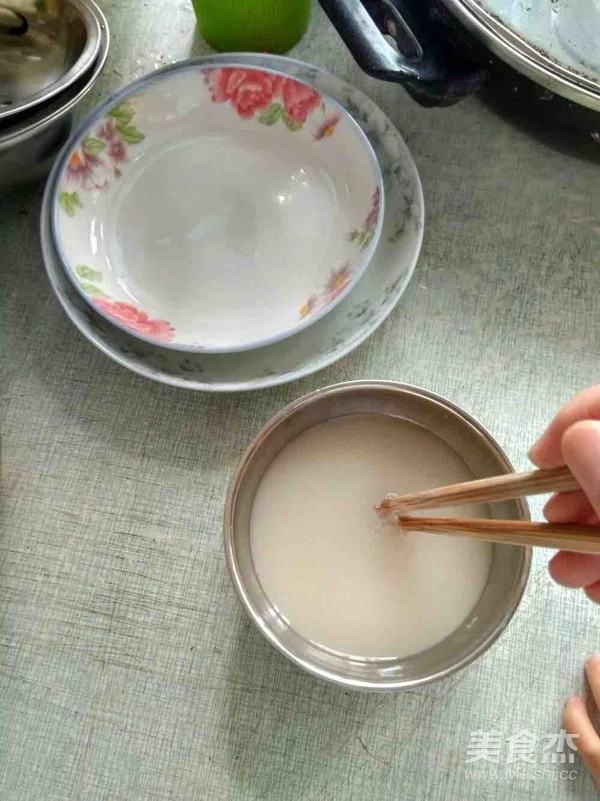
Stir evenly with chopsticks, set aside and let it melt slowly by itself,
4.
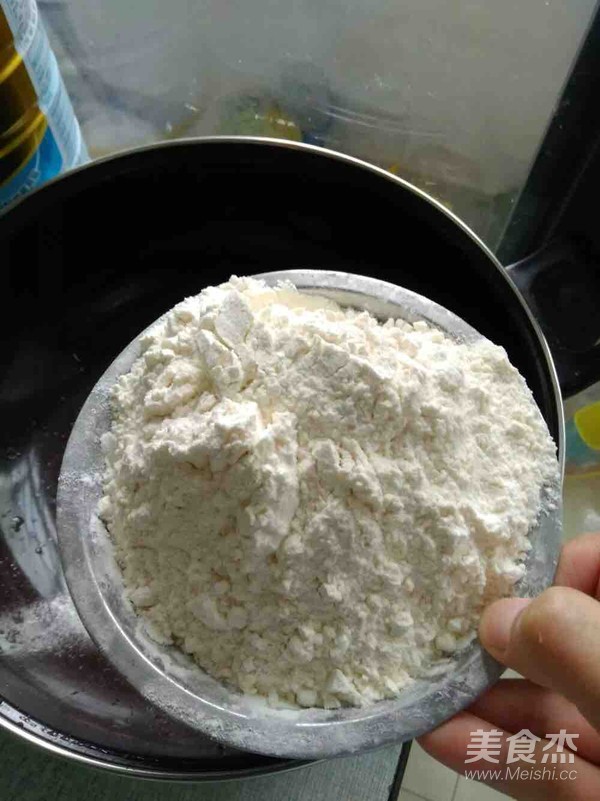
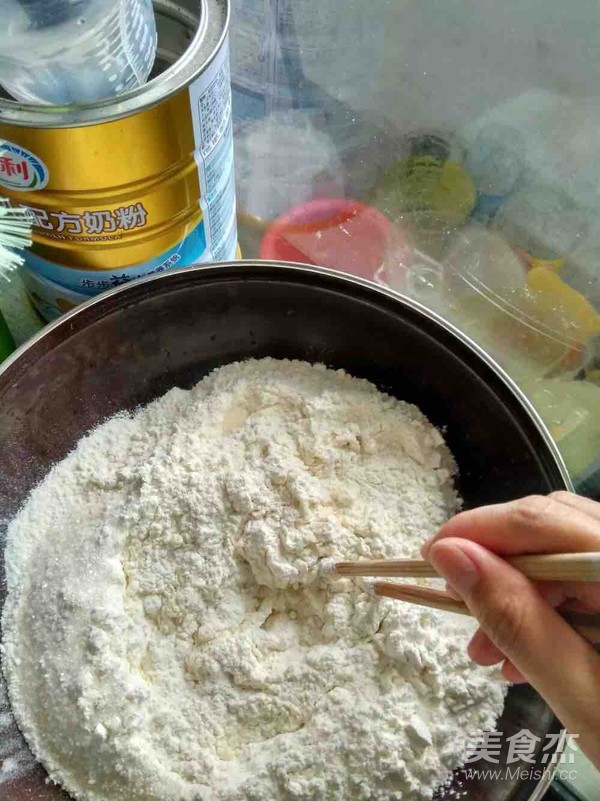
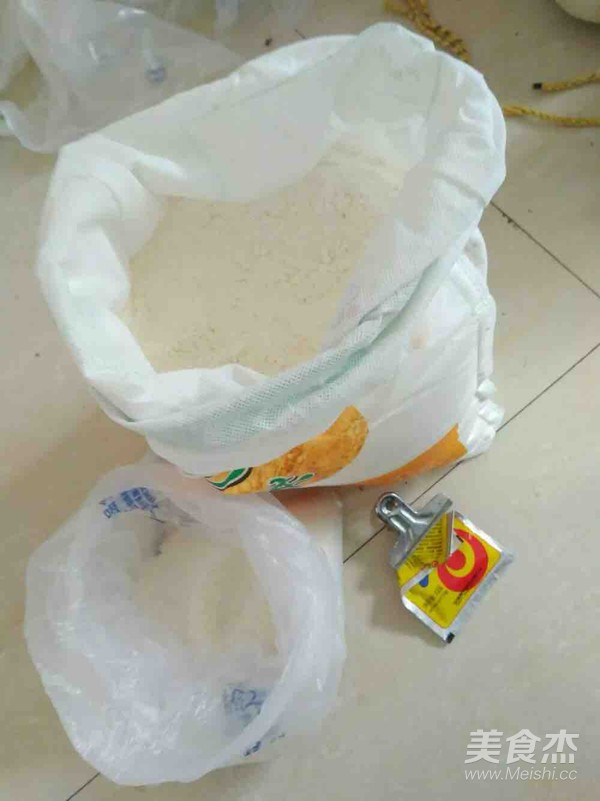
Prepare two small bowls of flour and pour it into a large saucepan,
5.
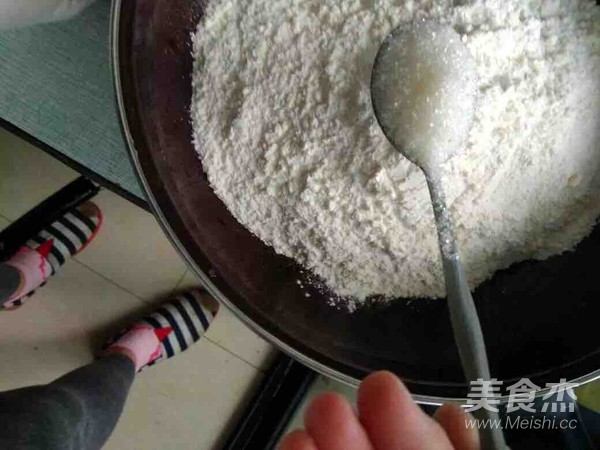
Two small bowls of flour is one catty, add 5 tablespoons of sugar,
6.
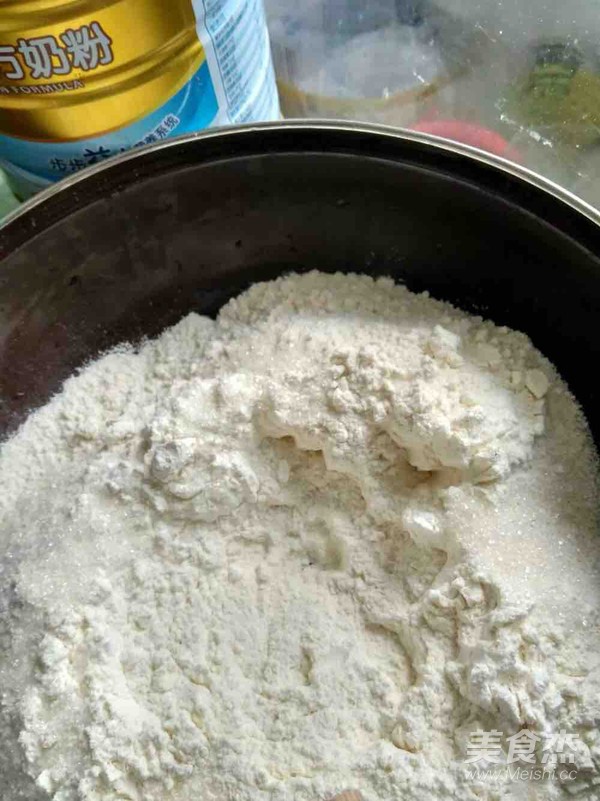
Dig a hole the size of a fist in the middle,
7.
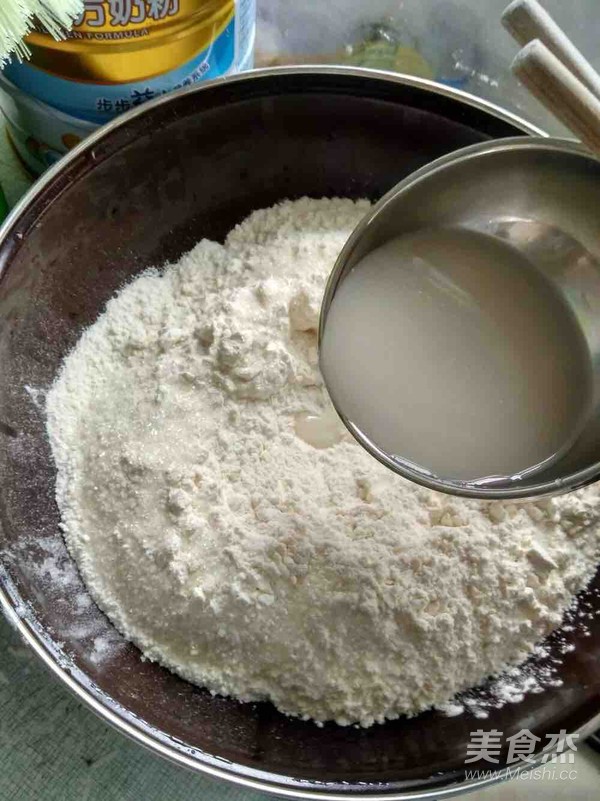
Add the melted yeast powder water
8.
Stir with chopsticks, add a little water and stir,
9.
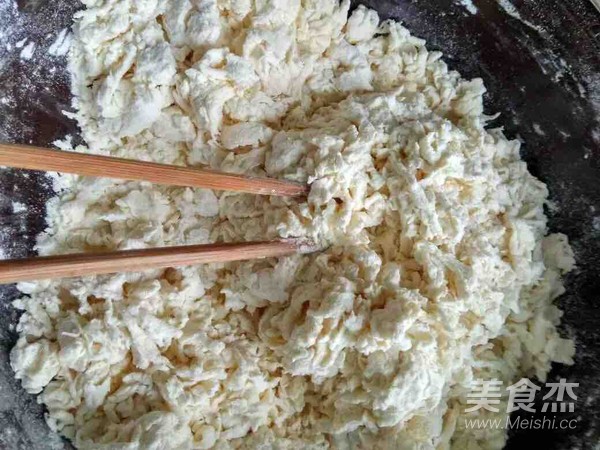
Stirred into flocculent
10.
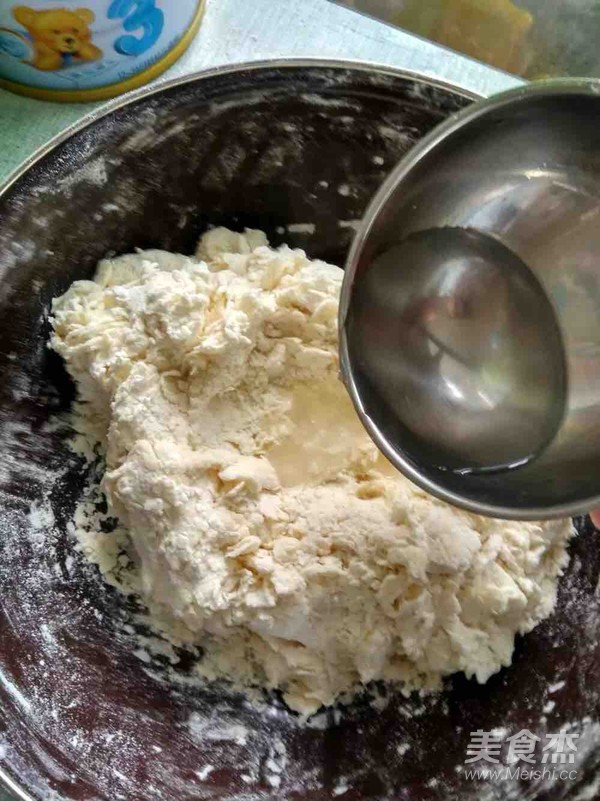
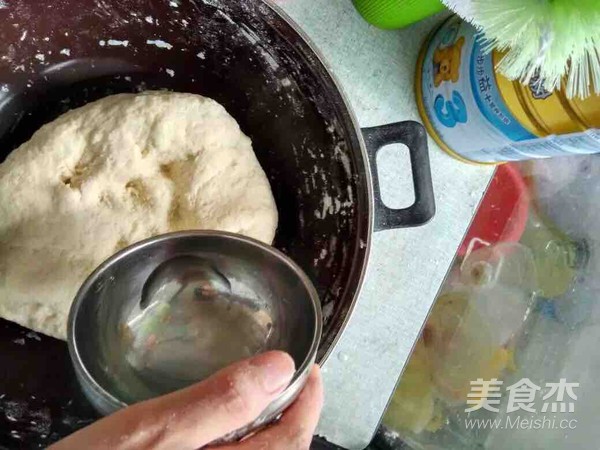
Now I don’t need chopsticks, I use my hands to make a circle, dig a shallow nest in the middle, and add a little water
11.
Repeatedly rubbing, then digging a small nest, and adding water, a little less than just before
12.
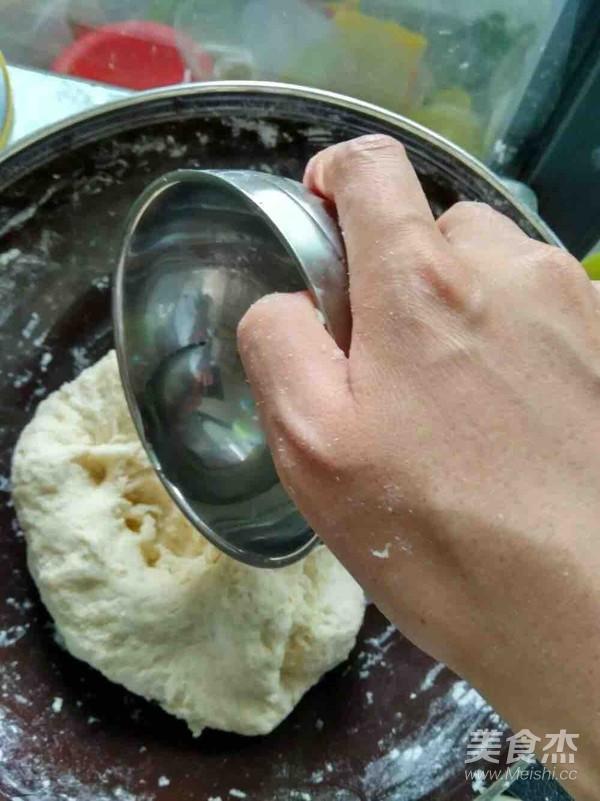
Knead again, dig a small nest, add water, less water than the second time
13.
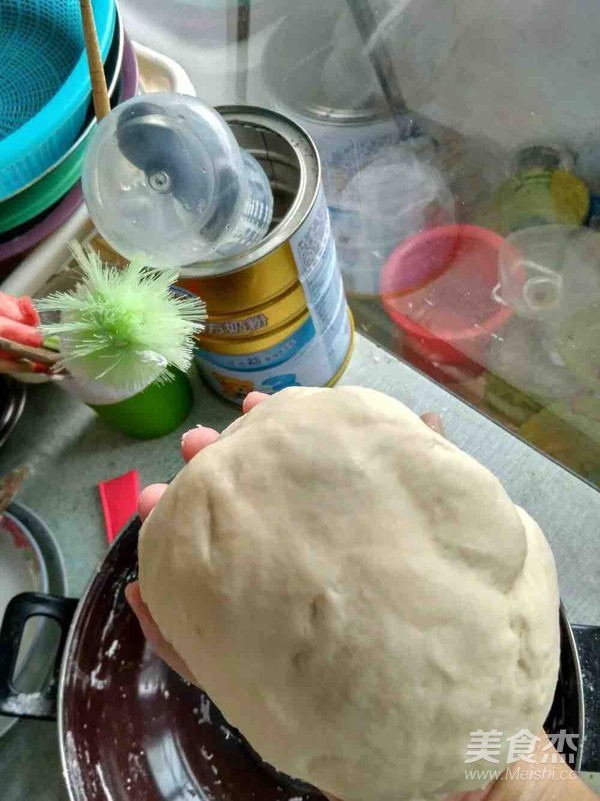
The number of times of adding water above, the number of kneading is three times
14.
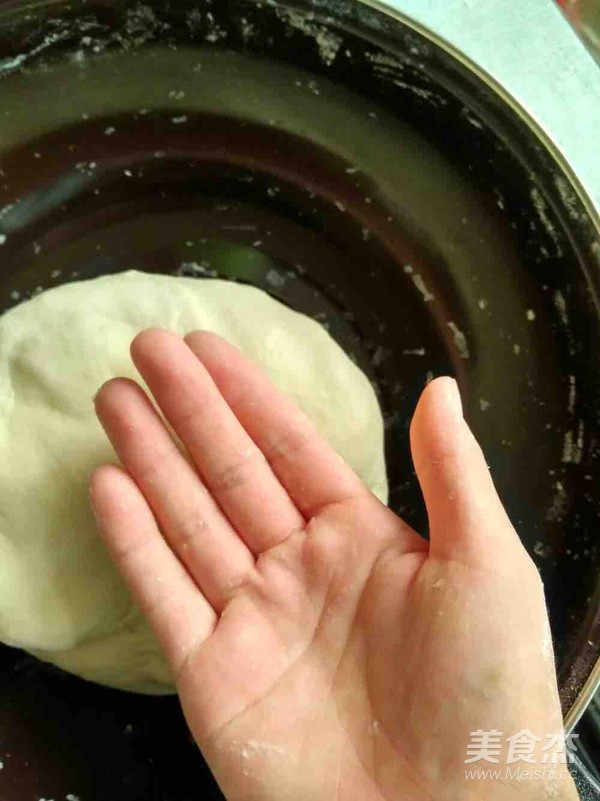
Hand polished light basin light,
15.
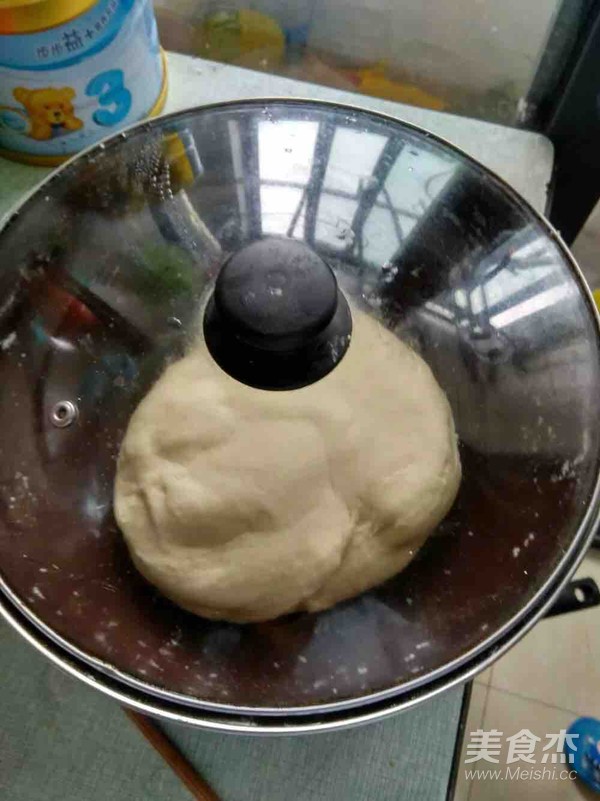
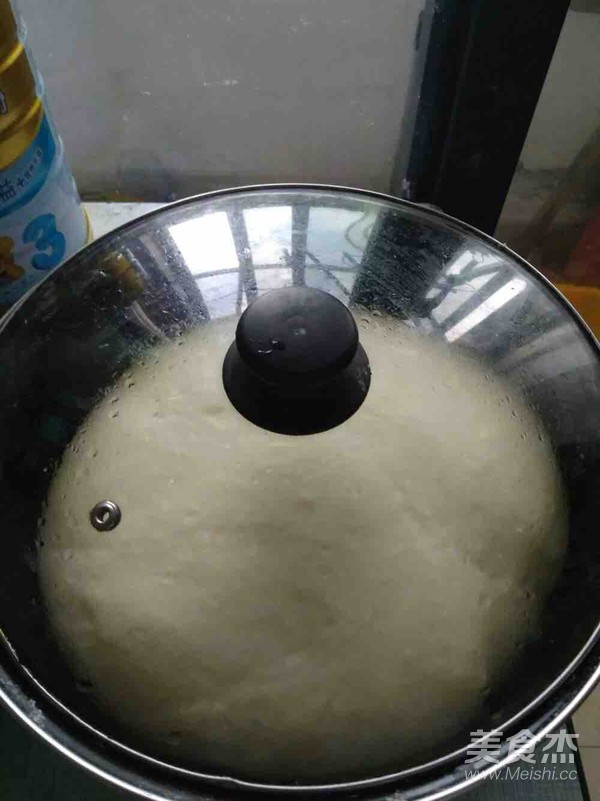
Put the lid on, ferment for an hour, put the sugar, and ferment quickly
16.
Prepare the ingredients
17.
Preparation of excipients
18.
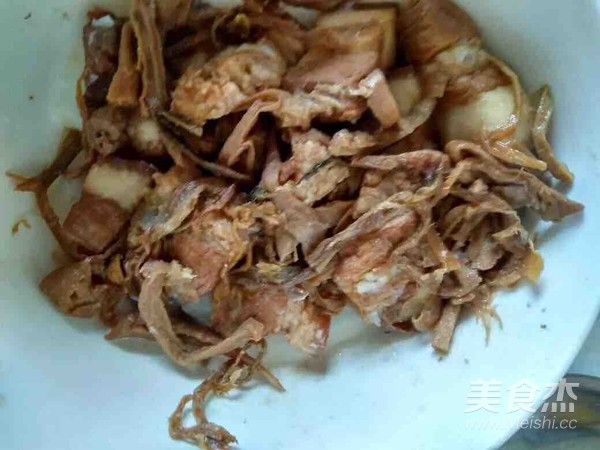
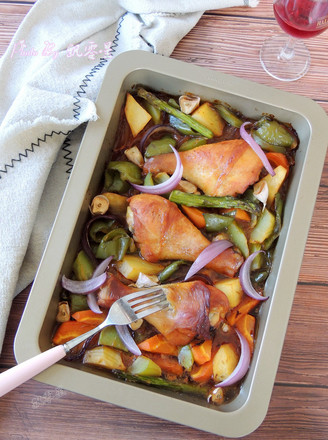
Filling: Picture of braised pork with dried plums and vegetables, refrigerated
19.
Connect
20.
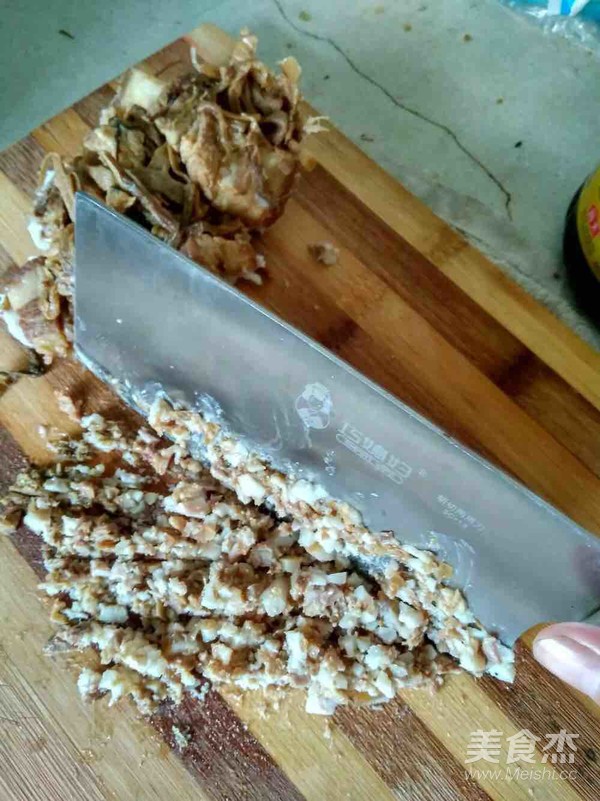
Cut the braised pork to the smallest size and put it in a large bowl
21.
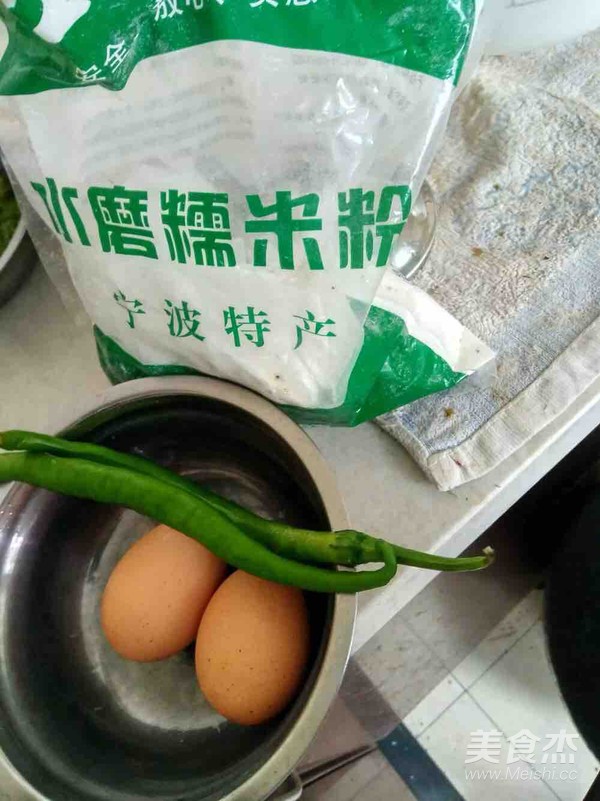
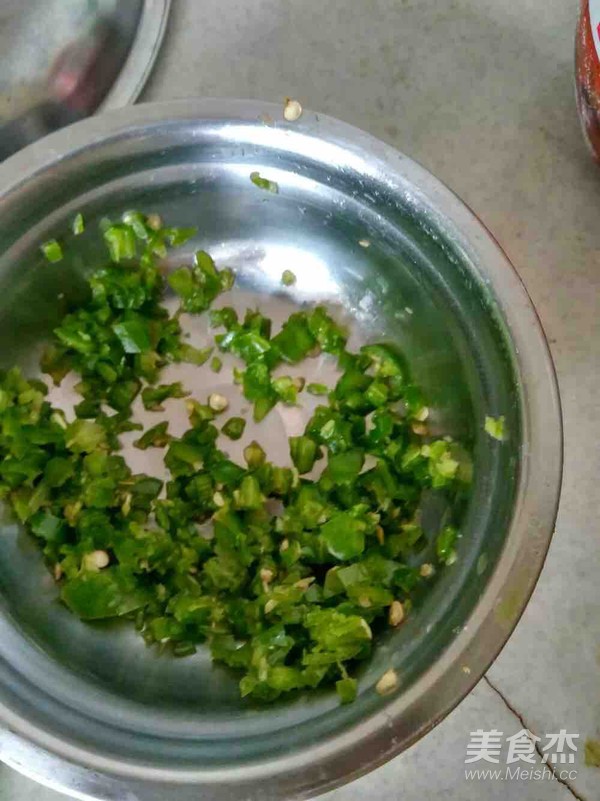
Cut the green pepper into the ends and set aside
22.
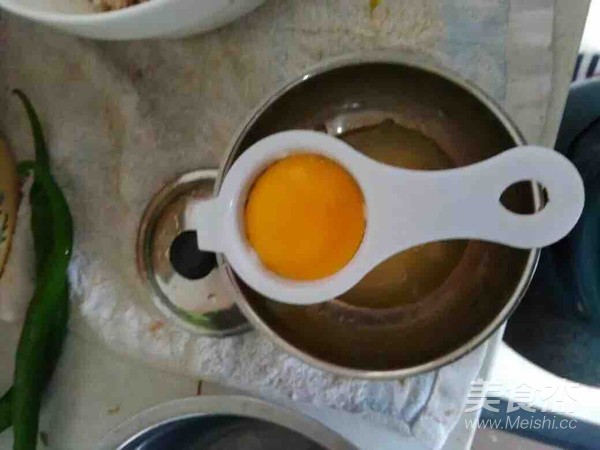
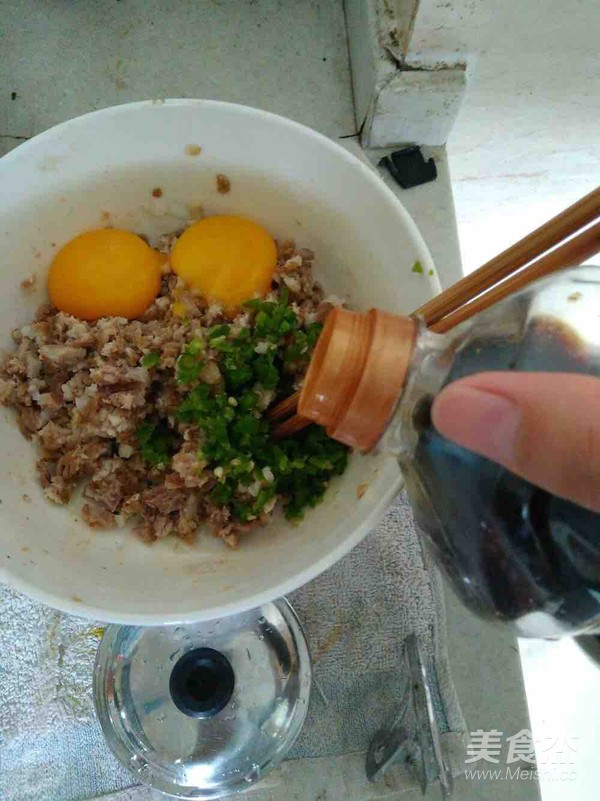
Separate the egg yolks with a separator. Two yolks are needed.
23.
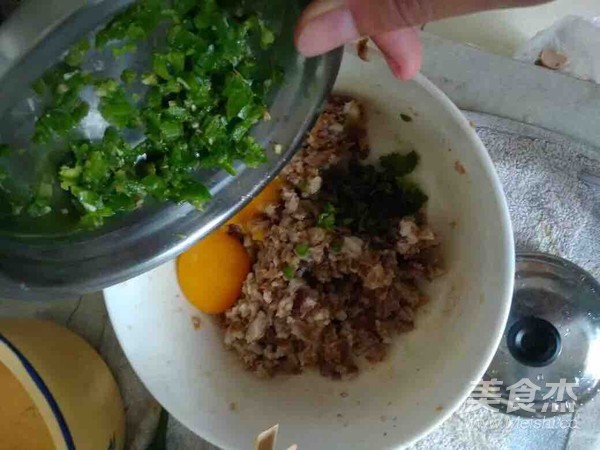
Add two egg yolks to the filling, and pour all the peppers down
24.
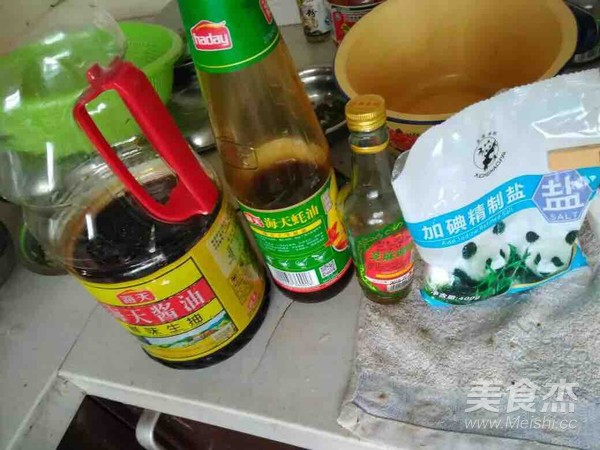
Add a little soy sauce
25.
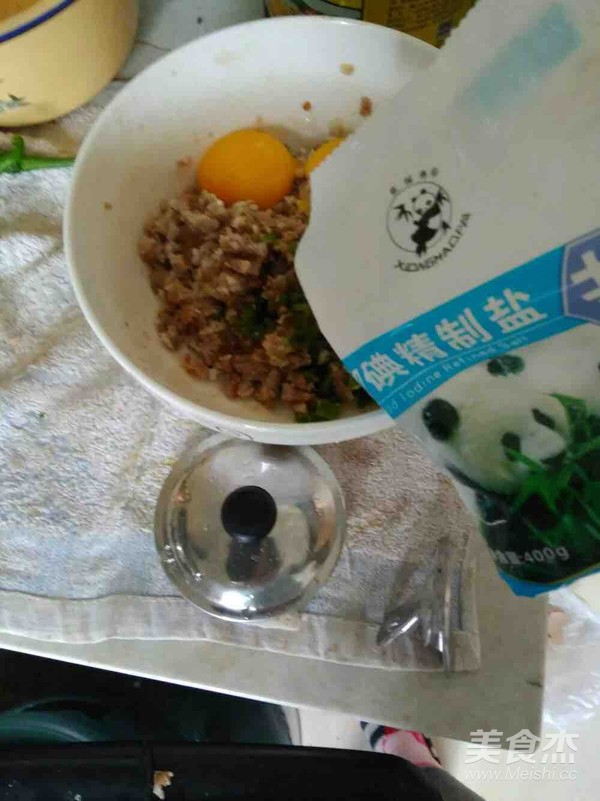
Add a pinch of salt
26.
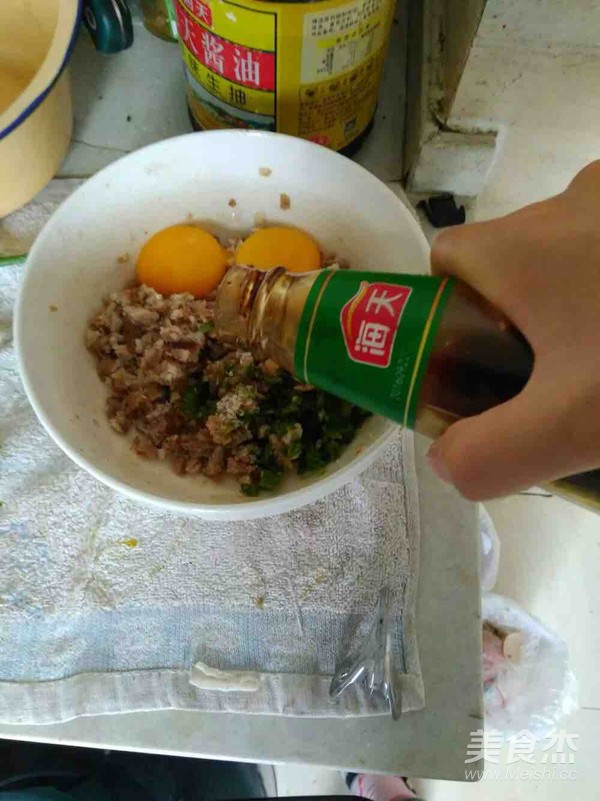
Add a little oyster sauce
27.
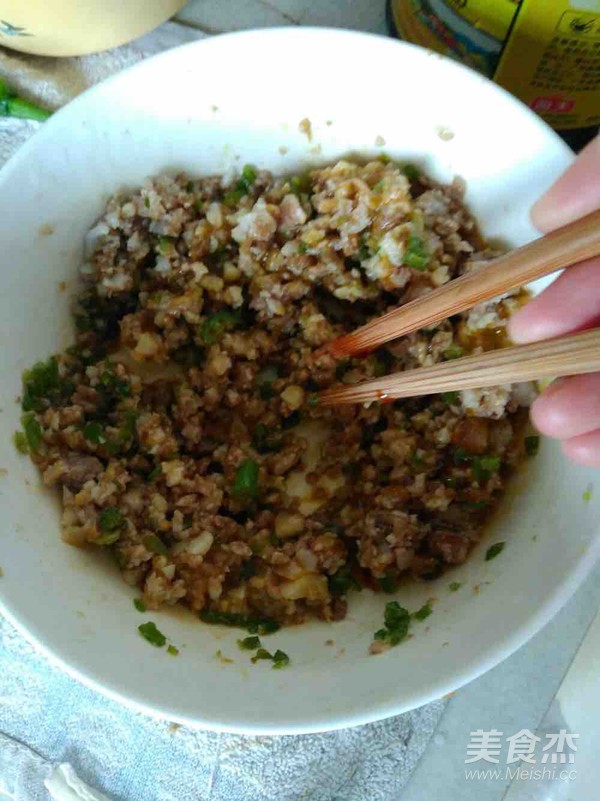
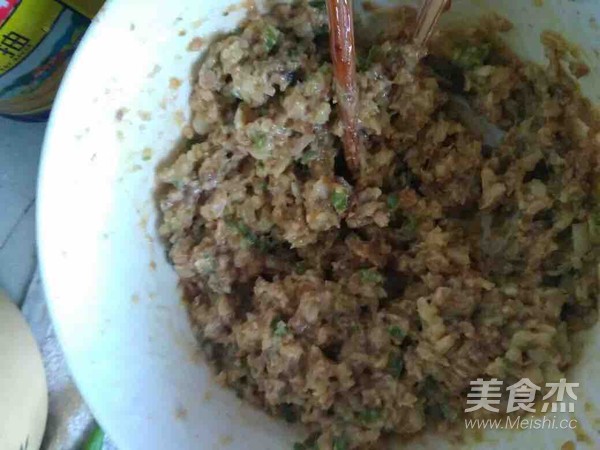
Stir clockwise with chopsticks
28.
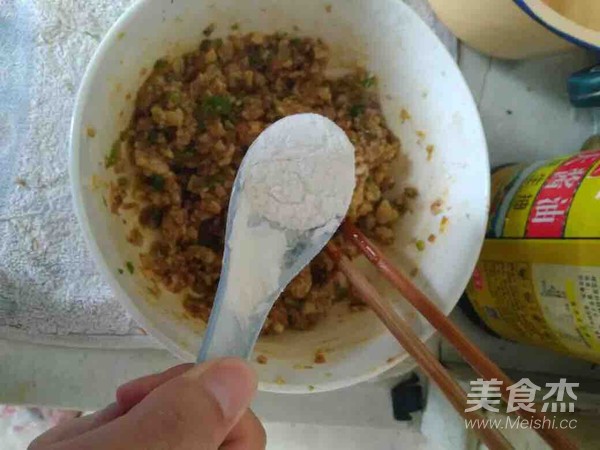
Add two spoons
29.
Keep stirring, it looks good
30.
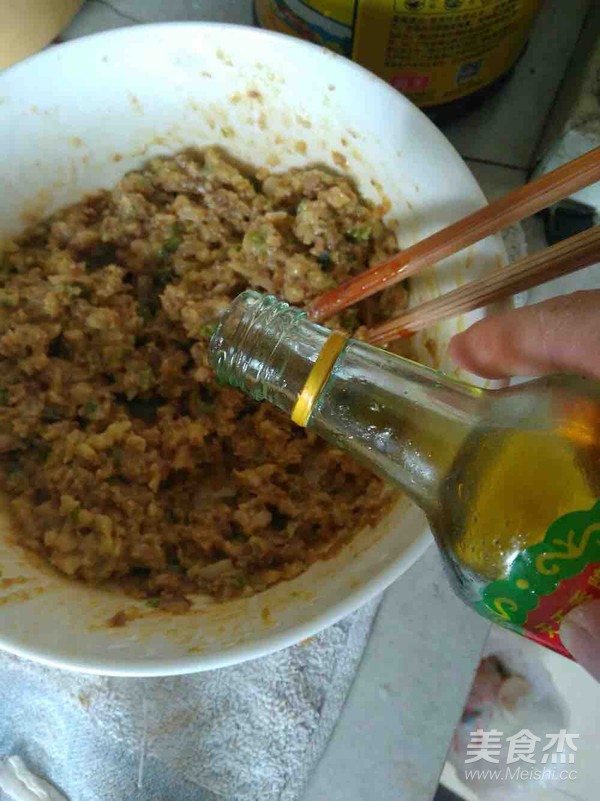
The glutinous rice flour is more fragrant, and a little sesame oil is added to make it more fragrant!
31.
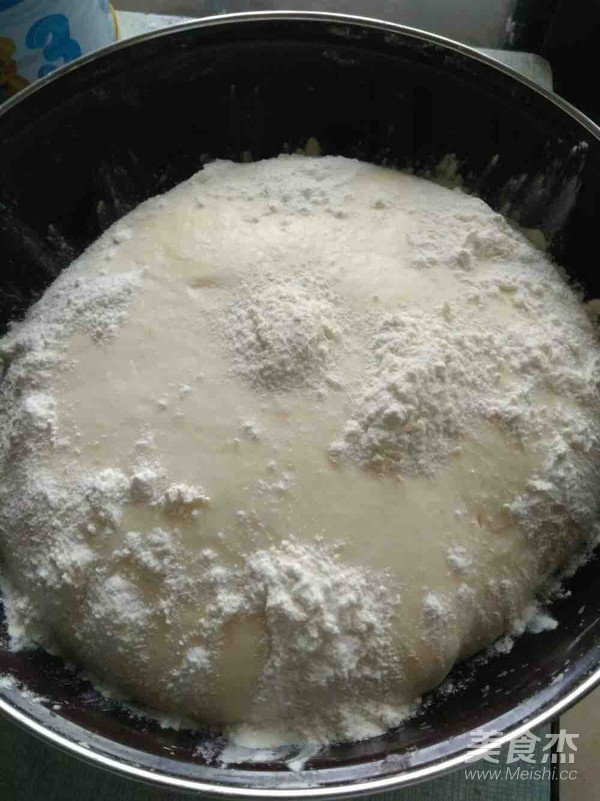
The dough is fermented
32.
Sprinkle with dry flour so that it won’t stick to your hands when kneading
33.
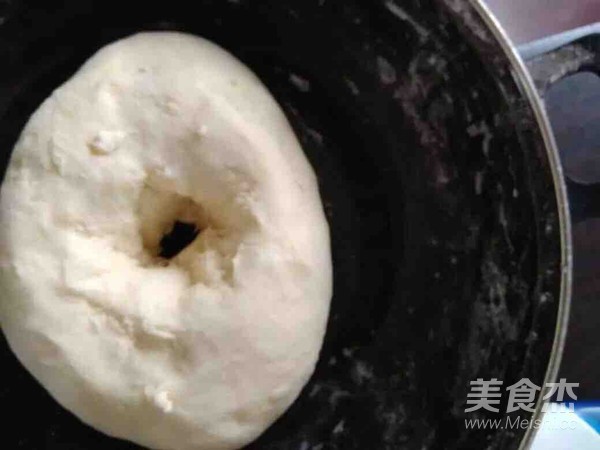
After kneading, dig a hole in the middle, this hole needs to go through the bottom,
34.
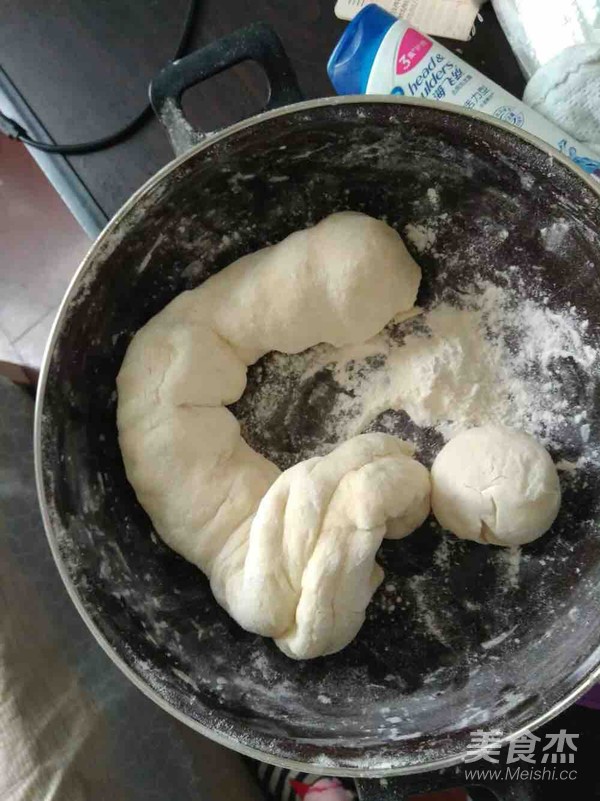
Cut off and knead the long strips and make a lot of different sizes
35.
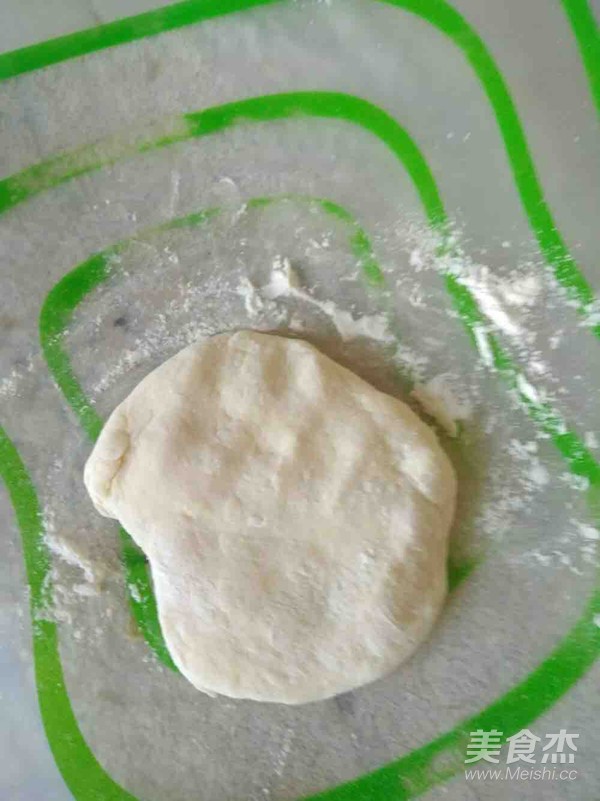
Press it flat with your palm, and stick a little flour on the upper and lower sides to prevent it from sticking to the cutting board.
36.
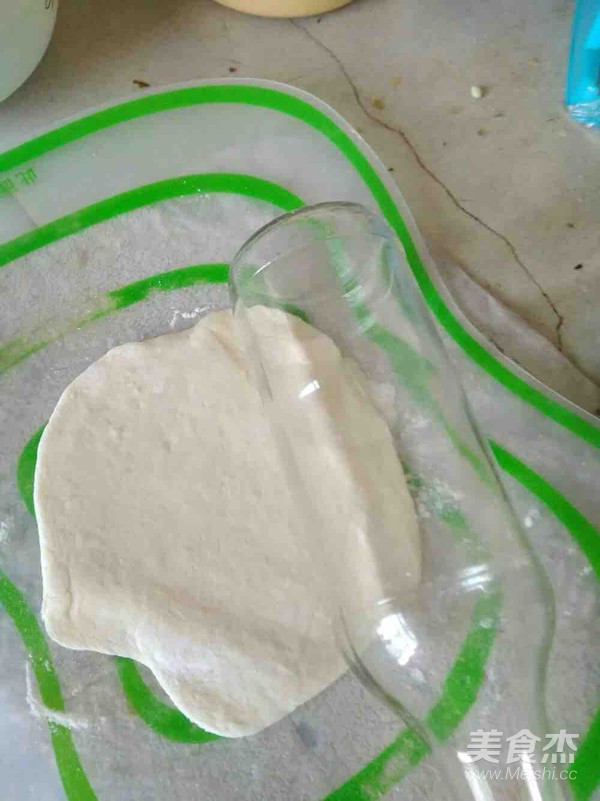
Use the bottle as a rolling pin, don’t be too thin
37.
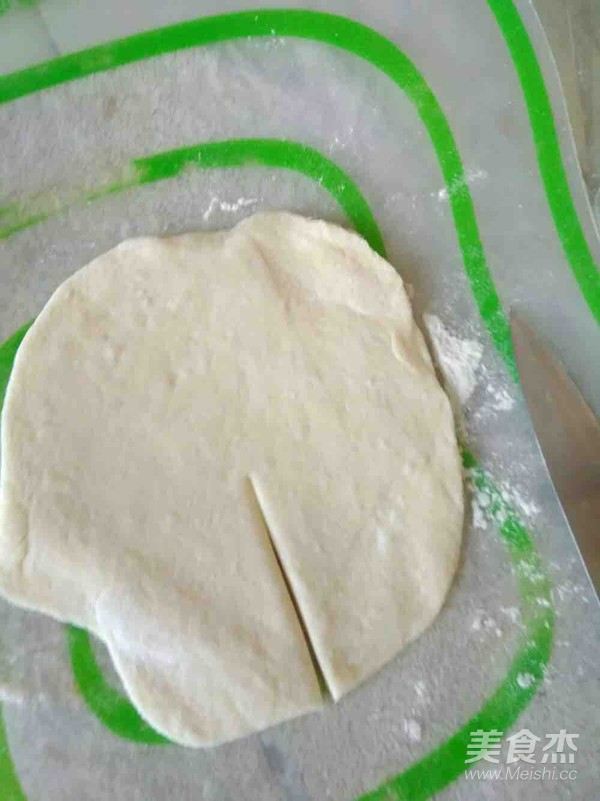
Cut half of the dough
38.
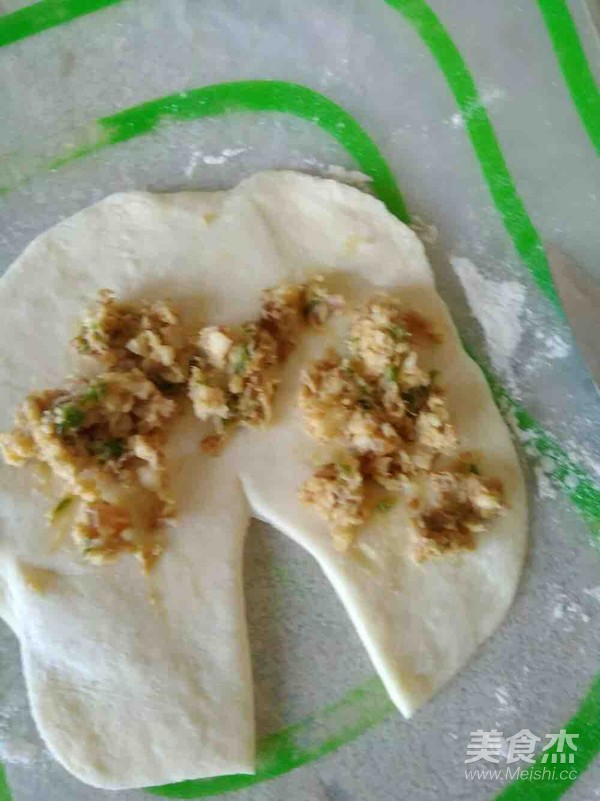
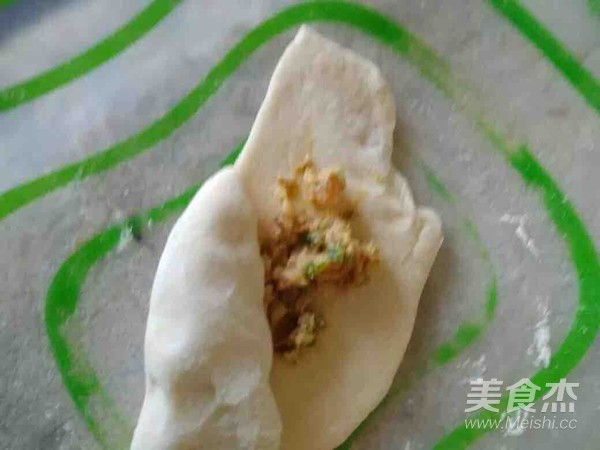
Sprinkle on the filling, more and less. Plan how much dough you want to put on.
39.
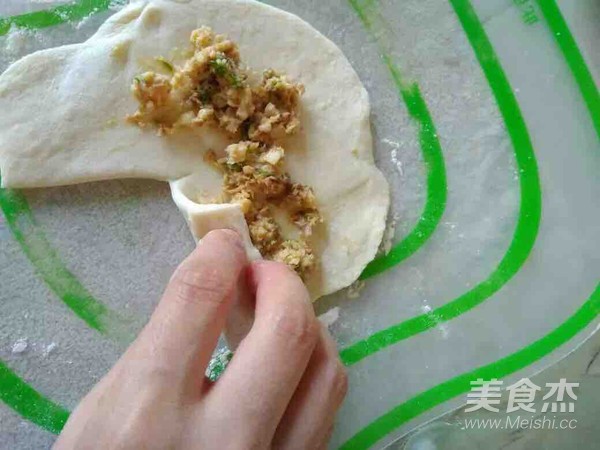
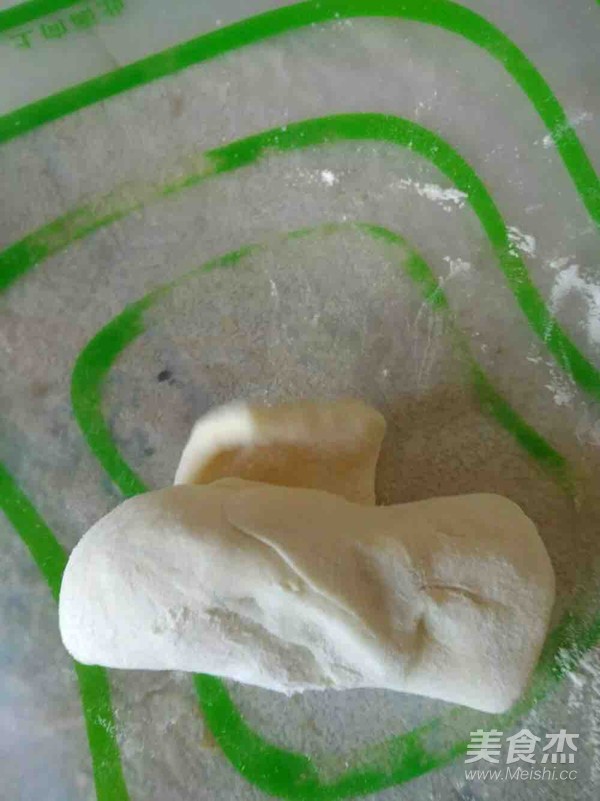
Roll from the beginning
40.
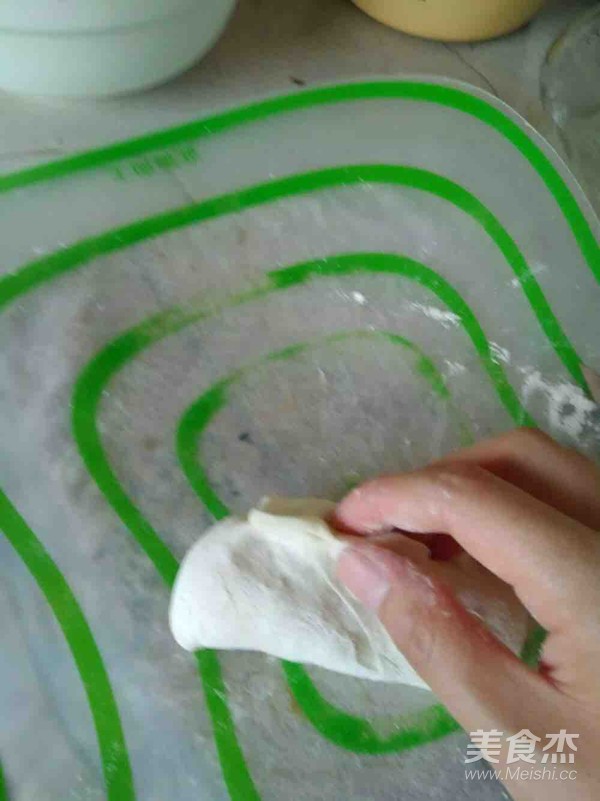
Roll to the middle and another picture
41.
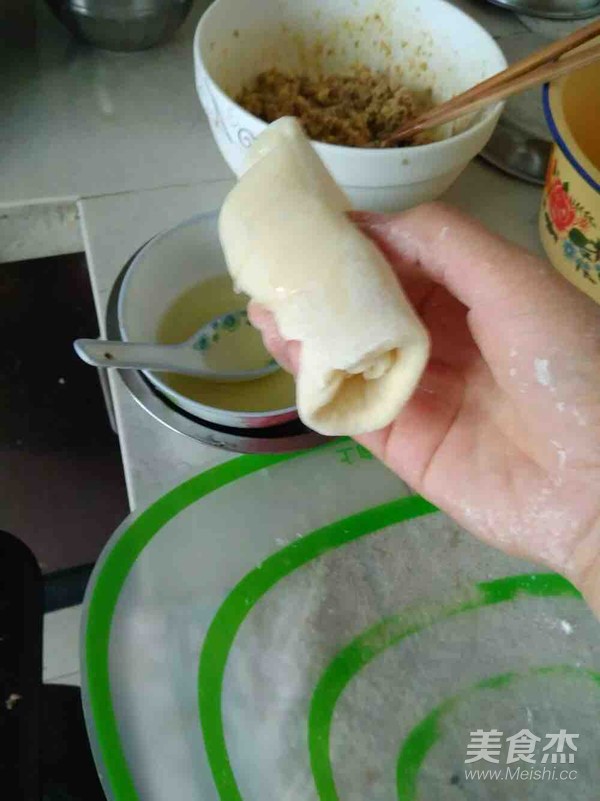
Roll to the end
42.
Pinch firmly with your thumb and index finger
43.
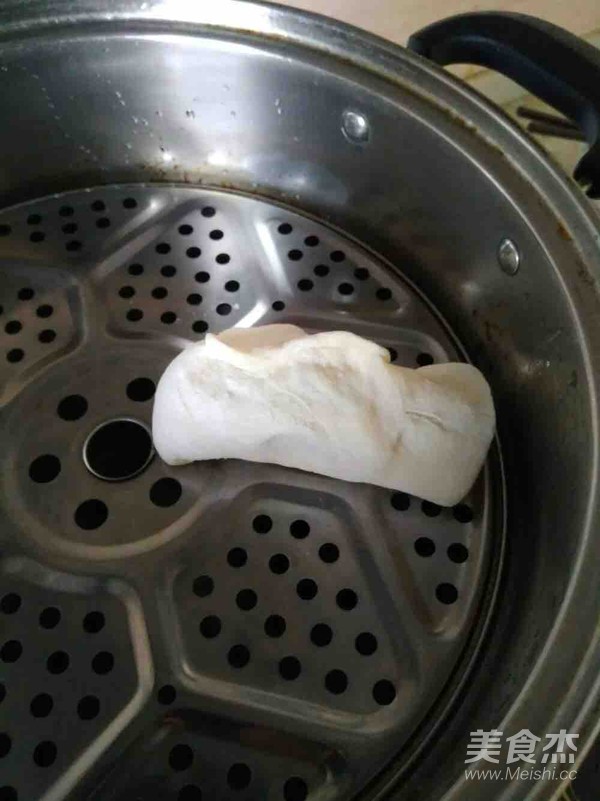
Add water to the steamer, put the steamed slices, and grease the bottom of the Hanamaki
44.
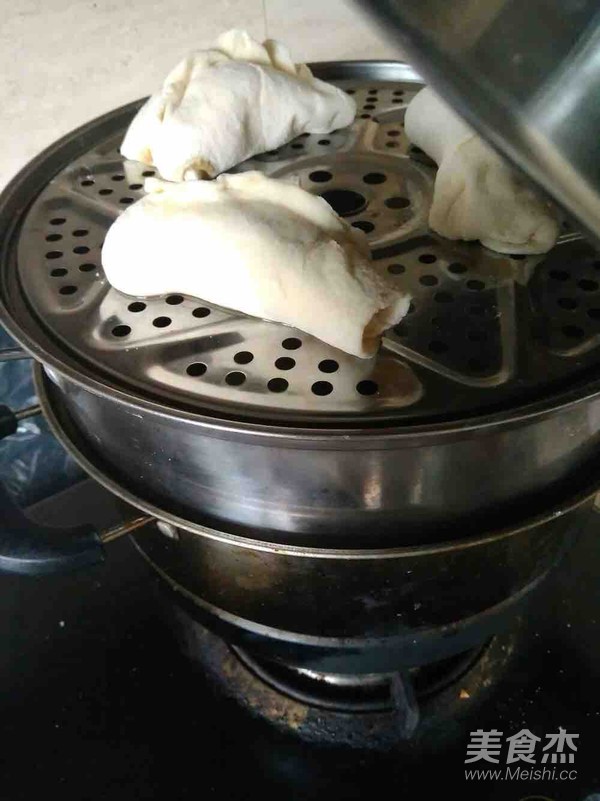
Put the Hanamaki on the steamed slices and continue to wrap the next one
45.
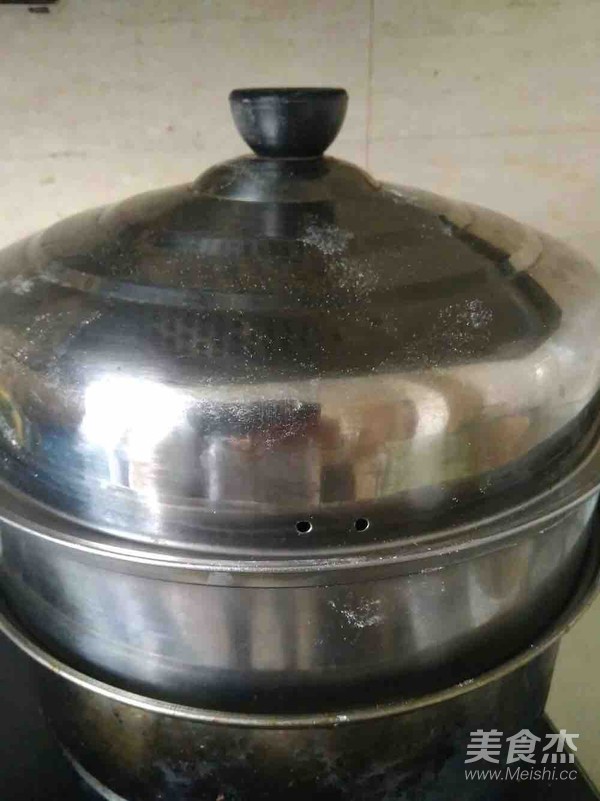
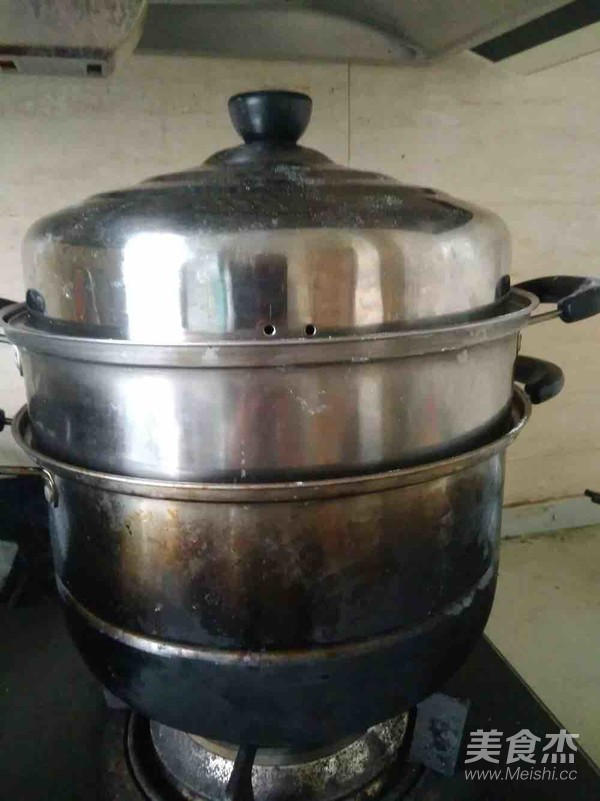
Put four on the first floor, three on the second floor, and put the lid on
46.
Let them wake up for twenty minutes,
47.
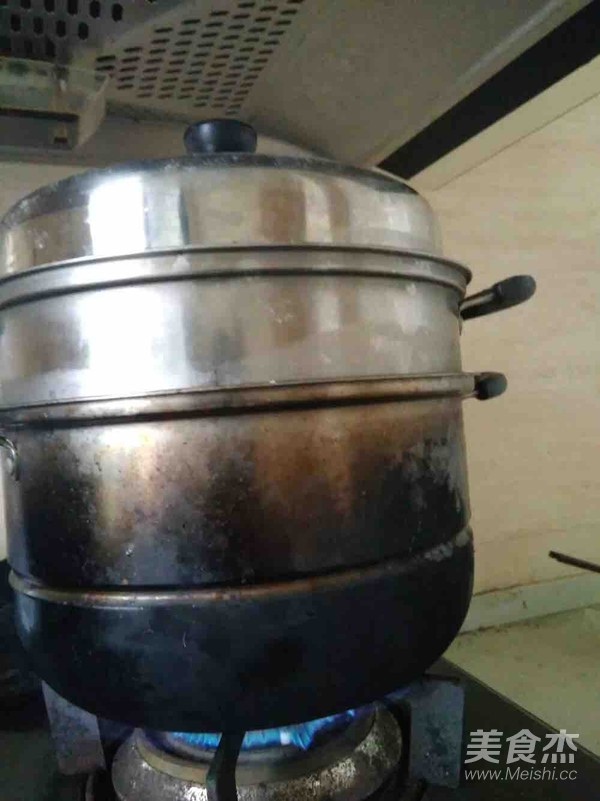
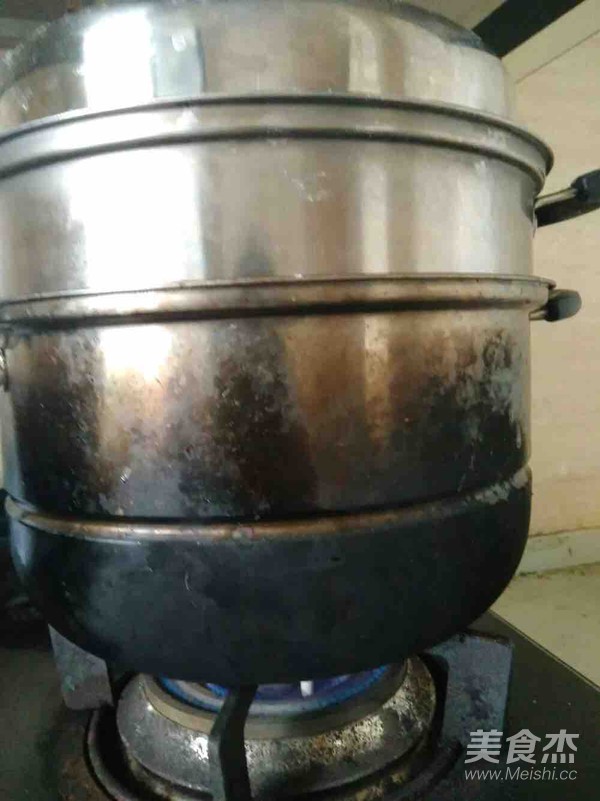
After waking up, turn on high heat to steam
48.
I'm getting angry, turn to medium and low heat and steam for another 20 minutes
49.
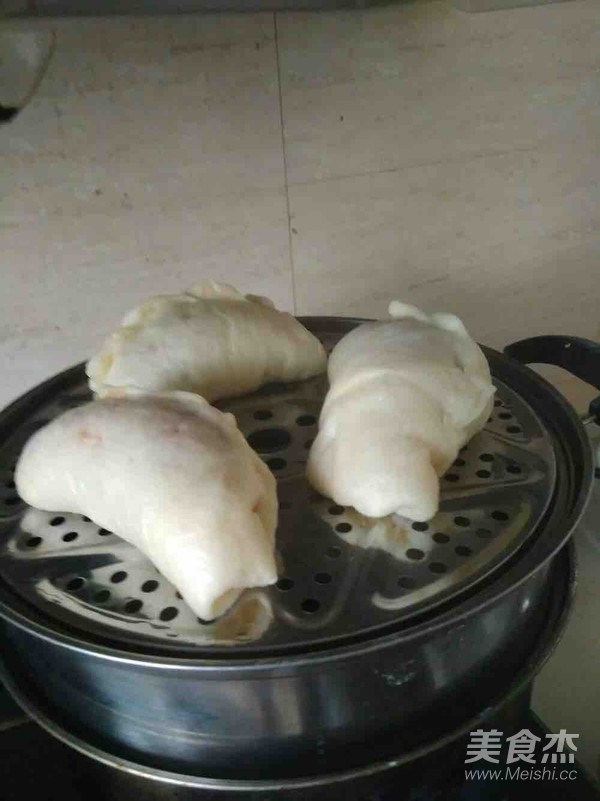
Twenty minutes are up, turn off the heat, do not open the lid, simmer for five minutes,
50.
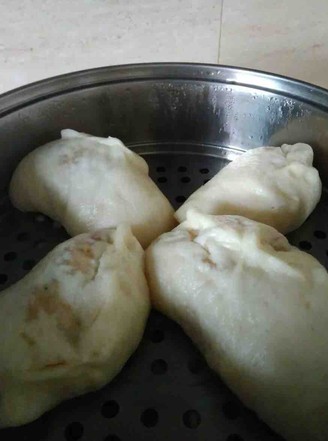
Now you can open the lid, and you can see the top layer of Hanamaki, one by one!
Tips:
[Tips] To knead the noodles, add a small amount of water in batches, and then knead. The above process takes three times. The noodles are kneaded very brightly. The surface is light and the basin is light. Don't open the lid immediately after it's done. Let it simmer for five minutes before opening the lid to prevent shrinkage. Now it's hot and fermented at a high temperature for an hour. It will be sour for too long. Yeast can't be boiled with too hot hydration, water around 40 degrees is the best!

