Brown Sugar Moon Cakes (with Detailed Instructions for Luxurious Five-core Moon Cakes)
1.
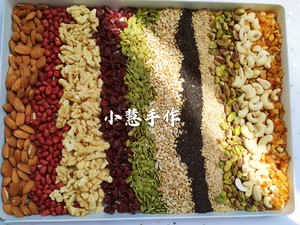
Roast all the nuts in advance and cut them into small pieces for later use. (Or buy cooked original nuts to save trouble. I'm afraid you may cry if you roast the nuts yourself) This time I made twice the amount of the recipe and used 500 grams of lotus paste filling, the total weight of the nuts. It is 750 grams (about 28 moon cakes of 75 grams were made)
2.
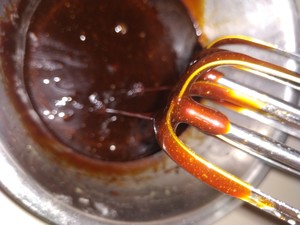
The peanut oil, inverted syrup and liquid are weighed and mixed, and stirred in a clockwise direction with a whisk to make it thick.
3.
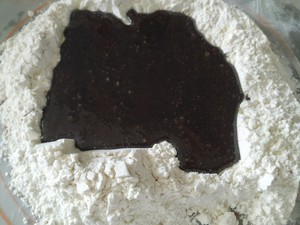
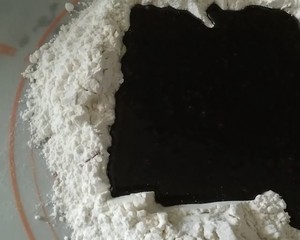
Pour the stirred syrup mixture into the flour on the chopping board. (The flour and milk powder are mixed together in advance.)
4.
Use a scraper to gather the flour in the middle.
5.
Use the cutting method to mix the flour evenly without dry powder. Then grab it into a ball with your hands, don't knead it excessively.
6.
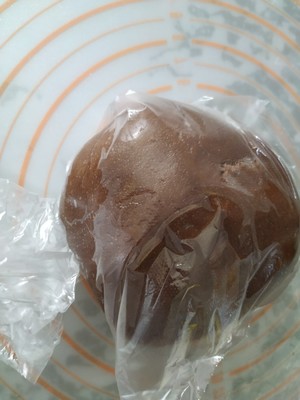
Put it in a fresh-keeping bag and relax at room temperature for about 40 minutes.
7.
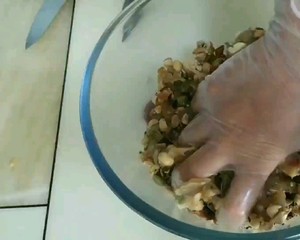
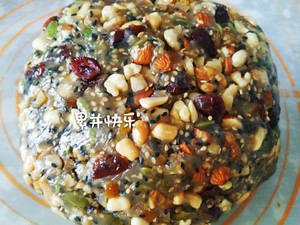
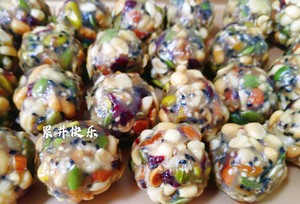
Make the filling when you relax the crust. You can stir-fry the lotus seed paste yourself, or buy ready-made ones. Buy ready-made lotus seed paste fillings with low sugar. (Fried by yourself is more delicious and delicious.) Cut the large nuts. Mix the minced and lotus seed paste fillings with your hands and grasp them evenly. You can also put some rose sauce in the fillings according to your preference. It becomes a rose with five kernels.
8.
Knead into a ball.
9.
For weighing, I use 20 grams of skin to make 50 grams of mooncakes, and 30 grams of filling (or 15 grams of filling and 35 grams of filling). The ratio of the skin to the filling is whatever you like. This is not fixed. Makes 75 grams to 30 grams of mooncake crust and fills 45 grams.
10.
Weigh the crust and the filling and cover them with plastic wrap to prevent them from drying out.
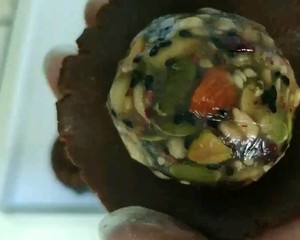
Knead the pie crust into a round ball and squeeze it to thin the edge and place it on the filling. Push up with the end of your thumb, close the mouth with a tiger's mouth, and round it. (Make up a video of moon cakes)
11.
When you pack mooncakes, you can preheat the oven. Preheat the oven at 200 degrees. When baking, I use the upper and lower fire to bake at 185 degrees.
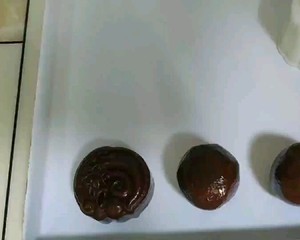
Roll the wrapped moon cake ball into an oblate shape and put it into the moon cake mold, press directly on the baking tray, hold the mold with the left hand, press it vertically with the right hand twice, and gently lift the mold. (I didn't use hand powder or oil in the mold. Maybe the mold I bought is easy to use without hand powder and does not stick.) If it is not easy to demold, you can use some familiar hand powder instead of oil.
12.
All pressed
13.
Made a few more original ones
14.
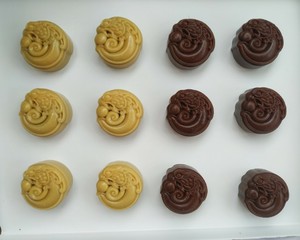
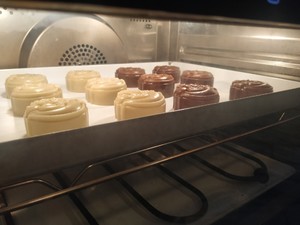
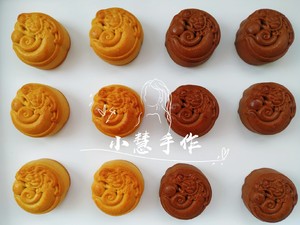
Because it was the first time that brown sugar syrup was baked, I was afraid that it would be difficult to master the temperature and time. You can make a few original colors and brown sugar and bake them together. The original color is baked and cooked beautifully, and the brown sugar is also cooked.
15.
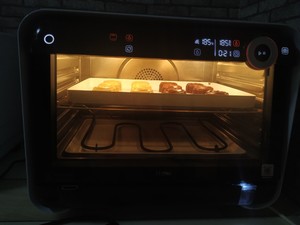
Sprinkle a layer of water on the pressed mooncake shape with a small watering can (I am lazy sometimes, I don’t even spray water, it’s just as good as it is baked, and there is no problem) Put it into the middle of the preheated oven and bake at 185 degrees for 5 minutes Set the shape and let it cool down to let it dry. (Cool for about 8 to 10 minutes)
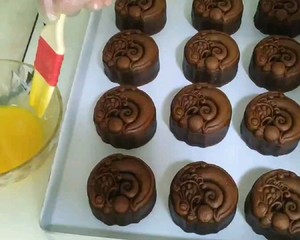
When making cold mooncakes, beat an egg, remove half of the egg white from a whole egg (that is, use one egg yolk and half an egg white) and sift it 3 times.
16.
Use a brush to control the excess egg liquid on the side of the bowl, and gently brush a layer of egg liquid, (only brush the surface but not the side) brown sugar can also be left unbrushed, so that the baked color is matte and looks good
17.
The color that is baked without brushing the egg mixture is matte and beautiful.
18.
Then put the middle and upper layer and bake for about 10 to 12 minutes, and bake it to the color you like. (The temperature should be based on your own oven temperament, not necessarily mine, because everyone's oven temperament is different.)
19.
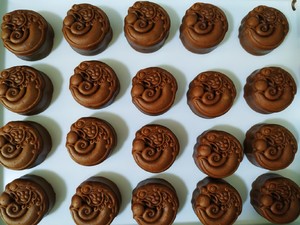
After being baked, the mooncakes are cold in the baking tray until they are not hot, and then use the baking net to cool them. The newly baked mooncakes are soft and hot, and they are easily deformed when they are taken. After the mooncake is cool, the skin is very hard and the color is dark. After the mooncake is completely cooled, store it in a sealed container. After 2 to 3 days, the skin will gradually become soft and oily. This process is called oil return. The taste is very good. Be patient and don’t rush to eat.
20.
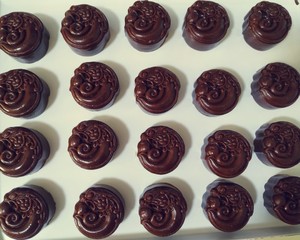
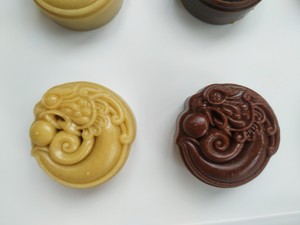
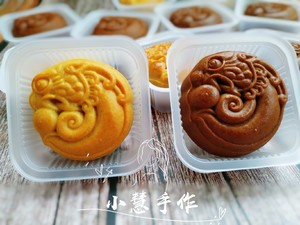
This is what it looks like after it’s out of the oven and it’s cool. It looks very beautiful before the oil is returned. This is a new mold I started with. This will be my new favorite from now on. Love it! Love it! (Am I a little fond of the new and hate the old 😃)
21.
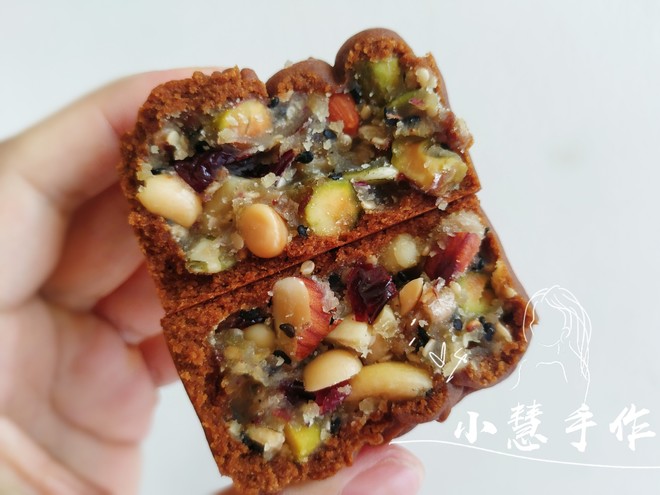
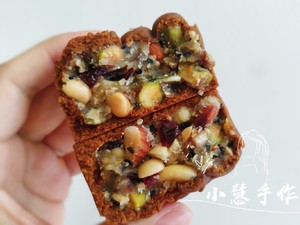
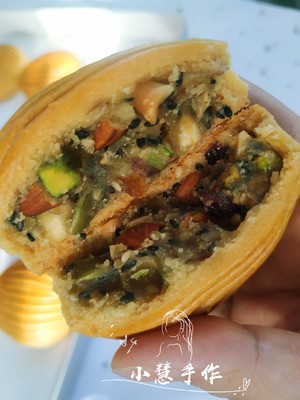
On the next day, I couldn’t help but break it up and eat it. The ingredients are super rich, and I slowly savor the different taste of each bite, leaving my mouth full of fragrance! Very tasty.
22.
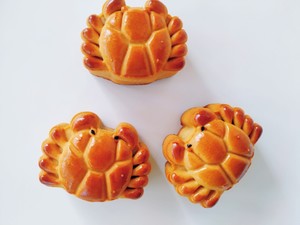
This is a crab style made of original cake crust. It is a 63g moon cake mold. I made 23 crust and 40 stuffing. The temperature and time of baking remain unchanged.
23.
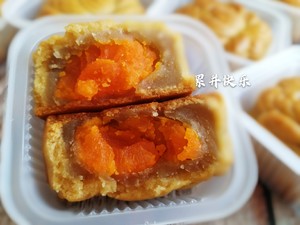
This is 80 grams of original lotus seed paste and egg yolk I made. The skin is 30 grams, and the stuffed lotus paste + egg yolk is 50 grams. The baking temperature is the same, the time is about 5 minutes and then 12 to 15 minutes. Observe the color of moon cakes during this period.
24.
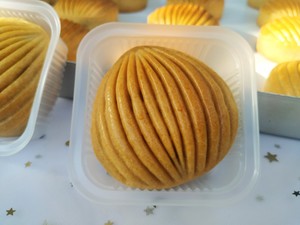
Original chestnut shape, also 75 grams
25.
When you break it apart, it's also super incense.
Tips:
Original crust: 210 gluten flour, 15 grams of milk powder, 50 grams of peanut oil, 150 grams of inverted syrup, 4 grams of soap. (When pouring water, pour it slowly to avoid pouring too much. The amount of flour should be adjusted to about 10 grams according to different water absorption)
When brushing the egg liquid, the egg liquid must be sieved and not lazy, so as to avoid the egg liquid becoming a lump and the uneven brushing will cause the uneven color of the crust to be unsightly.
The fillings can be changed at will, and become your favorite taste. (The ratio of lotus seed paste and mixed nuts is 1:1.5. You can add more nuts. According to the hardness of the lotus paste filling, the nuts can be increased or decreased, as long as the lotus seed paste and the nuts can be put together to form a ball. Adjust any taste you like, this is flexible.)
The recipe for fried lotus paste filling can be found in the kitchen. There are many recipes, so I won’t write it anymore. (Buy ready-made lotus paste to buy low-sugar ones)