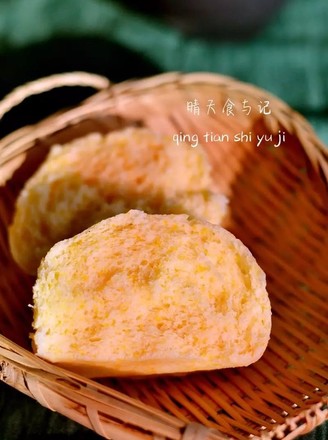
Cantonese-style Egg Yolk and Lotus Paste Mooncakes
1.
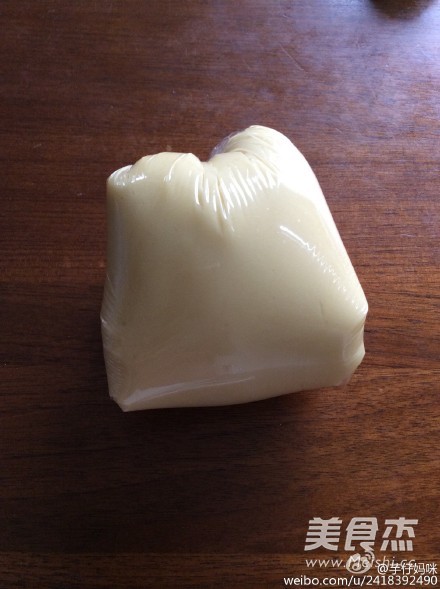
To make the pie crust, mix the syrup, peanut oil, and liquid water, and stir well. Add the flour directly and use a spatula or scraper to mix evenly from bottom to top. Wrap in plastic wrap and set aside to relax for at least 2 hours. The original recipe does not recommend refrigeration, I always wrap it in plastic wrap and let it relax at room temperature.
Because I took the child by myself, I basically started work while the child was sleeping. Knead the crust at night, let it relax, and start making it the next afternoon when my son sleeps. Or you can knead the crust in the afternoon and make it after your child sleeps at night.
Some of my friends still stick to this recipe. It was fine when I did it, and I have never encountered such a situation. Maybe it's because of the materials I used and the slack time. There are also friends who said it has something to do with the local humidity. I am doing it for the first time, and I am not very proficient. Let's communicate and learn more.

2.
Divide the filling
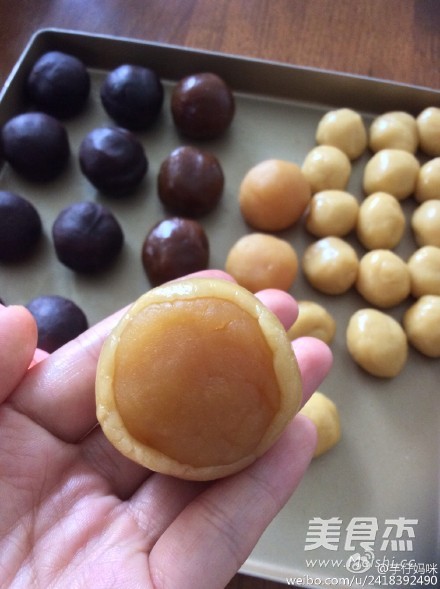
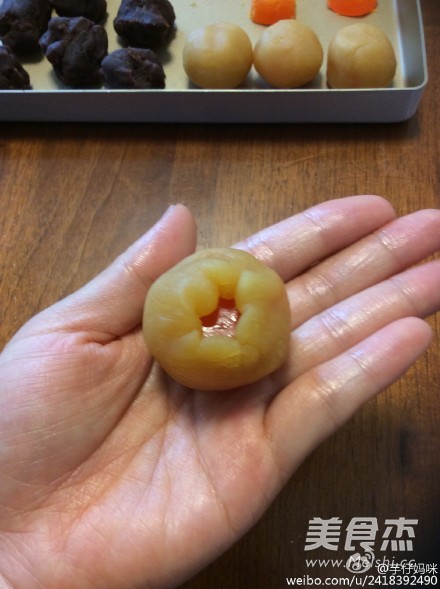
50 grams of moon cakes, the skin filling ratio is 3:7, the filling part is 35g, so egg yolk + white lotus paste = 35g is fine. I tried to use half a large egg yolk according to the original recipe, but it still takes a whole egg yolk. Enough taste. Just because I used a large egg yolk and I am a novice, I feel bad about it, so I reduced the amount of lotus seed paste, which adds up to almost 33 grams. Wrap the egg yolk with lotus seed paste. Cover the divided fillings with plastic wrap and set aside for later use

3.
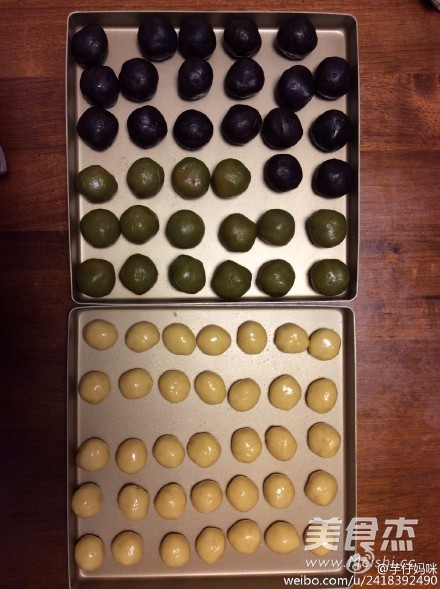
Weigh the fillings, and pack the egg yolks one by one after dividing. It's quite simple to say, and the specific operation takes a lot of time. Pay attention to the time when making it. After dividing it, it is estimated that the time for the crust to relax is almost the same. Then weigh the crust. Weigh the total weight of the crust and divide it by 20 to get the weight of each. Divide them, put them on a plate, and cover with plastic wrap. The picture below was taken when preparing to start the package, so there is no plastic wrap
4.
Then take the pie crust, squash the pie crust and put in a filling, use the tiger’s mouth to slowly push the pie crust up
5.
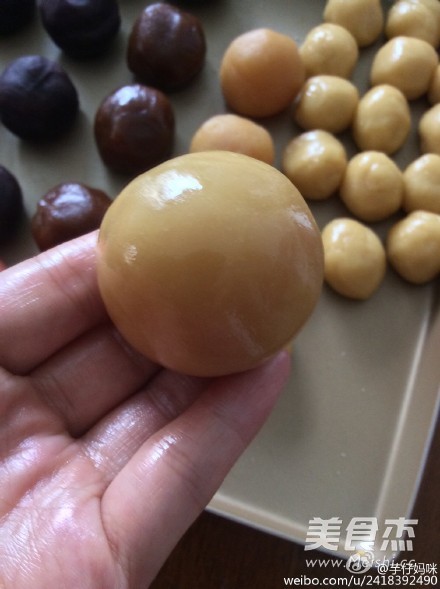
Slowly push it up and close your mouth. In fact, the students who can't accept it can try the method of making glutinous rice balls. There should be many videos on the Internet. Which makes perfect, it must be a little difficult to do it the first time, just do it a few times. The crust of this recipe is quite oily, but not sticky. But I bought gloves later, it was too oily and uncomfortable
6.
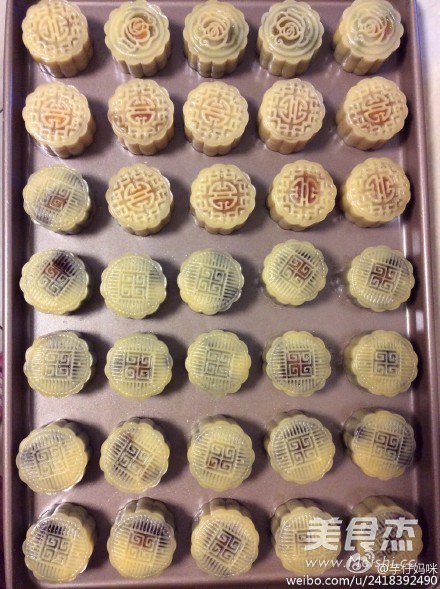
Next, prepare the embossing pattern. First apply a thin layer of oil to the pattern and mold, not too much, because the crust itself is oily. Roll the closed mooncake ball into a column, put it in and press it. When pressing, it is best to press on the table first, because some baking pans will be uneven. A whole egg yolk is more difficult to press, and sometimes it will be uneven, but if you make it yourself, you need to feed it enough and taste it
7.
Because this recipe contains a lot of oil, there is no need to spray water. Bake in the oven at 200 degrees for 5 minutes. Of course, it must be preheated before entering the oven. Bake after preheating
8.
Bake at 200 degrees for 5 minutes, take it out, and brush the surface with egg yolk liquid. Be careful when brushing the egg wash. After the brush is soaked with egg liquid, press on the edge of the bowl to press almost all the egg liquid on the brush. If there is still egg liquid dripping, it must not work. Brush a small amount and pass it on the pattern clearly, so that the pattern is clear and beautiful
9.
Brush the egg mixture and bake it in the oven at 180°C for about 15 minutes. Pay attention to the state of the mooncakes, because each oven is different. If you are not familiar with your own oven, pay more attention to observation. The mooncake bulges a little bit and the surface is colored. If you still don’t worry and want to continue baking, you’d better add tin foil. Otherwise, the color is too heavy and it won't look good
Tips:
I used this recipe, and I got a little bit of oil back almost the next day. On the third day, it’s best to eat the crust for a relaxing time, and it is recommended that it be more than 2 hours. The crust will be hard after baking, and the color will become nice and soft after the oil is returned. The material suggestion is to buy a better one. Because the filling is not good, it directly affects the finished shape of moon cakes. I am also a novice, still exploring, discuss progress with everyone

