Fresh Meat Moon Cakes
by Good baking ~ teaching service of steaming and baking
Favorite
1
Difficulty
Normal
Time
15m
Serving
2
Fresh meat mooncakes that you refuse to put on the slap can be made at home!
"The layered puff pastry is soft, but it is a bit crispy; when it is crisp, it is also a bit tough. The special taste of tenderness, tenderness, and meat and vegetables is completely derived from the meat. Stuffing. During the baking process, the heat slowly penetrates the plump gravy into the layers of puff pastry. It is not as juicy as fried buns, but it has a juicy feel. If you bite it down, the puff pastry is smelling of meat. It’s "slapped and won’t let it go.""
——Shen Hongfei
This ecstasy description of Shanghai glutton Shen Hongfei really tells the common aspirations of Shanghai and even the entire Jiangsu and Zhejiang areas for fresh meat mooncakes. I held it in my hand and took a hot bite. It was crisp, fresh and fragrant, and filled my mouth. With the rich layers of nourishing oil, everything around seemed to float.
Before and after the Mid-Autumn Festival, the front doors of all the old brands are bound to be overcrowded. I don't want to queue up. It's better to learn how to sell get√ fresh meat mooncakes DIY and use your own craft to spend a reunion and delicious festival with your children and family. "


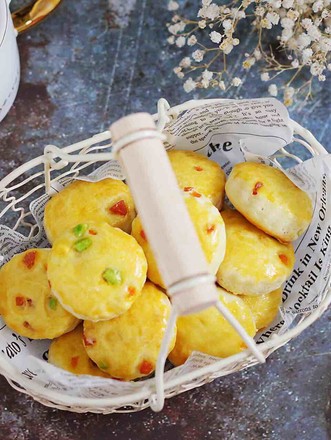
![Seasonal Vegetable Patties [baby Food Supplement] recipe](https://img.simplechinesefood.com/02/024b910033009872aea33017c755a377.jpg)