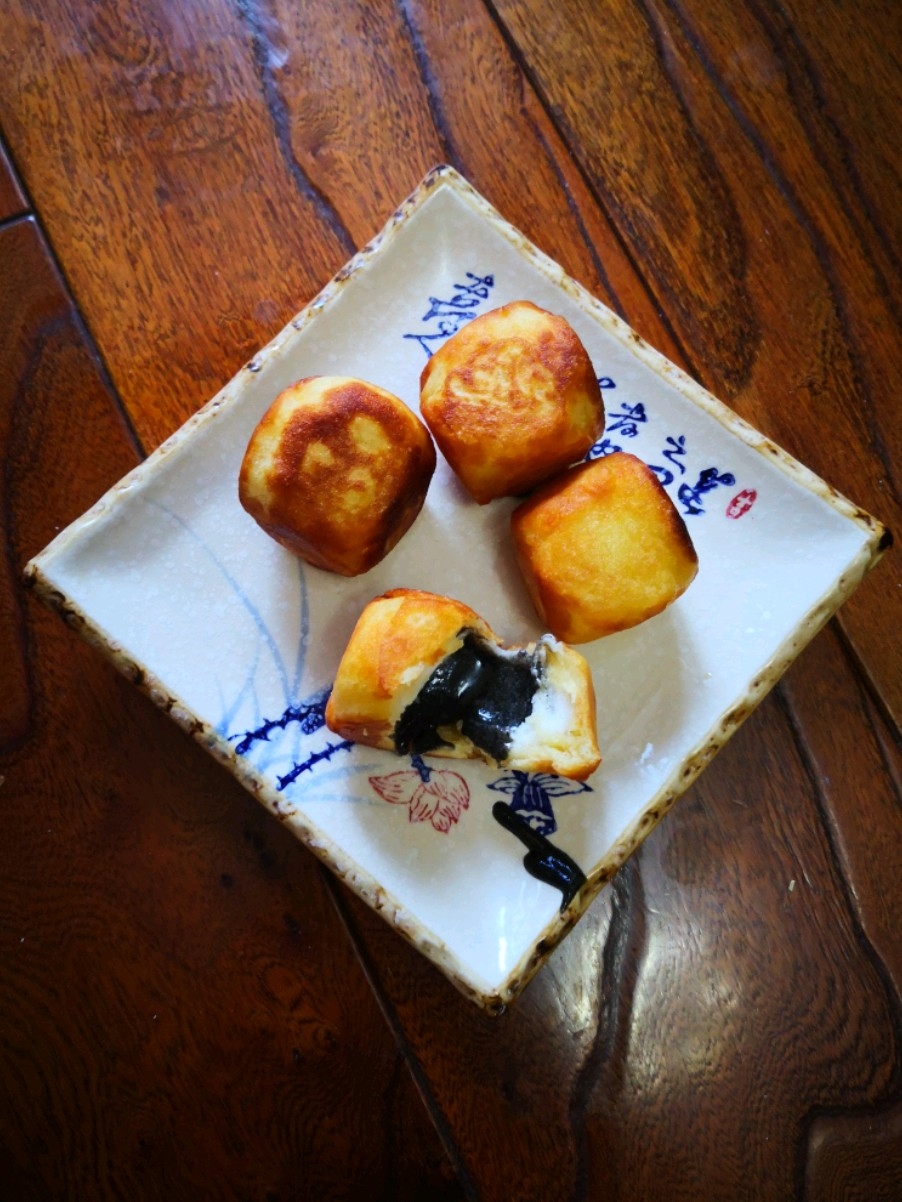
Layers of Taro Crisp
by He Xiaohe
Favorite
1
Difficulty
Easy
Time
30m
Serving
5
A few days ago, I bought 5 large taro, said to be fragrant taro. The Lipu taro imported from Guangxi has been improved and the quality is better. .
When I bought it, I quickly steamed one and ate it. There was no fiber at all, and the flour was super delicious. As a result, I set off and returned to my hometown the next day. The remaining four were left there. There was heating in the house. When I came back a week later, two of the taro had already been rotten. It really hurts, such a good thing. Hurry up and make the remaining unspoiled taro meat, and then there are 2 taro, which are all steamed and made into taro paste filling.
I used to fry red bean paste, and it really took a long time to fry, but this time I used taro to fry it quickly, because the water in the taro is basically not much after steaming. I added milk and butter and it was done in 10 minutes. Be sure to use a non-stick pan.
I melted some lard on my own and made taro crisps. The layers look great, and the scum will drop when touched. I don't make many Chinese pastries, because I have to roll them and stand for a long time. But fortunately, the taro cake was very successful this time, and it was comforting.