Red Bean Crisp

Red Bean Crisp

by Looking for Peach Blossom Island

5.0 (1)
Favorite

Difficulty

Easy

Time

30m

Serving

3

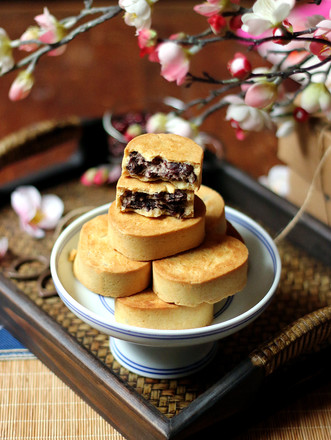
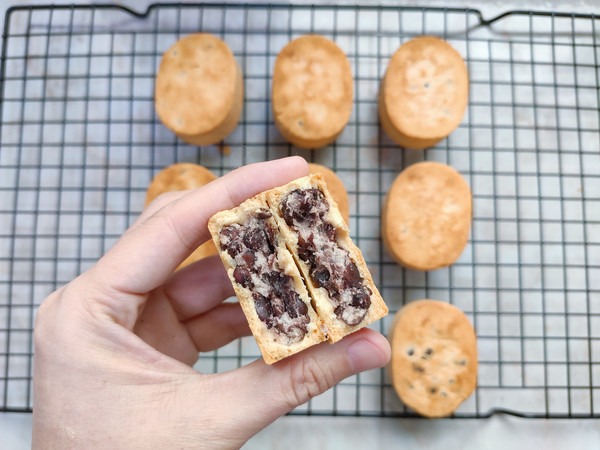
Speaking of crispy, delicious, simple, and no waste of ingredients, this "red bean crisp" I made today can't be missed.

Compared with the popular rice cooker cake nowadays, it has stronger practical operability, no need to whip the egg whites, no requirement for mixing technique, shorter production time, higher success rate, and novices don’t have to worry about wasting ingredients if they fail. . The finished product has a crispy outer skin and sweet and waxy fillings, which adults and children like very much.

If you also have a "little cat" for winter vacation, or if you are bored at home, let's cook and taste together. You can make it once and make it a second time.

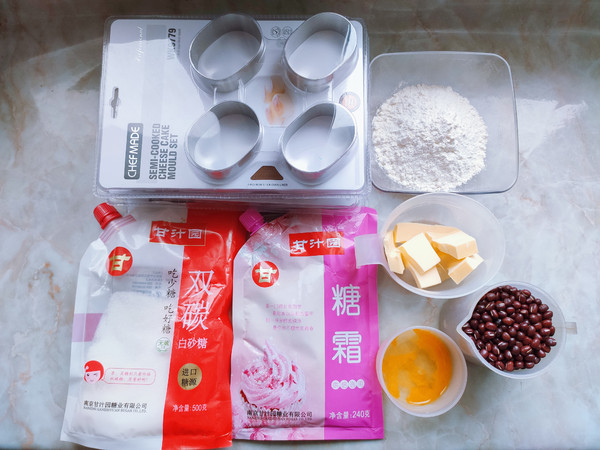
Outer skin-75 grams of unsalted butter, 10 grams of icing sugar, 1 gram of salt, 25 grams of egg liquid, 125 grams of low-gluten flour.
Honey red bean paste-200 grams of red beans, 30 grams of white sugar, and appropriate amount of water.

The indicated amount can be used to make 8 "Learn to Cook Semi-cooked Cheesecake Moulds".

Ingredients

Red Bean Crisp

1. Prepare all kinds of ingredients, cut the butter into small pieces and soften it at room temperature.

Red Bean Crisp recipe

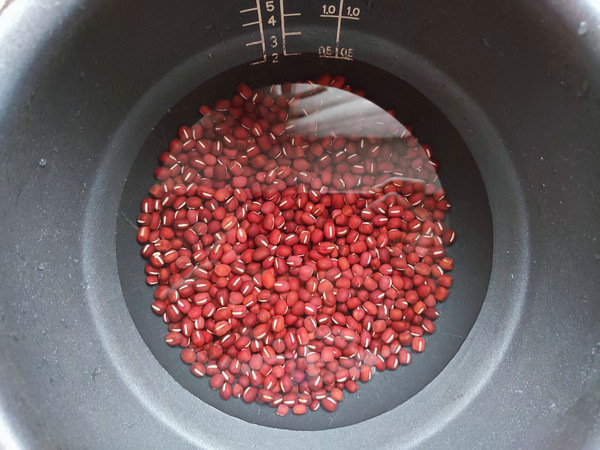
2. First make the red bean filling: wash the red beans, add 2 times the water, pour it into an electric pressure cooker, and select the "beans" program to cook. If you don’t have an electric pressure cooker at home, you can soak the red beans overnight and cook them in an iron pan.

Red Bean Crisp recipe

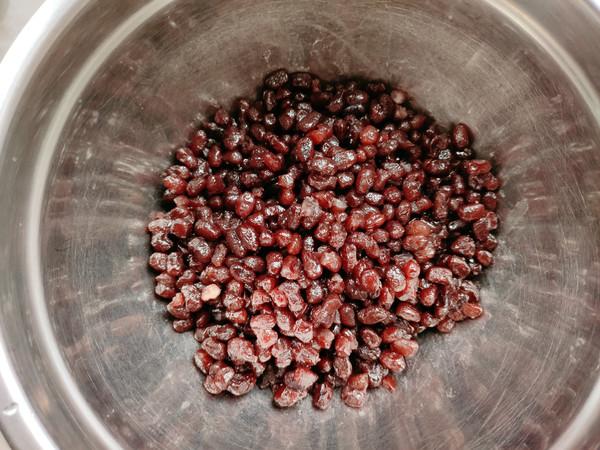
3. Pour the cooked red beans into the soup, add white sugar while it is hot, and mix well.

Red Bean Crisp recipe

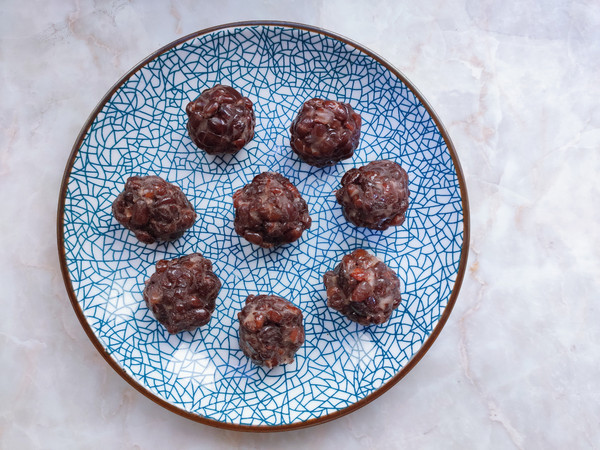
4. Let the flavored red bean paste cool in the air, squeeze it into 25g balls each with your hands, and set aside for later use.

Red Bean Crisp recipe

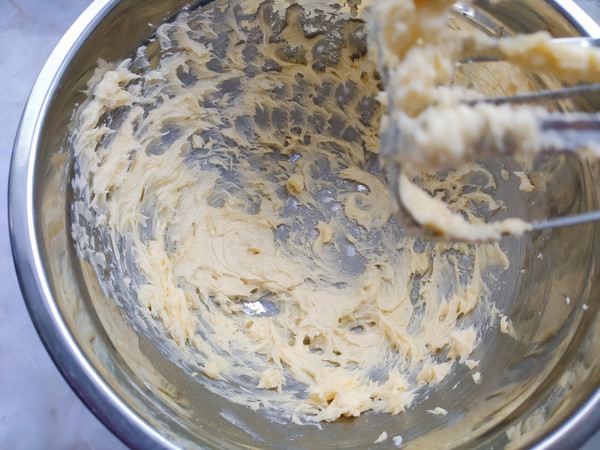
5. Then make the crust: Cut the butter into small pieces, soften it at room temperature, add icing sugar and salt and mix well, then use a whisk to beat until smooth.

Red Bean Crisp recipe

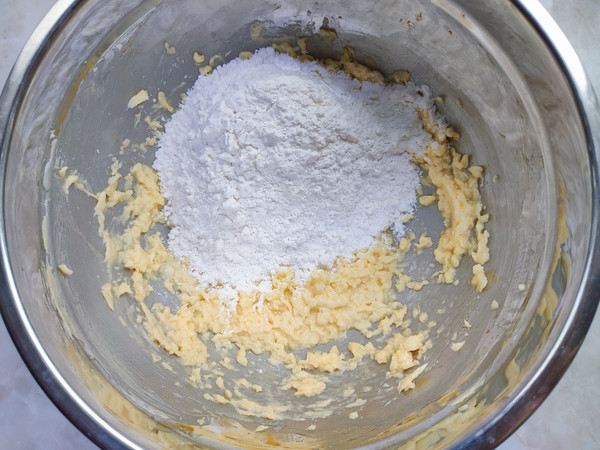
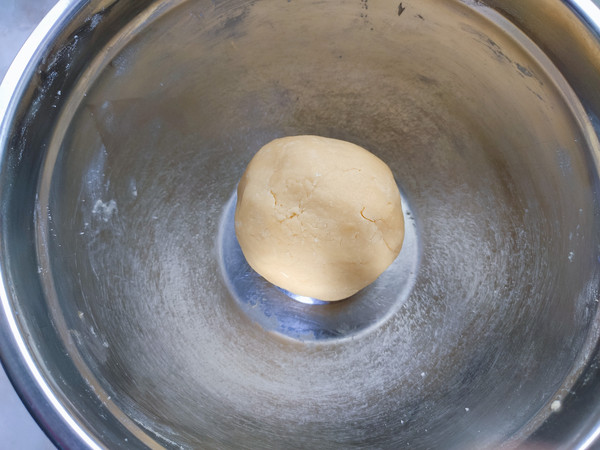
6. Add the egg liquid, beat until it is completely combined and there is no separation of water and oil, and then sift into the low-gluten flour to form a dough.
Tips: It is best to keep the eggs at room temperature instead of just taking them out of the refrigerator. It is easier to mix them with the butter. If low-gluten flour is not available, ordinary flour (dumpling flour) can also be used.

Red Bean Crisp recipe

7. Cover the dough with plastic wrap and let it stand for 10 minutes. At the same time, preheat the oven and fire up and down 180 degrees for 10 minutes.

Red Bean Crisp recipe

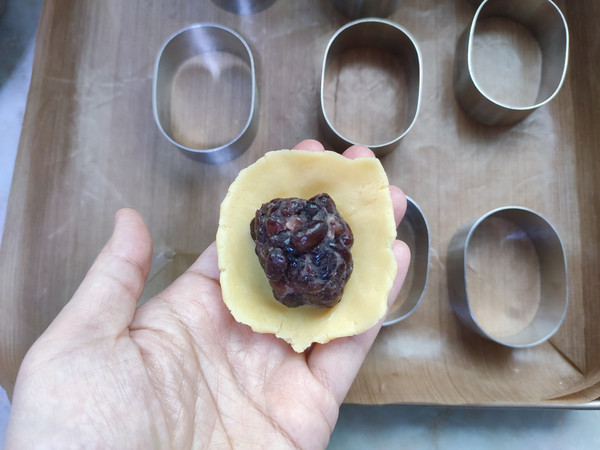
8. Next stuffing: Divide the dough into 25 grams each, shape it into a ball and squeeze it into a pancake in the palm of your hand. Put the red bean filling in the middle. The skin filling ratio I used is 1:1, and it can also be changed to 4:6 according to the size of the mold.

Red Bean Crisp recipe

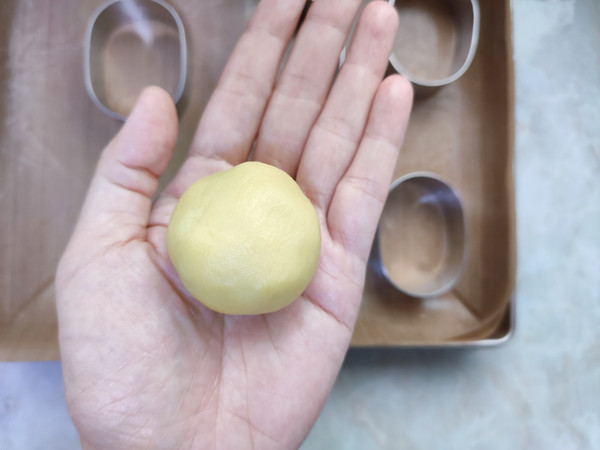
9. Just like wrapping moon cakes, press the outer skin while rotating upwards, while closing the mouth, wrapping it into a ball shape.

Red Bean Crisp recipe

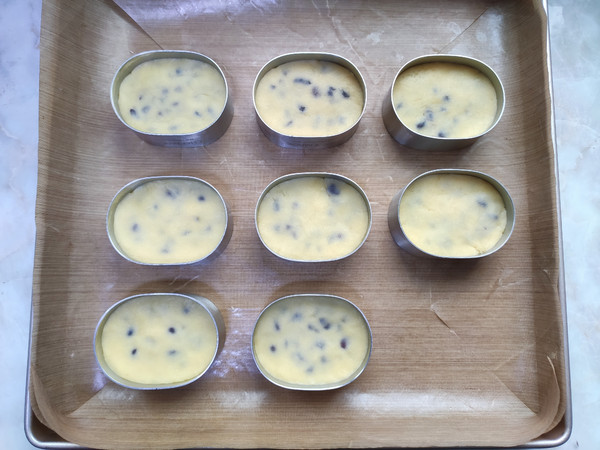
10. Into the mold: Put it into the oval mold, evenly press the four sides lightly to make the surface smooth and the surroundings are fully fitted to the mold. There is no need to brush the oil around the mold, and it will not stick. The baked product will be a circle smaller than the mold, and it is easy to demould.

Red Bean Crisp recipe

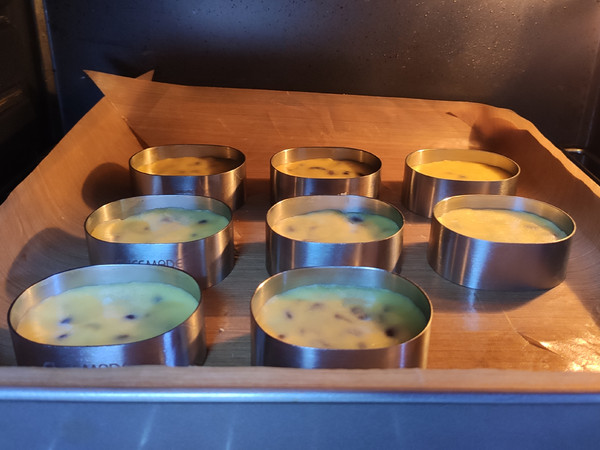
11. Baking: Put the mold in the baking tray, put it in the middle of the preheated oven, and bake at 180 degrees for 15 minutes. The specific time and temperature should be adjusted according to the size of the mold and the actual oven temperature.

Red Bean Crisp recipe

12. Demoulding and letting cool: After baking, demoulding, let cool. Break it apart and take a look, the outer skin is evenly thick, crispy and scumming. The red bean filling powder inside has a sweet taste and is delicious.

Red Bean Crisp recipe

Tips:

1. Don't boil the red beans too soft, or they will lose the texture of the pellets. But don't be too hard, it is easy to puncture the outer skin when wrapping. You can take a boiled red bean and twist it with your fingertips.
2. The red bean soup must be drained, or if the filling has too much moisture, the crust will burst during baking. The leached red bean soup can be used to cook rice or eaten with sugar or drink as a drink.
3. The sugar in the red bean paste should be added in portions, stirring each time until it melts before adding the next time. Taste the taste when you feel almost done, subject to personal taste.
4. Cut the frozen butter into small pieces to make it easier to soften, and it is enough to soften it to the point that there will be a hole in the finger. Don't heat the butter into liquid, it will affect the crisp taste.
5. The butter does not need to be over-whipped, just stir it until it is smooth. The salt is added to control the expansion and deformation during baking.
6. The prepared red bean pastry should be sealed and stored to prevent moisture from affecting the taste. It can be stored for 3 to 5 days at room temperature, and it can be stored in the refrigerator for a week. But my family eats up when it's done, and it doesn't last for three to five days.

Comments

Similar recipes

Onion Soup

Onion, Thick Soup Treasure, Water

Salad Chive Bread

High-gluten Flour, Egg, Milk

Creamy Mushroom Soup

White Mushroom, Onion, Garlic

Salad Ham Bread

High-gluten Flour, Low-gluten Flour, Egg

Cauliflower Cheese Soup

Unsalted Butter, Cheddar Cheese Sauce, Onion

Carrot Crumb Soft Bread

Carrot (red), White Sugar, Yeast

Spinach Toast Over 9 Months

Spinach Puree, Unsalted Butter, High-gluten Flour

Super Soft Brushed Pumpkin Toast

Purified Water (soup Type), Jinshan Japanese Toast Flour (soup Type), Main Dough