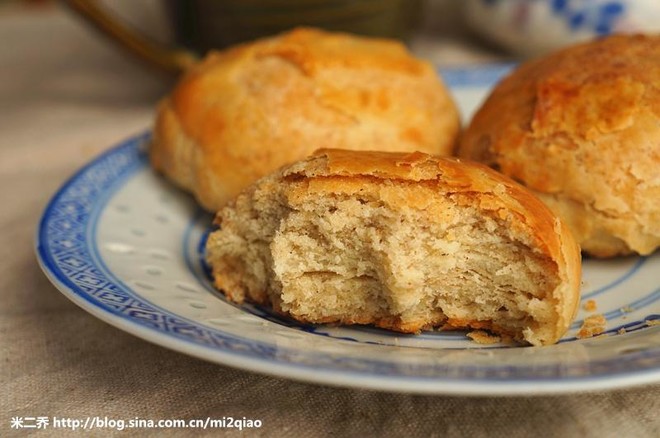
Shortbread Biscuits (more Delicious Than Sesame Sauce Biscuits)
by Mi Erqiao
Favorite
1
Difficulty
Normal
Time
15m
Serving
2
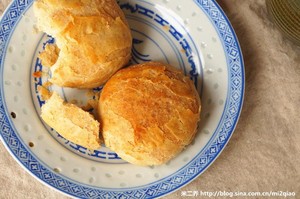
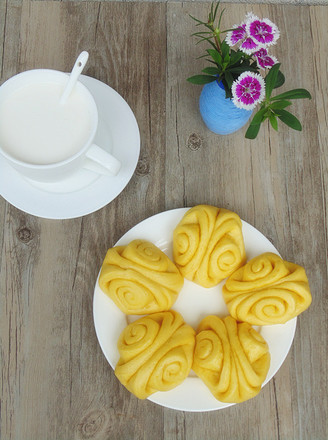
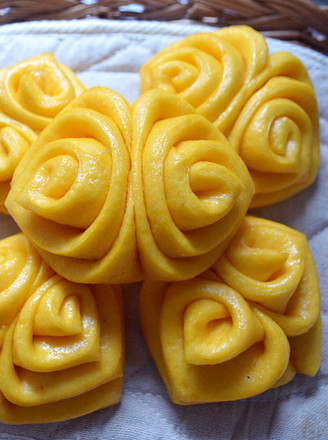
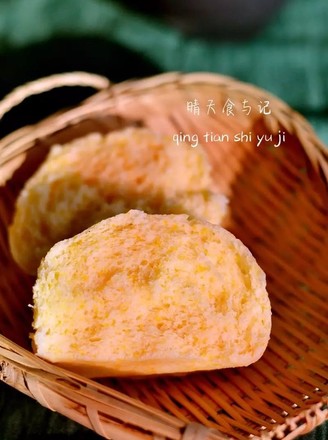
If you love the sesame sauce biscuits that I posted in the last article www.xiachufang.com/recipe/100464460/, then I promise, you will be more addicted to this shortbread biscuits. If you happen to be from Tianjin, and you happened to line up to buy "Ear Eye" shortbread biscuits when you were young, you will love it even more~
This side has been placed in the kitchen for a long time, and now I will explain a few points about the questions of many sesame disciples. Looking down, there is always an answer for you~
1 The finished product made by this recipe is definitely not the scumming taste of Chinese pastries like egg yolk crisps, please calm your mind and don't make too much of it. If you want Chinese pastry, please poke my egg yolk pastry recipe www.xiachufang.com/recipe/100609182/
2 Please fine-tune the dough water volume according to the hot and cold room temperature, dry humidity, and different seasons of your place of residence
3 This cake is the main food, and its status in our place is equivalent to steamed buns, Hanamaki rice, etc., so it cannot be too salty.
9 quantities for this side.

