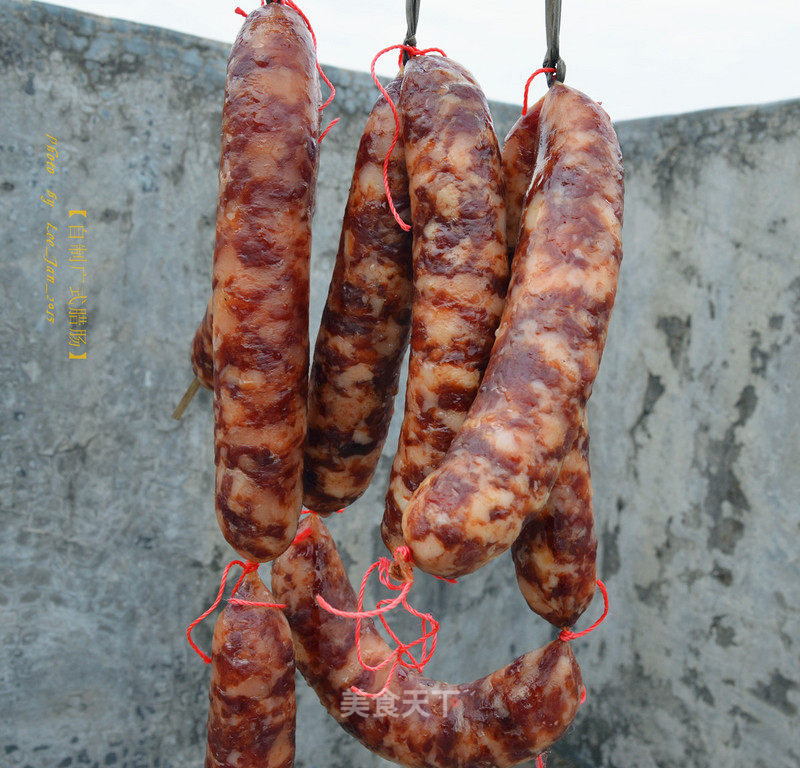
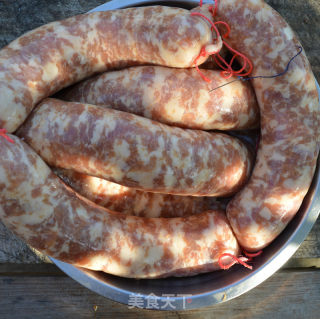
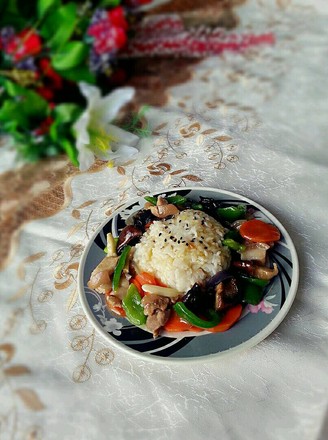
Homemade Cantonese Sausage (with Casings)
1.
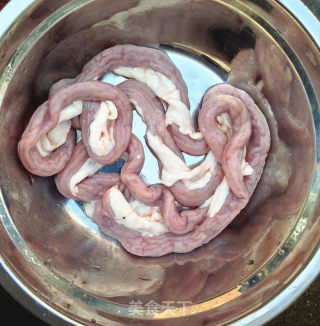
Prepare the small intestine.
2.
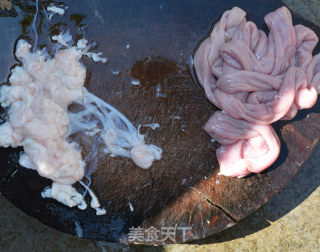
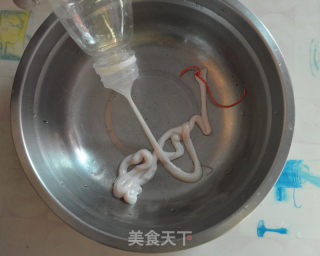
After cleaning it, tear off the white surface like ointment.
3.
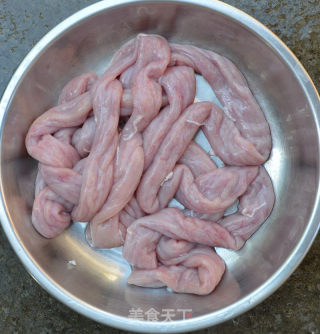
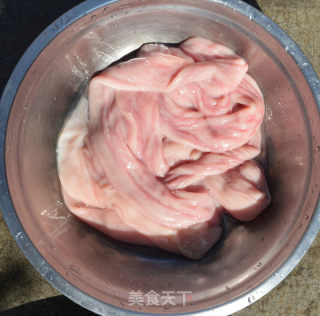
Clean the small intestine.
4.
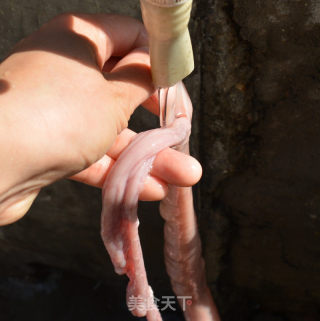
Then turn the small intestine out of the way (during the operation, put one end of the small intestine under the faucet, open the small water, and pick up the other end of the small intestine with the other hand and put it down in the direction of the water flow. It will be reversed at once, which is easy to operate).
5.
This is the reversed small intestine, you can see the color is different from the front above.
6.
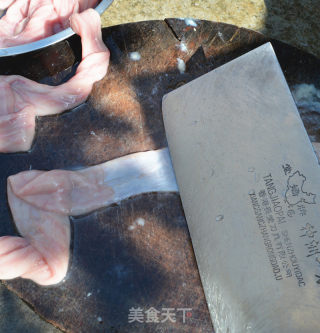
Then scrape off the meat on the opposite side (put one end of the small intestine on the chopping board and press it with your hand, and scrape it diagonally with a knife in the other hand). You can scratch a small piece to see if the strength is suitable. Actually, this is not easy to scratch. I have never tried to scratch.
7.
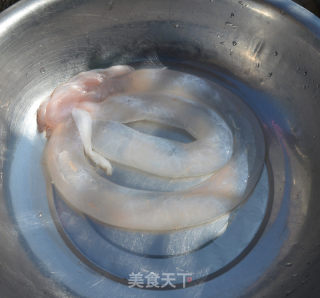
Scrape the irrigation water, rinse it well, and squeeze the water for later use.
8.
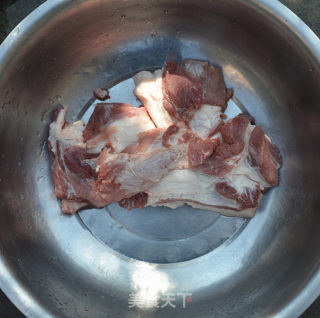
Prepare the front leg meat.
9.
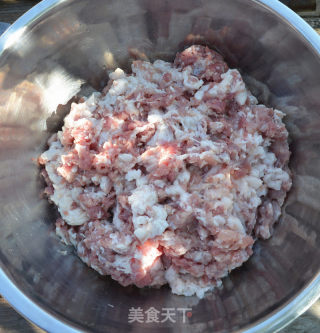
After cleaning it, cut it into about the size of a soybean, and then chop it a few times. (I personally think that the sausage is not full and not so good-looking).
10.
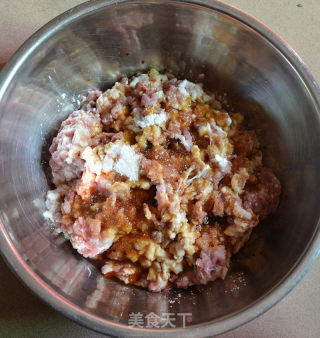
After the meat is cut, add some salt, white wine (I used Erqu), soy sauce, sugar, and cornstarch.
11.
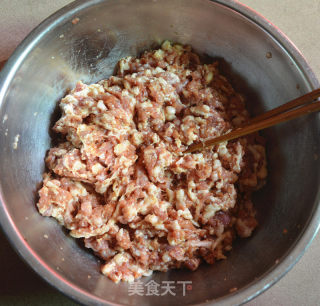
Mix well.
12.
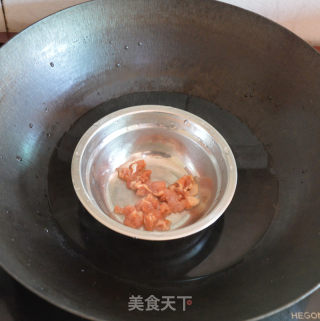
Take a little bit of well-tuned meat and steam it to taste (we didn't weigh it before). If you have different personal tastes, you can know what needs to be added by tasting it, so as not to make it taste wrong and waste it. Marinate the flavored meat for two to three hours to half a day.
13.
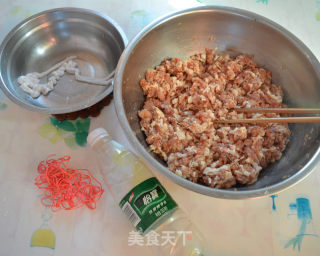
Prepare all the materials (meat, casing, rope, a mineral water bottle and a needle without special enema tools).
14.
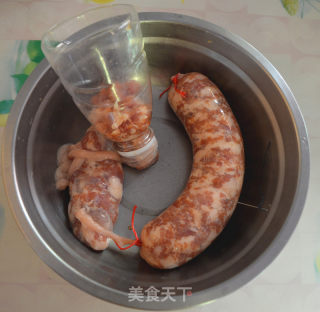
Cut the mineral water bottle about one third of the upper part, and take the upper part. Take a casing, tie one end with a rope, and put the other end into the mouth of the bottle.
15.
Fill the noodles with meat and slowly push it down with chopsticks.
16.
When it's almost packed, you can tie it into sections with a string, so that it can be easily eaten after drying (before tying, you must squeeze tightly while piercing some holes with a needle, so that the filling is full and not easy to break).
17.
After filling, continue to pierce more holes.
18.
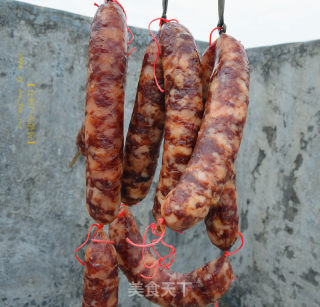
Expose it in the sun (I personally think that it’s best to dry it at about 3-10 degrees Celsius, and it’s better if there is a northerly wind. It’s winter in Guangdong, but sometimes the temperature is above 20 degrees. So I always do it before making Lap Mei. You must look at the weather forecast, and do it only when there is cold air and it is sunny. After a few days, if the temperature suddenly becomes very high, you can put it back in the refrigerator directly, but do not seal it in a bag, as there will be moisture.
19.
After two weeks of drying, it has been oily, so that's it. If you can't finish it at a time, you can freeze it in the refrigerator. It can be eaten for a few months, but it is not recommended to keep it for too long.

Tips:
1. Individual tastes are different. If you cook a little bit of well-tuned meat, you can know what needs to be added by tasting, so as not to make it taste wrong and waste.
2. Add a small amount of cornstarch to the meat, so that the sausage will not be hard (but not too much).
2. When enema, be sure to squeeze and pierce some holes with a needle, so that the sausage will be full and will not be squeezed.
3. It is best to dry the sausage at around 3-10 degrees. If you want to do it well, it is best to watch the weather in advance. If it rains for one or two days in the middle or the temperature is too high, you can directly take it back to the refrigerator for refrigeration, but don't put it in the bag. Inside, otherwise there will be moisture.
4. It takes at least two weeks before the sausages are really fragrant.

