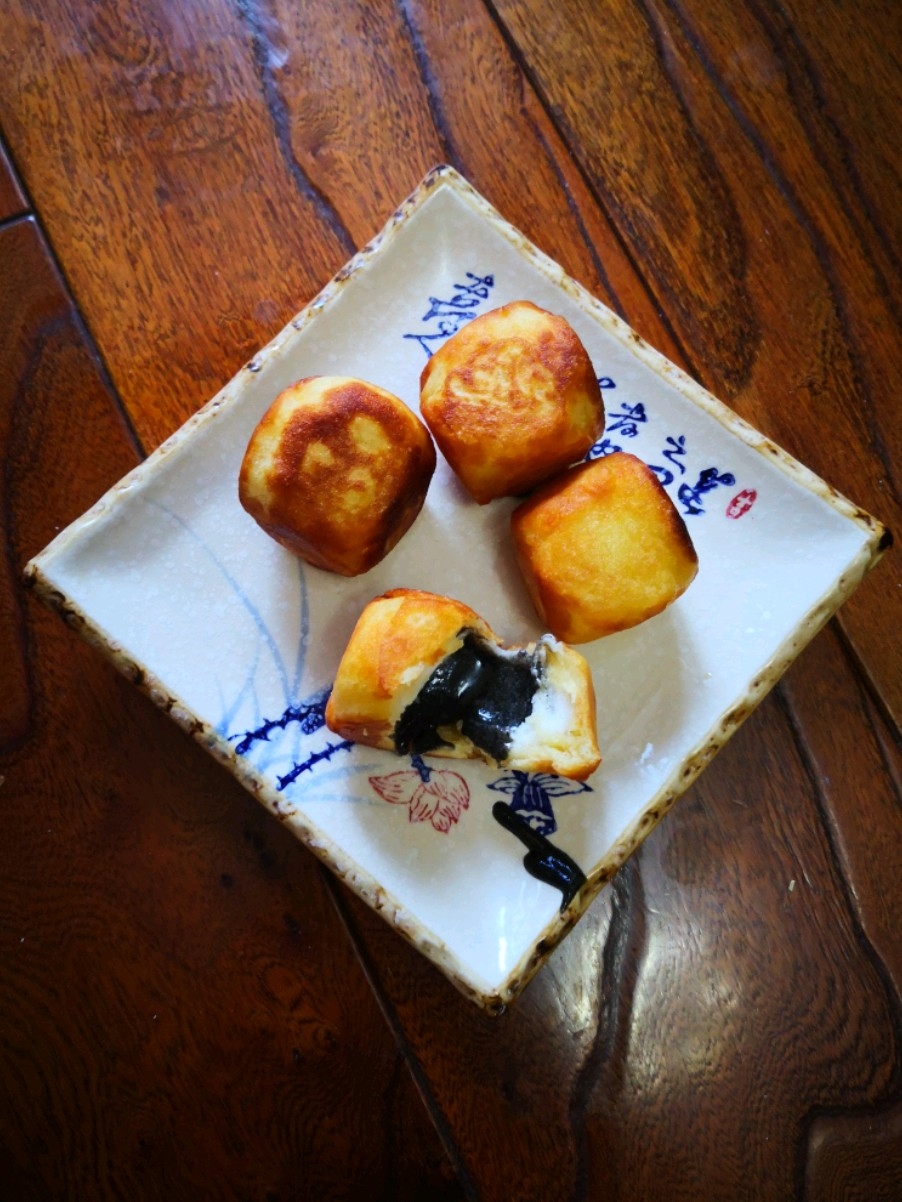
Chicken Soup
1.
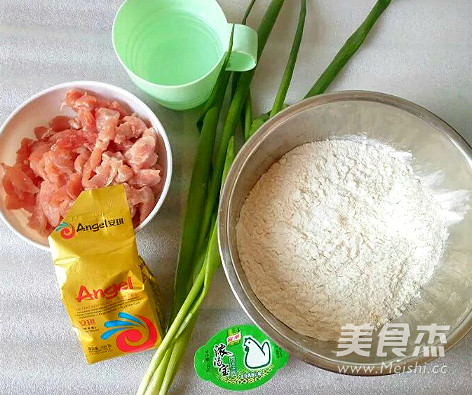
Prepare the main ingredients
2.
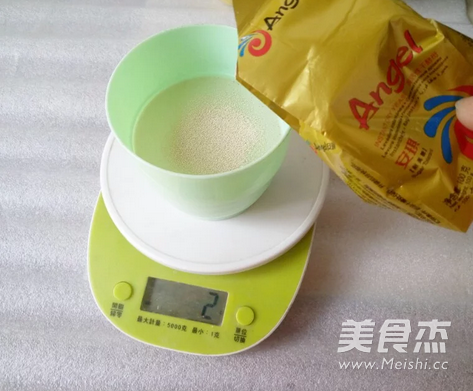
Put 2 grams of yeast powder into warm water and stir to dissolve
3.
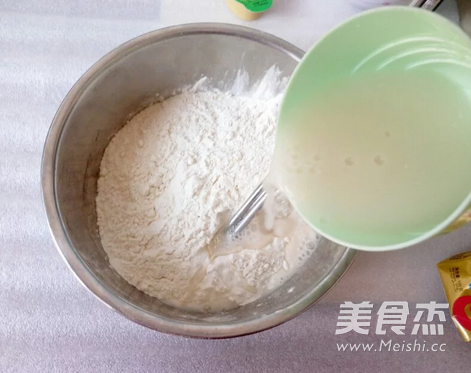
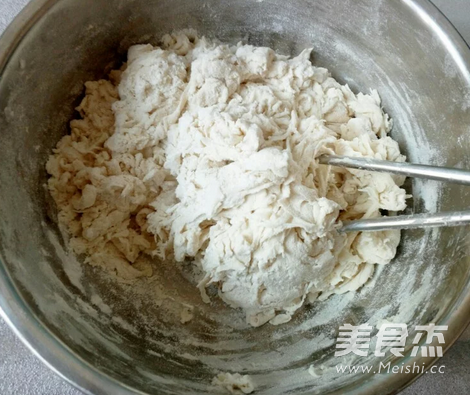
Pour the stirred solution into the flour and stir with chopsticks while pouring
4.
Stir it into cotton wool
5.
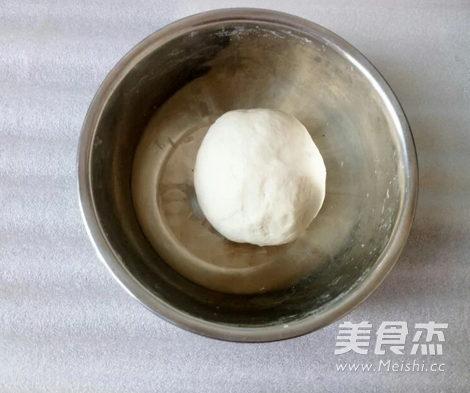
Then grab it with your hands and knead it into a ball, and then repeatedly knead it into a smooth dough
6.
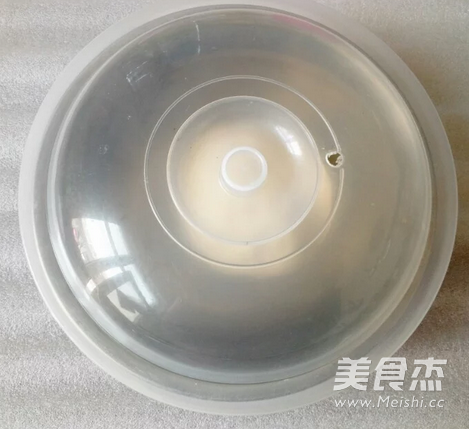
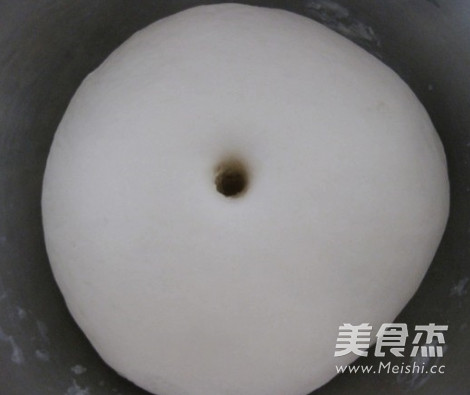
Cover the kneaded dough with a lid or wet gauze and put it in the oven to turn on the fermentation function for about 1 hour, so that the dough will rise to 2.5 times its size
7.
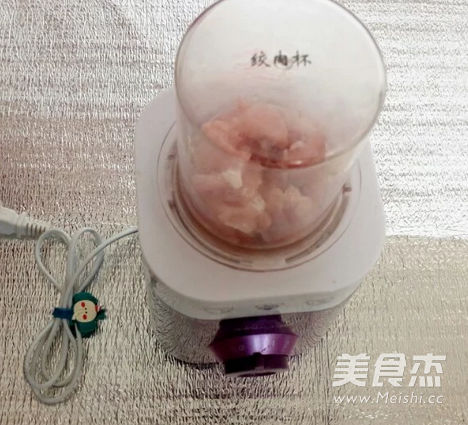
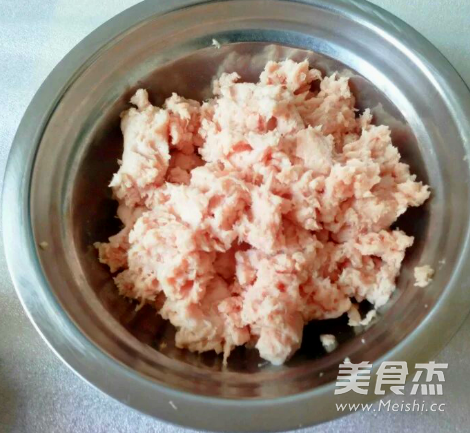
The pork slices are whipped into fillings with a food processor
8.
Put the stirred pork filling in a bowl for later use
9.
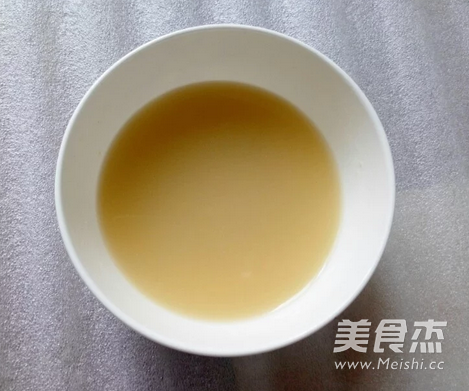
Take another bowl, put the thick soup treasure into the bowl and melt it into chicken soup with boiling water
10.
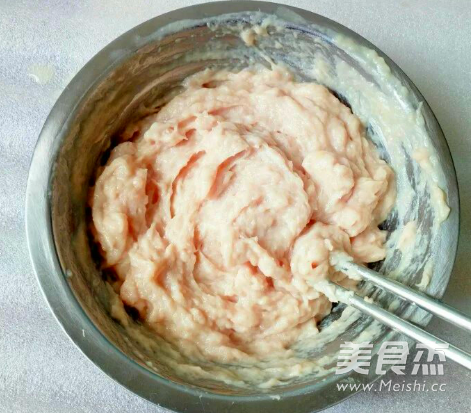
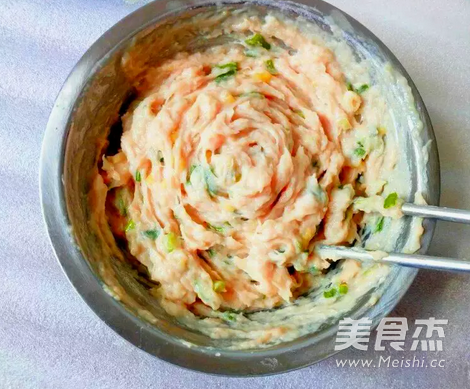
Pour the soup into the minced meat in batches, while pouring it, stir evenly with chopsticks in one direction
11.
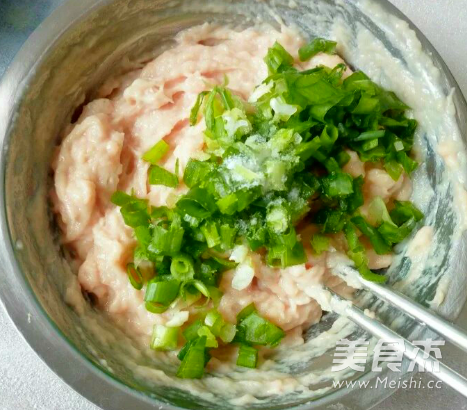
Add sesame oil, green onion, light soy sauce, dark soy sauce, white pepper, salt
12.
Continue to stir in one direction, set aside
13.
The fermented dough is dipped in flour with your fingers, and it will not shrink or sink.
14.
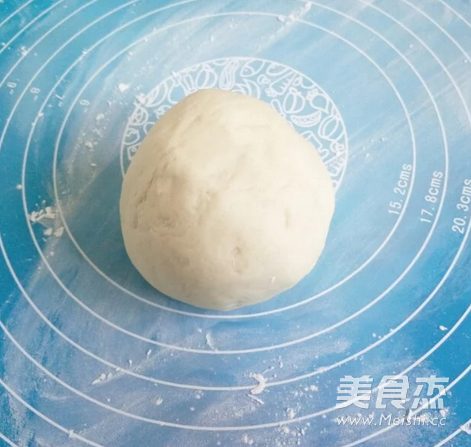
Sprinkle a little flour on the silicone mat, take out the fermented dough and place it on the floured silicone mat, knead fully for 20 minutes to vent the dough, knead it again into a smooth dough after venting, and put it back into the inner lid of the basin Put on the lid and let it rest for about 10 minutes (not slack is ok, it’s easier to handle after slack)
15.
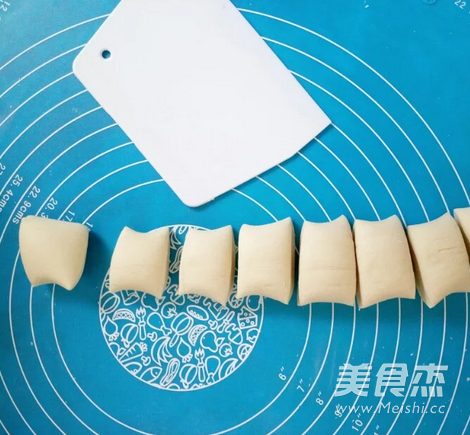
Take out the dough and knead it into a long strip, and use a spatula to cut into an agent weighing about 35 grams.
16.
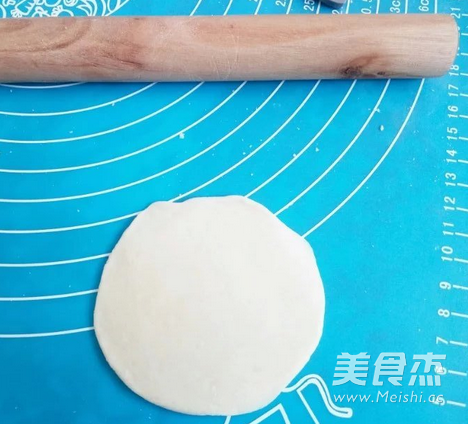
Take an agent and press it flat, and then use a rolling stick to roll it into a thicker middle and slightly thinner dough (the dough on the side that touches the silicone pad is coated with dry powder to ensure that the wrinkles of the wrapped bun will not disappear)
17.
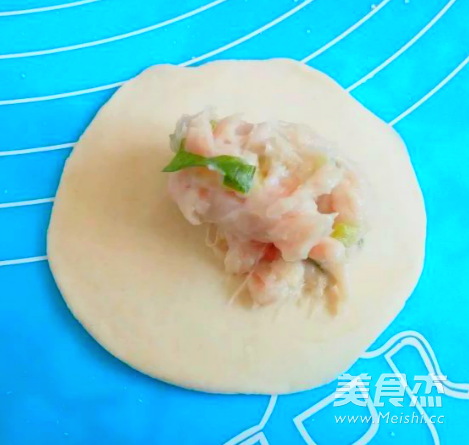
Put some pork filling in the middle of the dough
18.
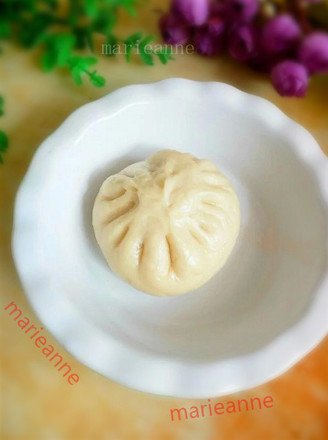
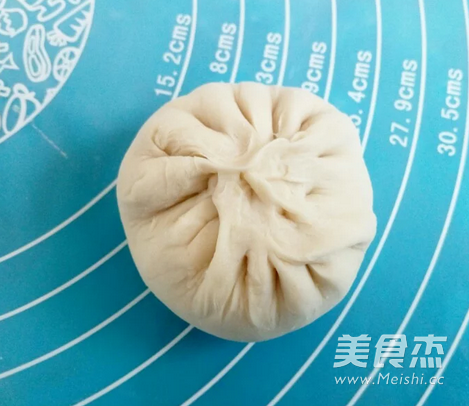
Start by pinching a pleat from one place, and then continue to pinch the pleats in one direction until the edge of the dough is pinched, and the mouth is closed to form a raw bun (you can also pinch it directly on the table if you don’t hold it in your hand)
19.
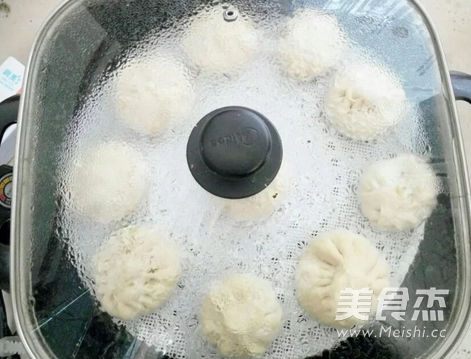
Add appropriate amount of cold water to the steamer, put the raw steamed buns on the steamer cloth, leave a proper gap between each two, cover the pot and let stand for about 20 minutes for the second fermentation (it takes half an hour in winter, and can be used in summer. Shorten to 15 minutes, this step is very important and cannot be omitted); steam on high heat, turn the water to SAIC and turn to medium heat, count for 12 minutes, turn off the heat and steam for 5 minutes before opening the lid for consumption

Tips:
1. If you want to drink the soup, the steamed buns must be steamed and eaten. No matter how much soup you pack, the steamed buns will be out of soup if you put them for half an hour before eating, because the soup is soaked up by the noodles.
2. When making noodles, the water temperature of the dough should not be hot, and the water temperature should not be too high. If the water temperature is too high, the yeast powder will lose activity and the dough will fail to ferment;
3. When kneading the dough, the hand feels too hard and you can continue to knead it with your hands in water;
4. The length of time required for fermentation has a great relationship with the outside temperature. The higher the temperature, the shorter the time required for fermentation, and vice versa. In summer, the temperature is high, and the dough can be fermented at room temperature. In winter, keep the dough in a warm place. For example, in the north, you can place the container with the dough next to the heater, and in the south, you can use a pot to boil a pot of warm water, soak the container with the dough in the warm water, and then cover the pot to shorten the fermentation time. Those with oven and fermentation function can be fermented directly in the oven (about 1.5 hours in winter and 45 minutes in summer), which is convenient and quick.
5. When making fillings, add a small amount of water several times when mixing (that is, pour in a small amount of water and stir well, then add it, don't pour all the water all at once). Be sure to stir in one direction so that the water can be completely penetrated into the meat to make it stronger;
6. The fermented dough should be fully kneaded evenly. You can knead while adding dry flour until the gas generated during the fermentation process is completely discharged. The finished product will be delicious.
7. The simple way to judge whether the dough is fermented is: dip your fingers in flour and insert it into the dough. After the fingers are pulled out, the dough around the fingerprints does not rebound or sink, indicating that the fermentation is just right. If the dough around the fingerprints rebounds quickly, it indicates that the fermentation is still good Not enough, if the dough around the fingerprint sinks quickly, the dough is over-fermented. Generally speaking, when the volume of the dough is twice as large and the dough is covered with honeycomb-shaped holes, it indicates that the dough has been fermented.
8. When putting the steamed buns in the steamer, leave a certain gap to prevent the steamed buns from swelling and sticking together. After the steamed buns are steamed, do not rush out. First turn off the heat and wait a few minutes. Open the lid and take it out to prevent the buns from collapsing easily and affecting their appearance.
9. The amount of flour and liquid for making buns is 2:1, and the amount of liquid cannot exceed 60% of the flour

